Guide by dooiy
Cleaning detergents
Safe money and the environment
Vinegar and bicarb are really great products for cleaning. They are...
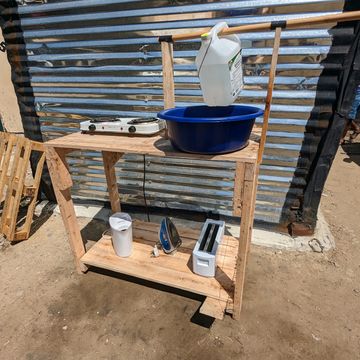


Upgrade your home with a 100cm x 50cm pantry kitchen with an integrated sink, enough space for your stove and plenty storage.
| Done in | 3 hours |
|---|---|
| Skill level | expert |


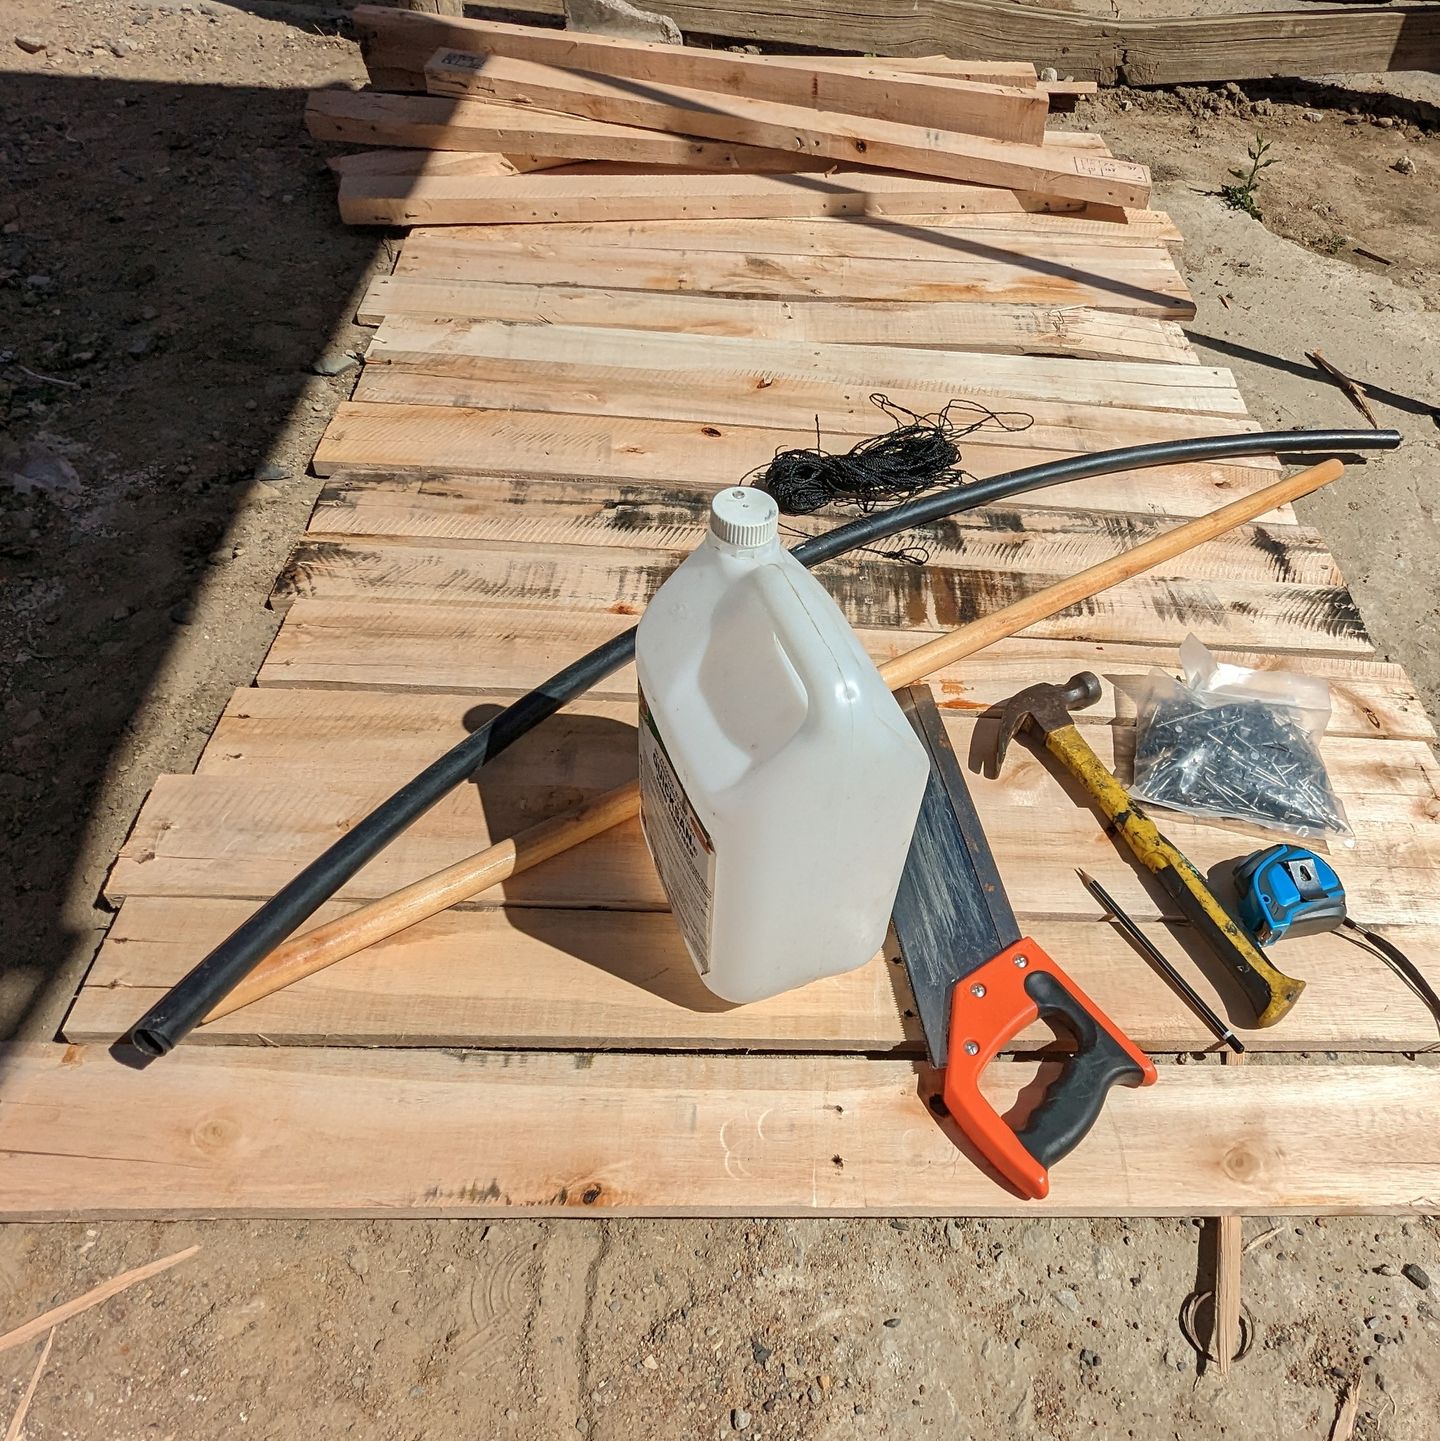
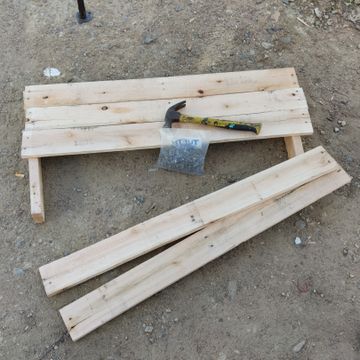
You probably have most of the material already at home. Sourcing the palettes might be the only thing you need to do. We found a nearby industrial plant, that sells old or damaged palettes for a really fair price (R5/each).
The overall making is fairly simple, for us the most tricky part was, to get the string for the tippy-tap and the pedal right. Besides getting those angles for the string right, you should make sure the structure is robust enough.
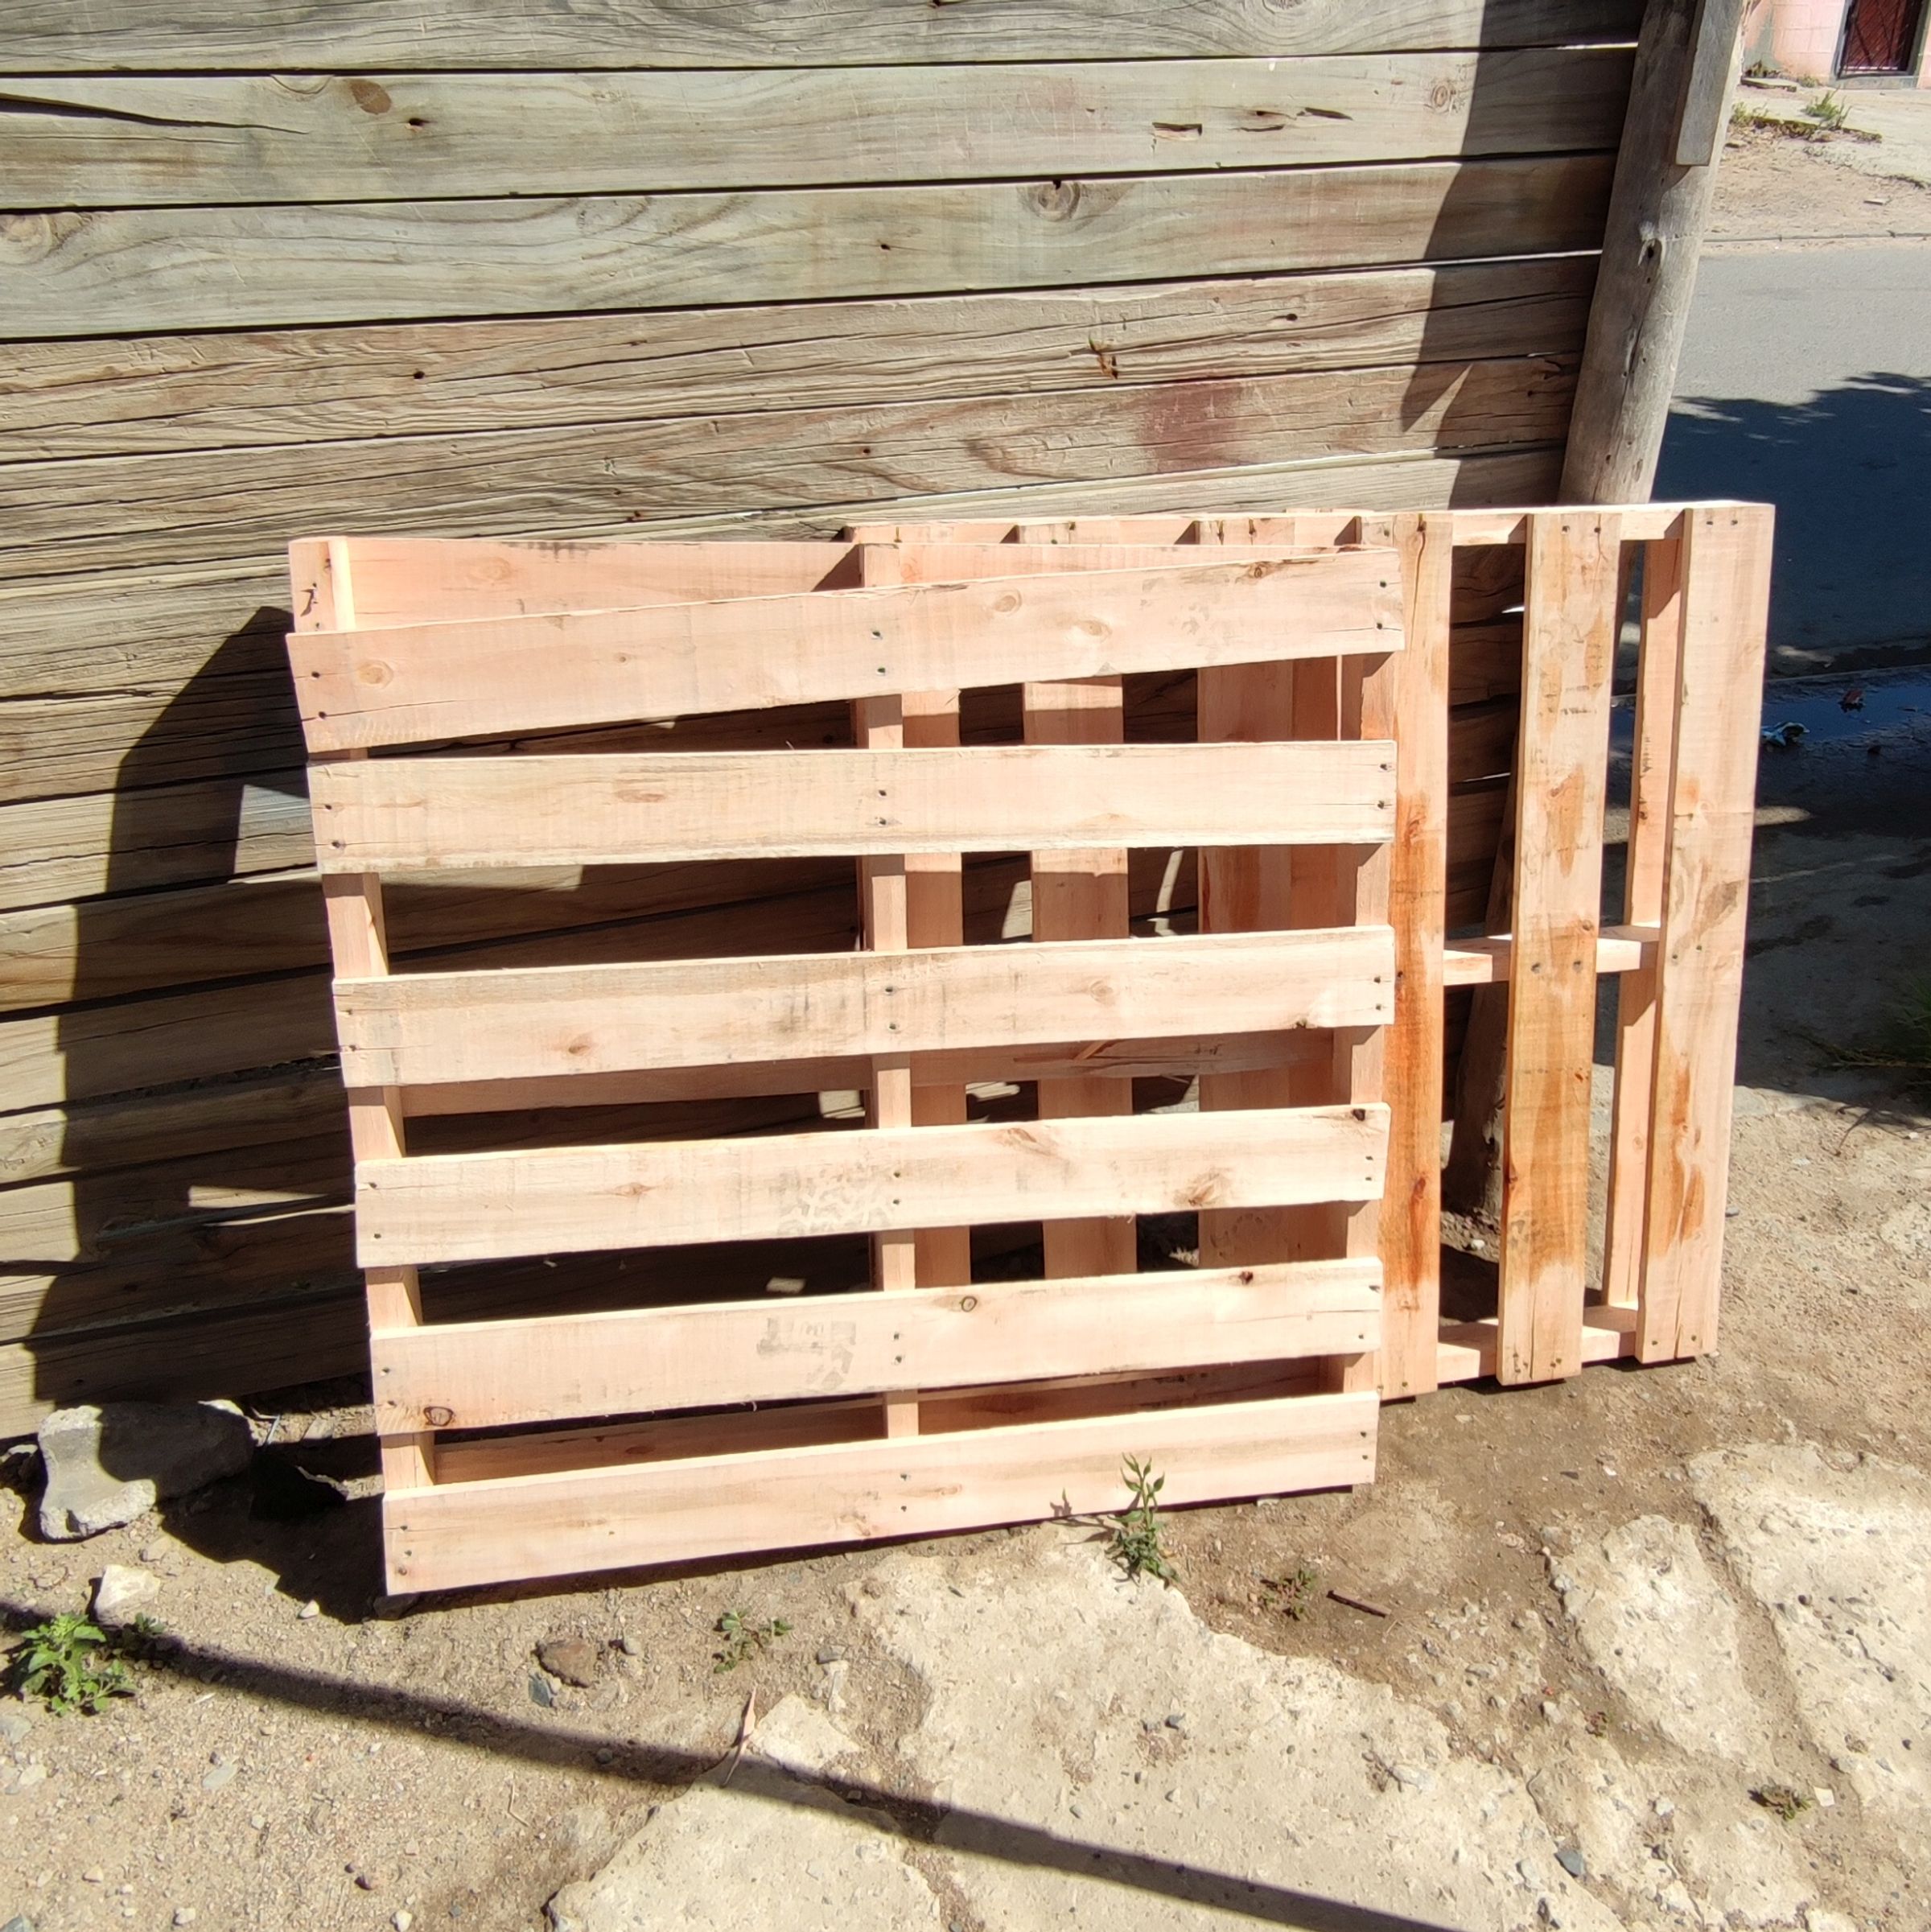
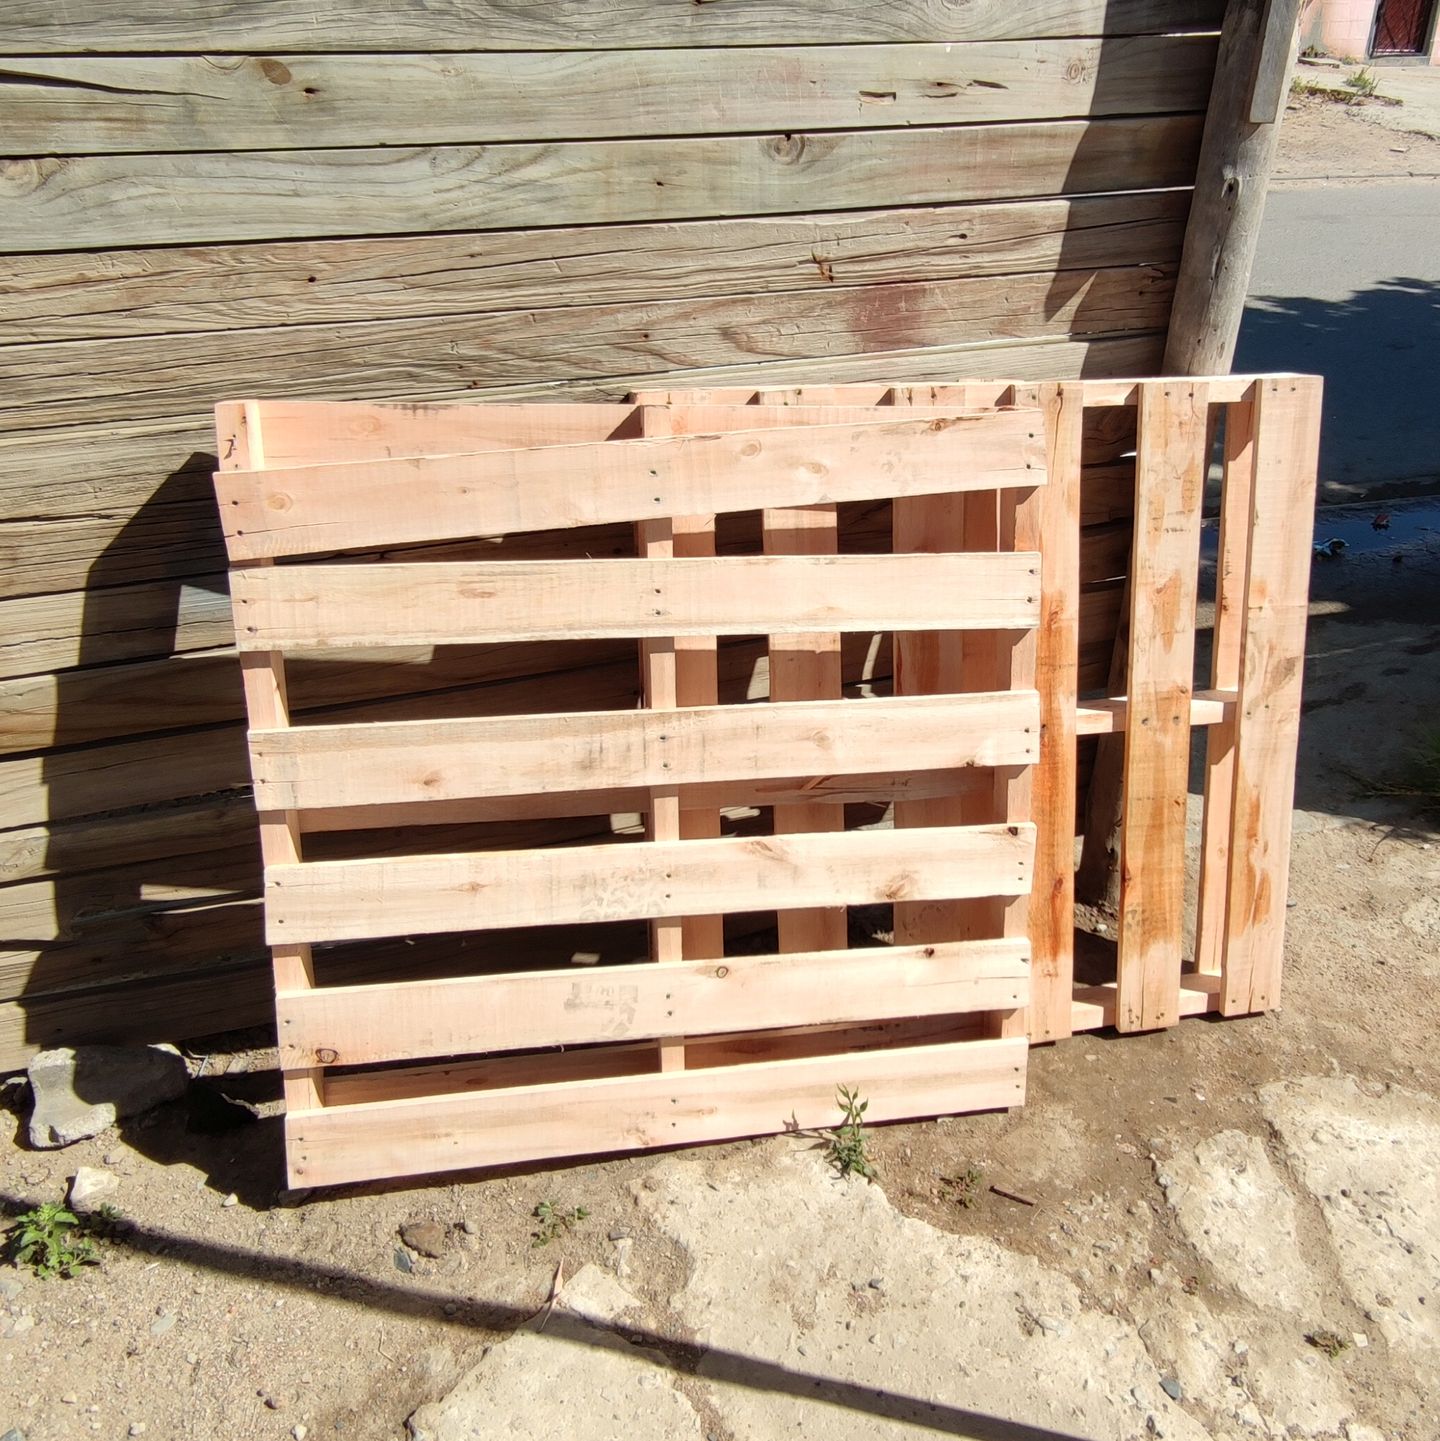
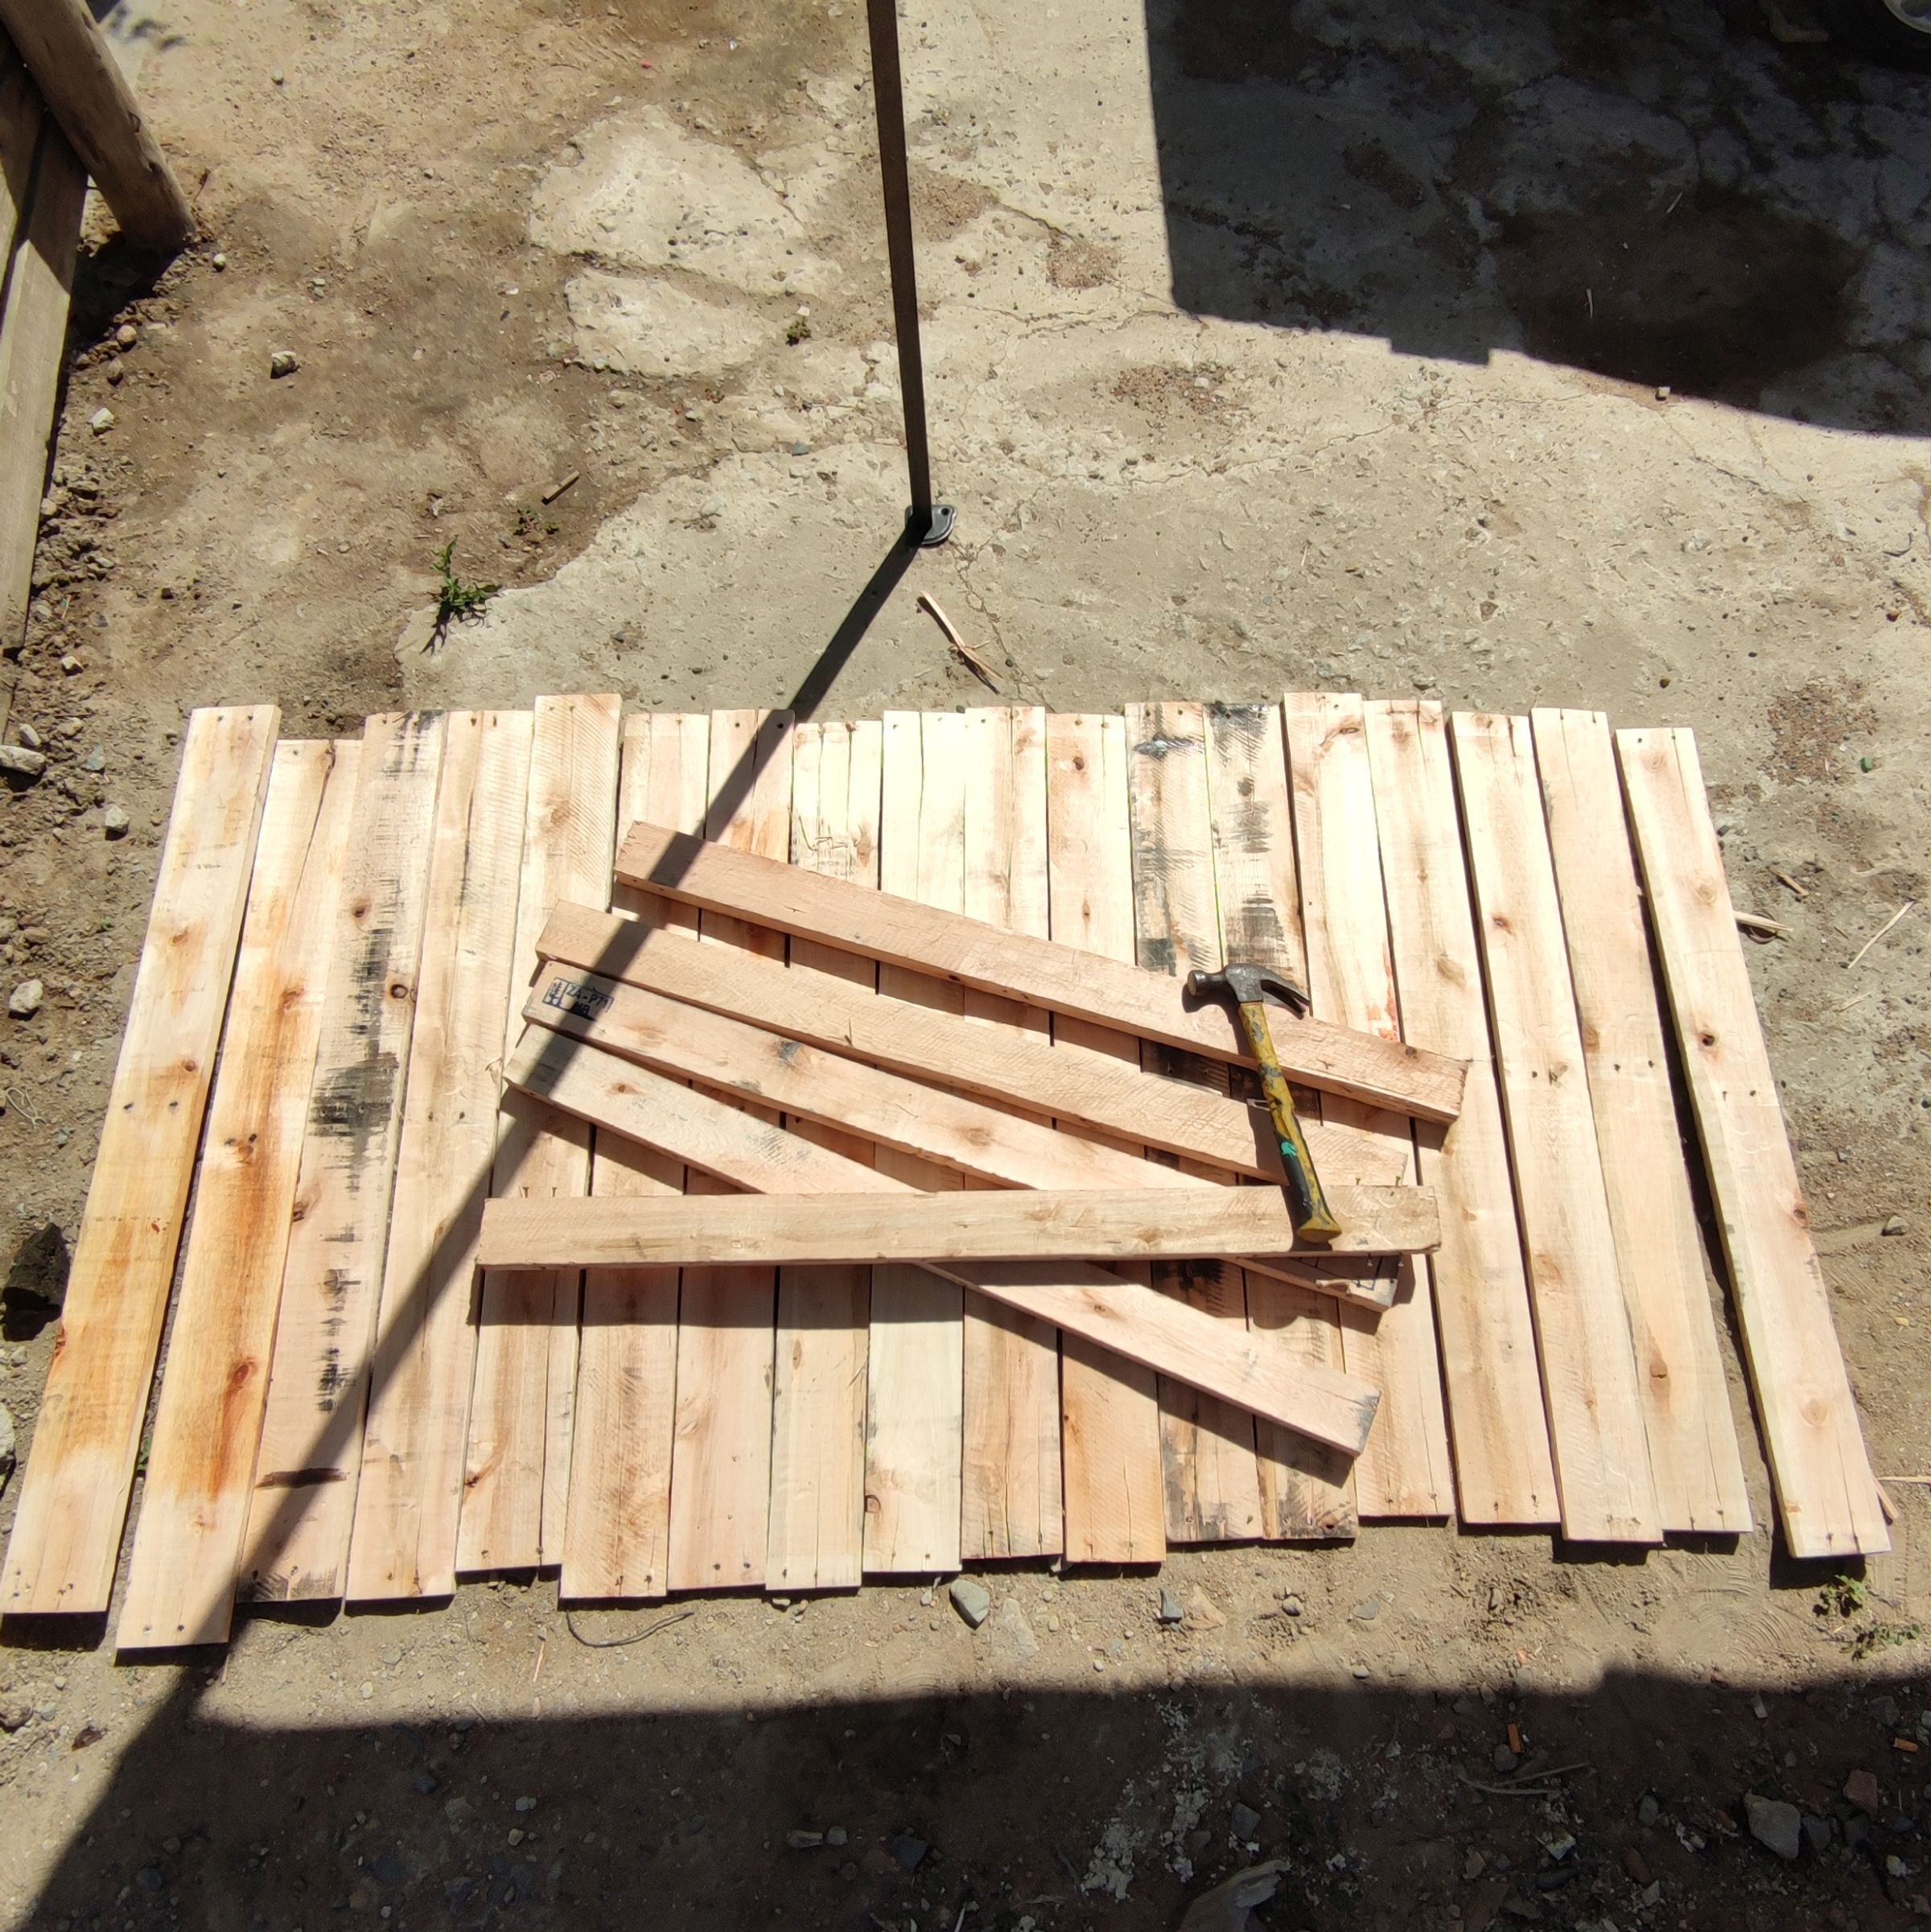

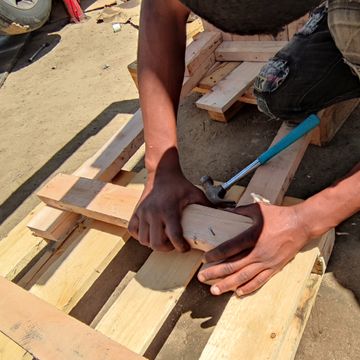
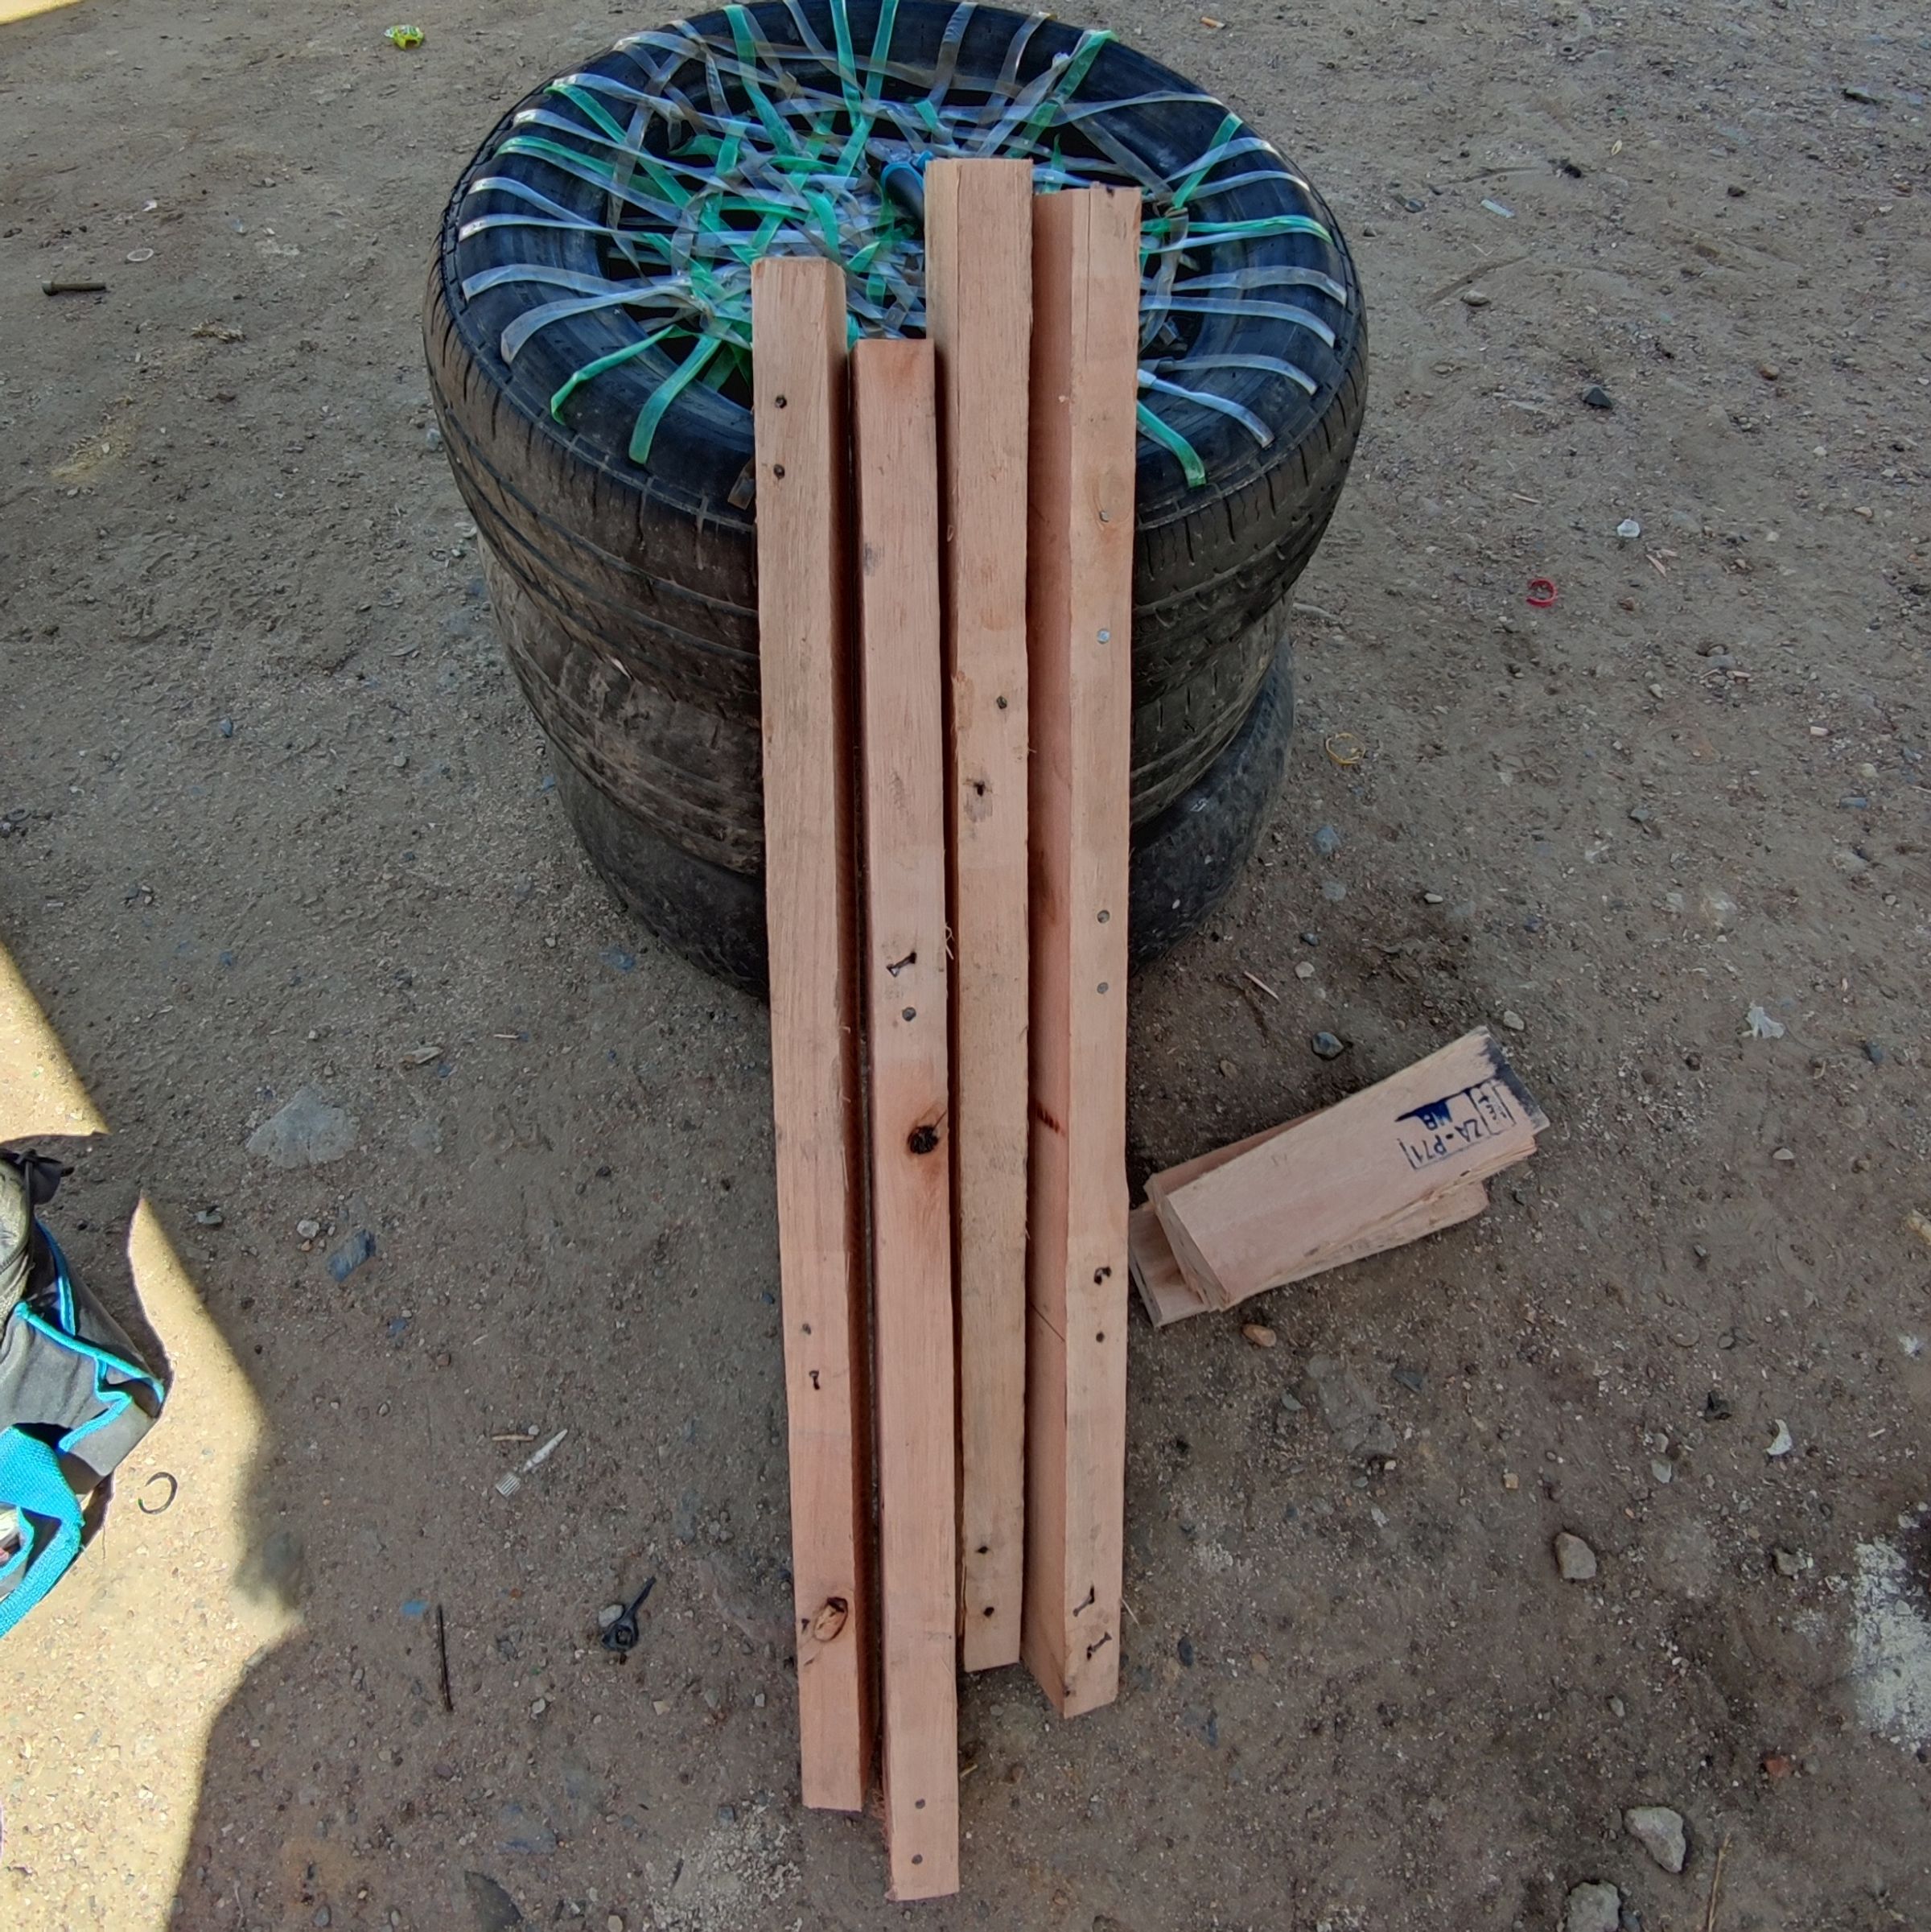
Take a hammer or a wreck bar to take apart both palettes. Our palettes were square 1m x 1m, so we ended up with 6 strong beams of 100cm length (8cm x 4cm diameter) and 18 boards of 100cm x 10cm.
This is more than enough material to build a nice pantry kitchen.

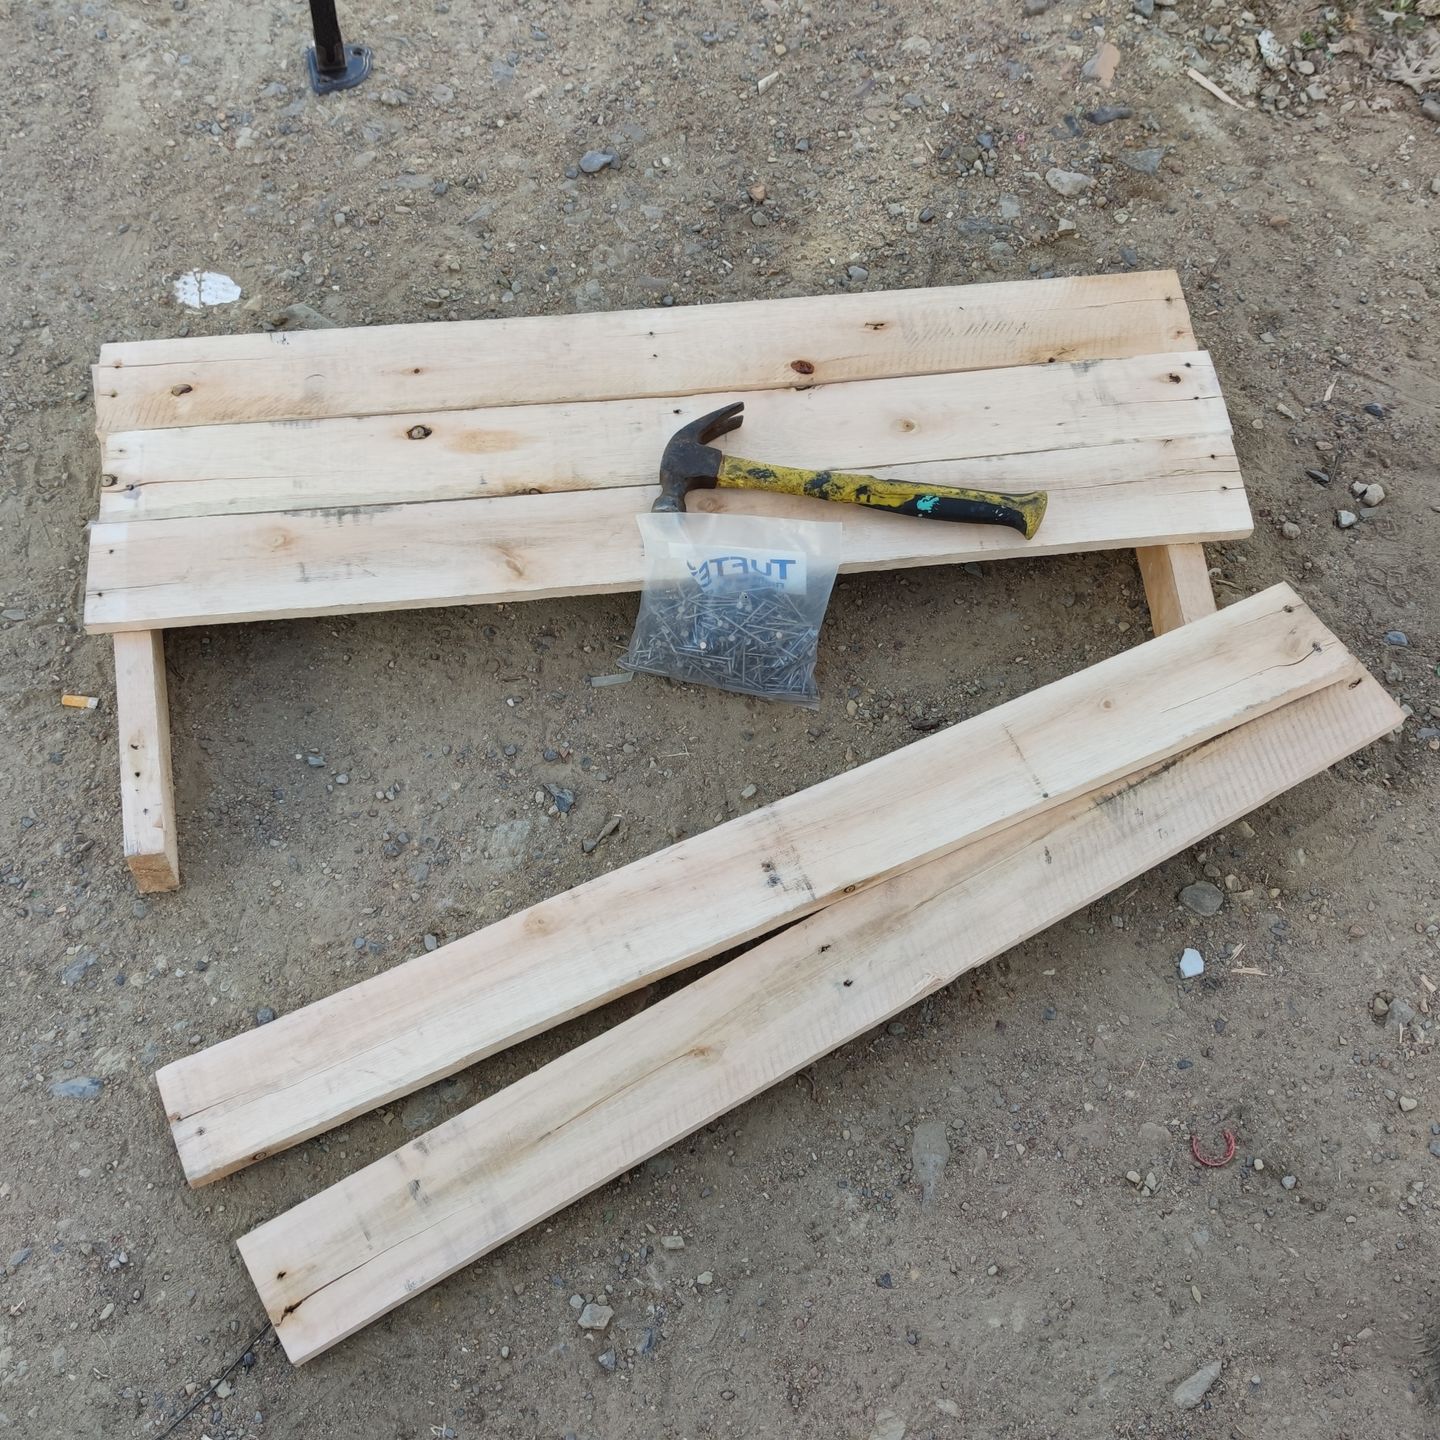

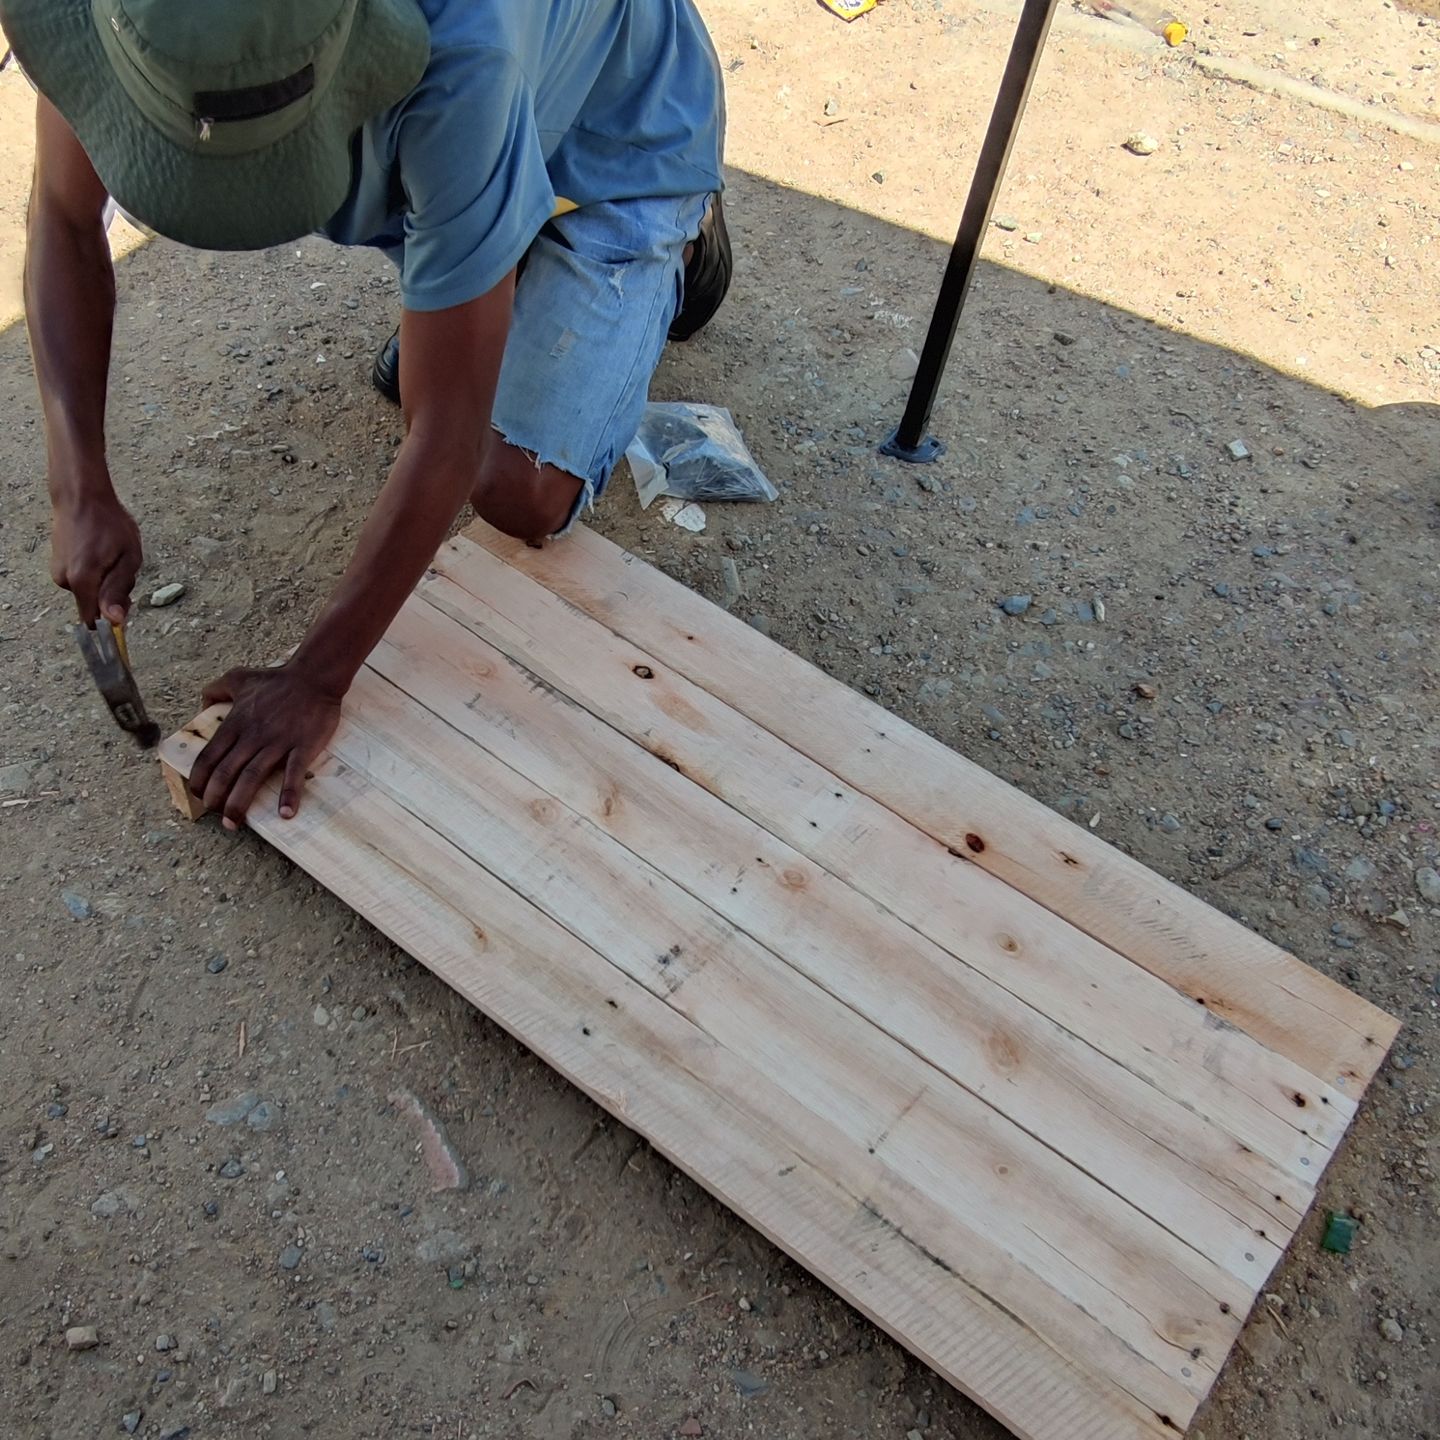
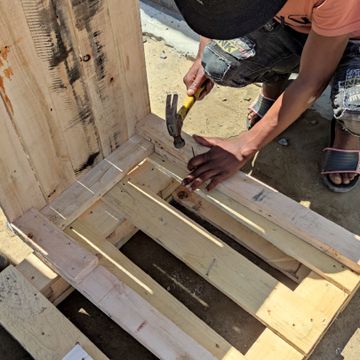
For the countertop, we use one of the strong beams and 5 boards. Cut the beam into half, i.e. a length of 50cm and put the halves on the floor parallel to each other with a distance of 1m.
Nail the boards onto the beams, leave no gaps and make sure you create a square surface of 100cm x 50cm.

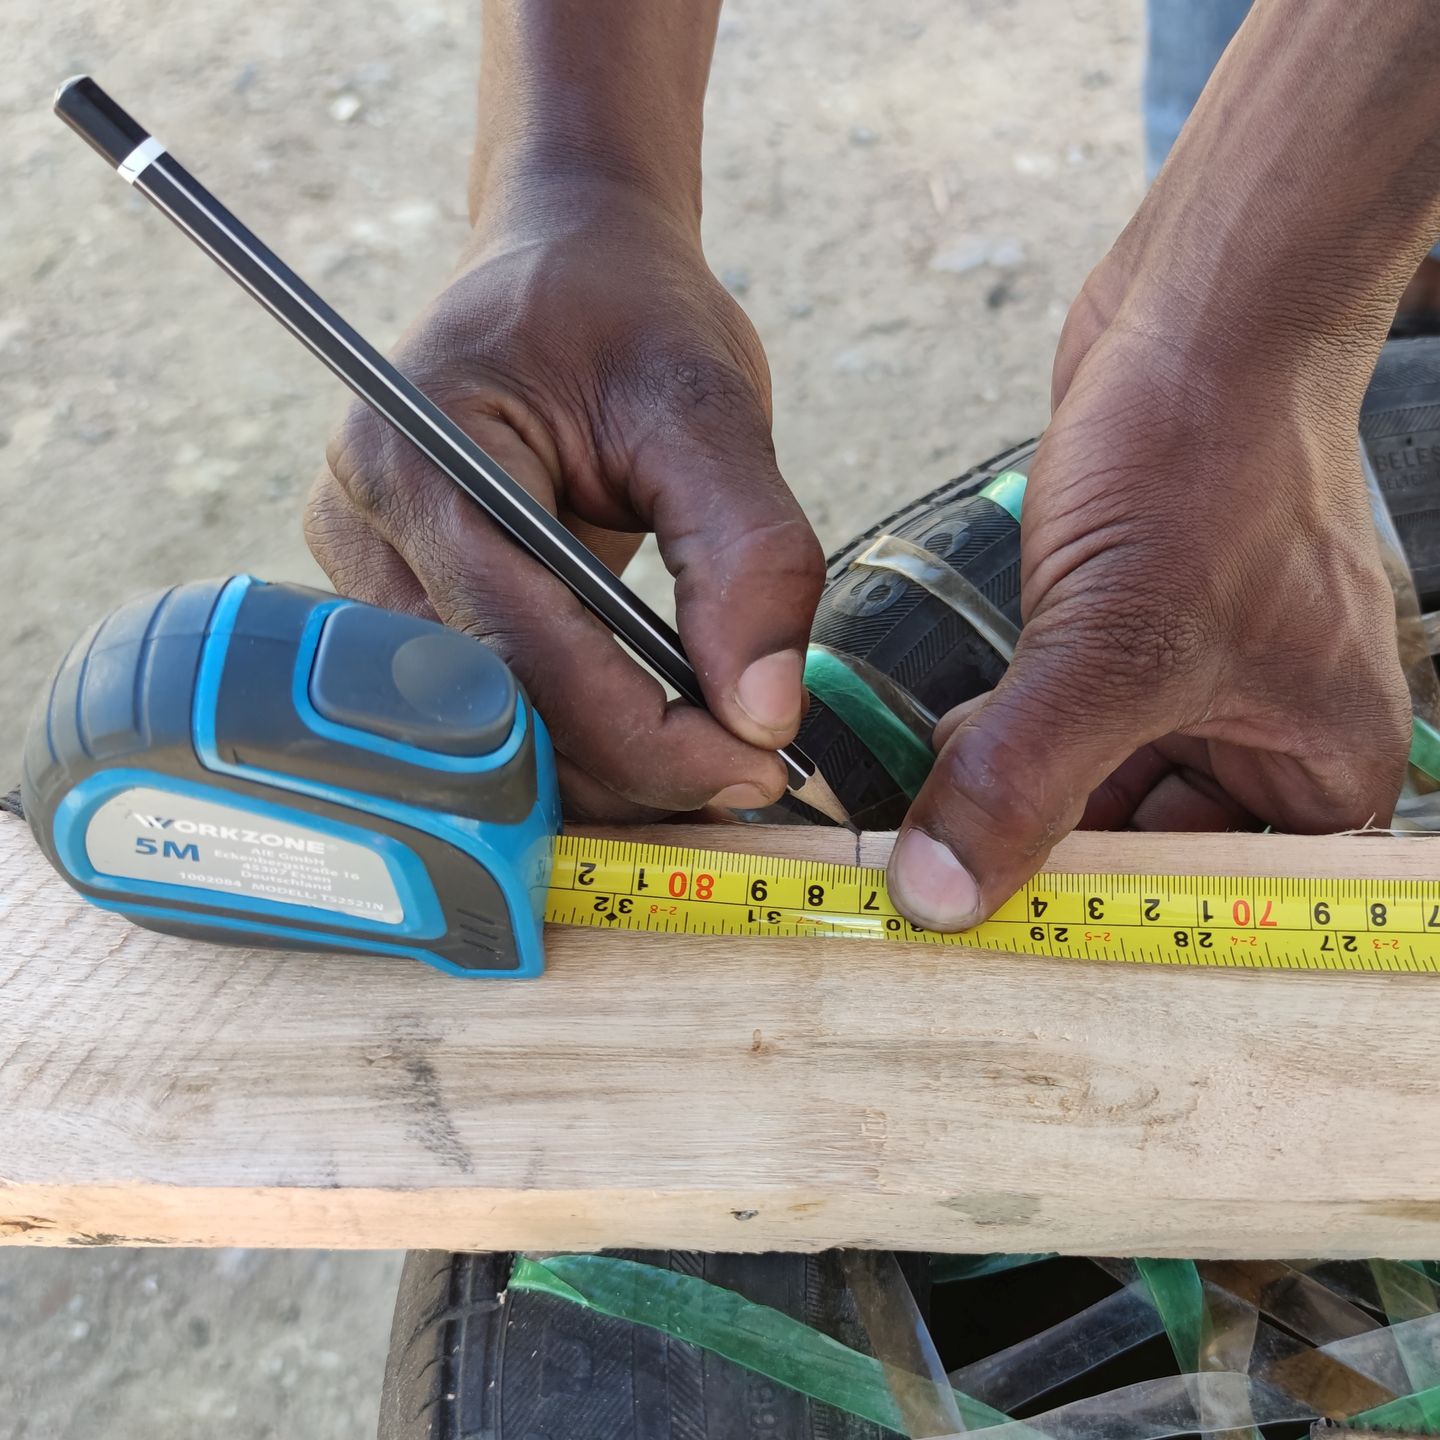

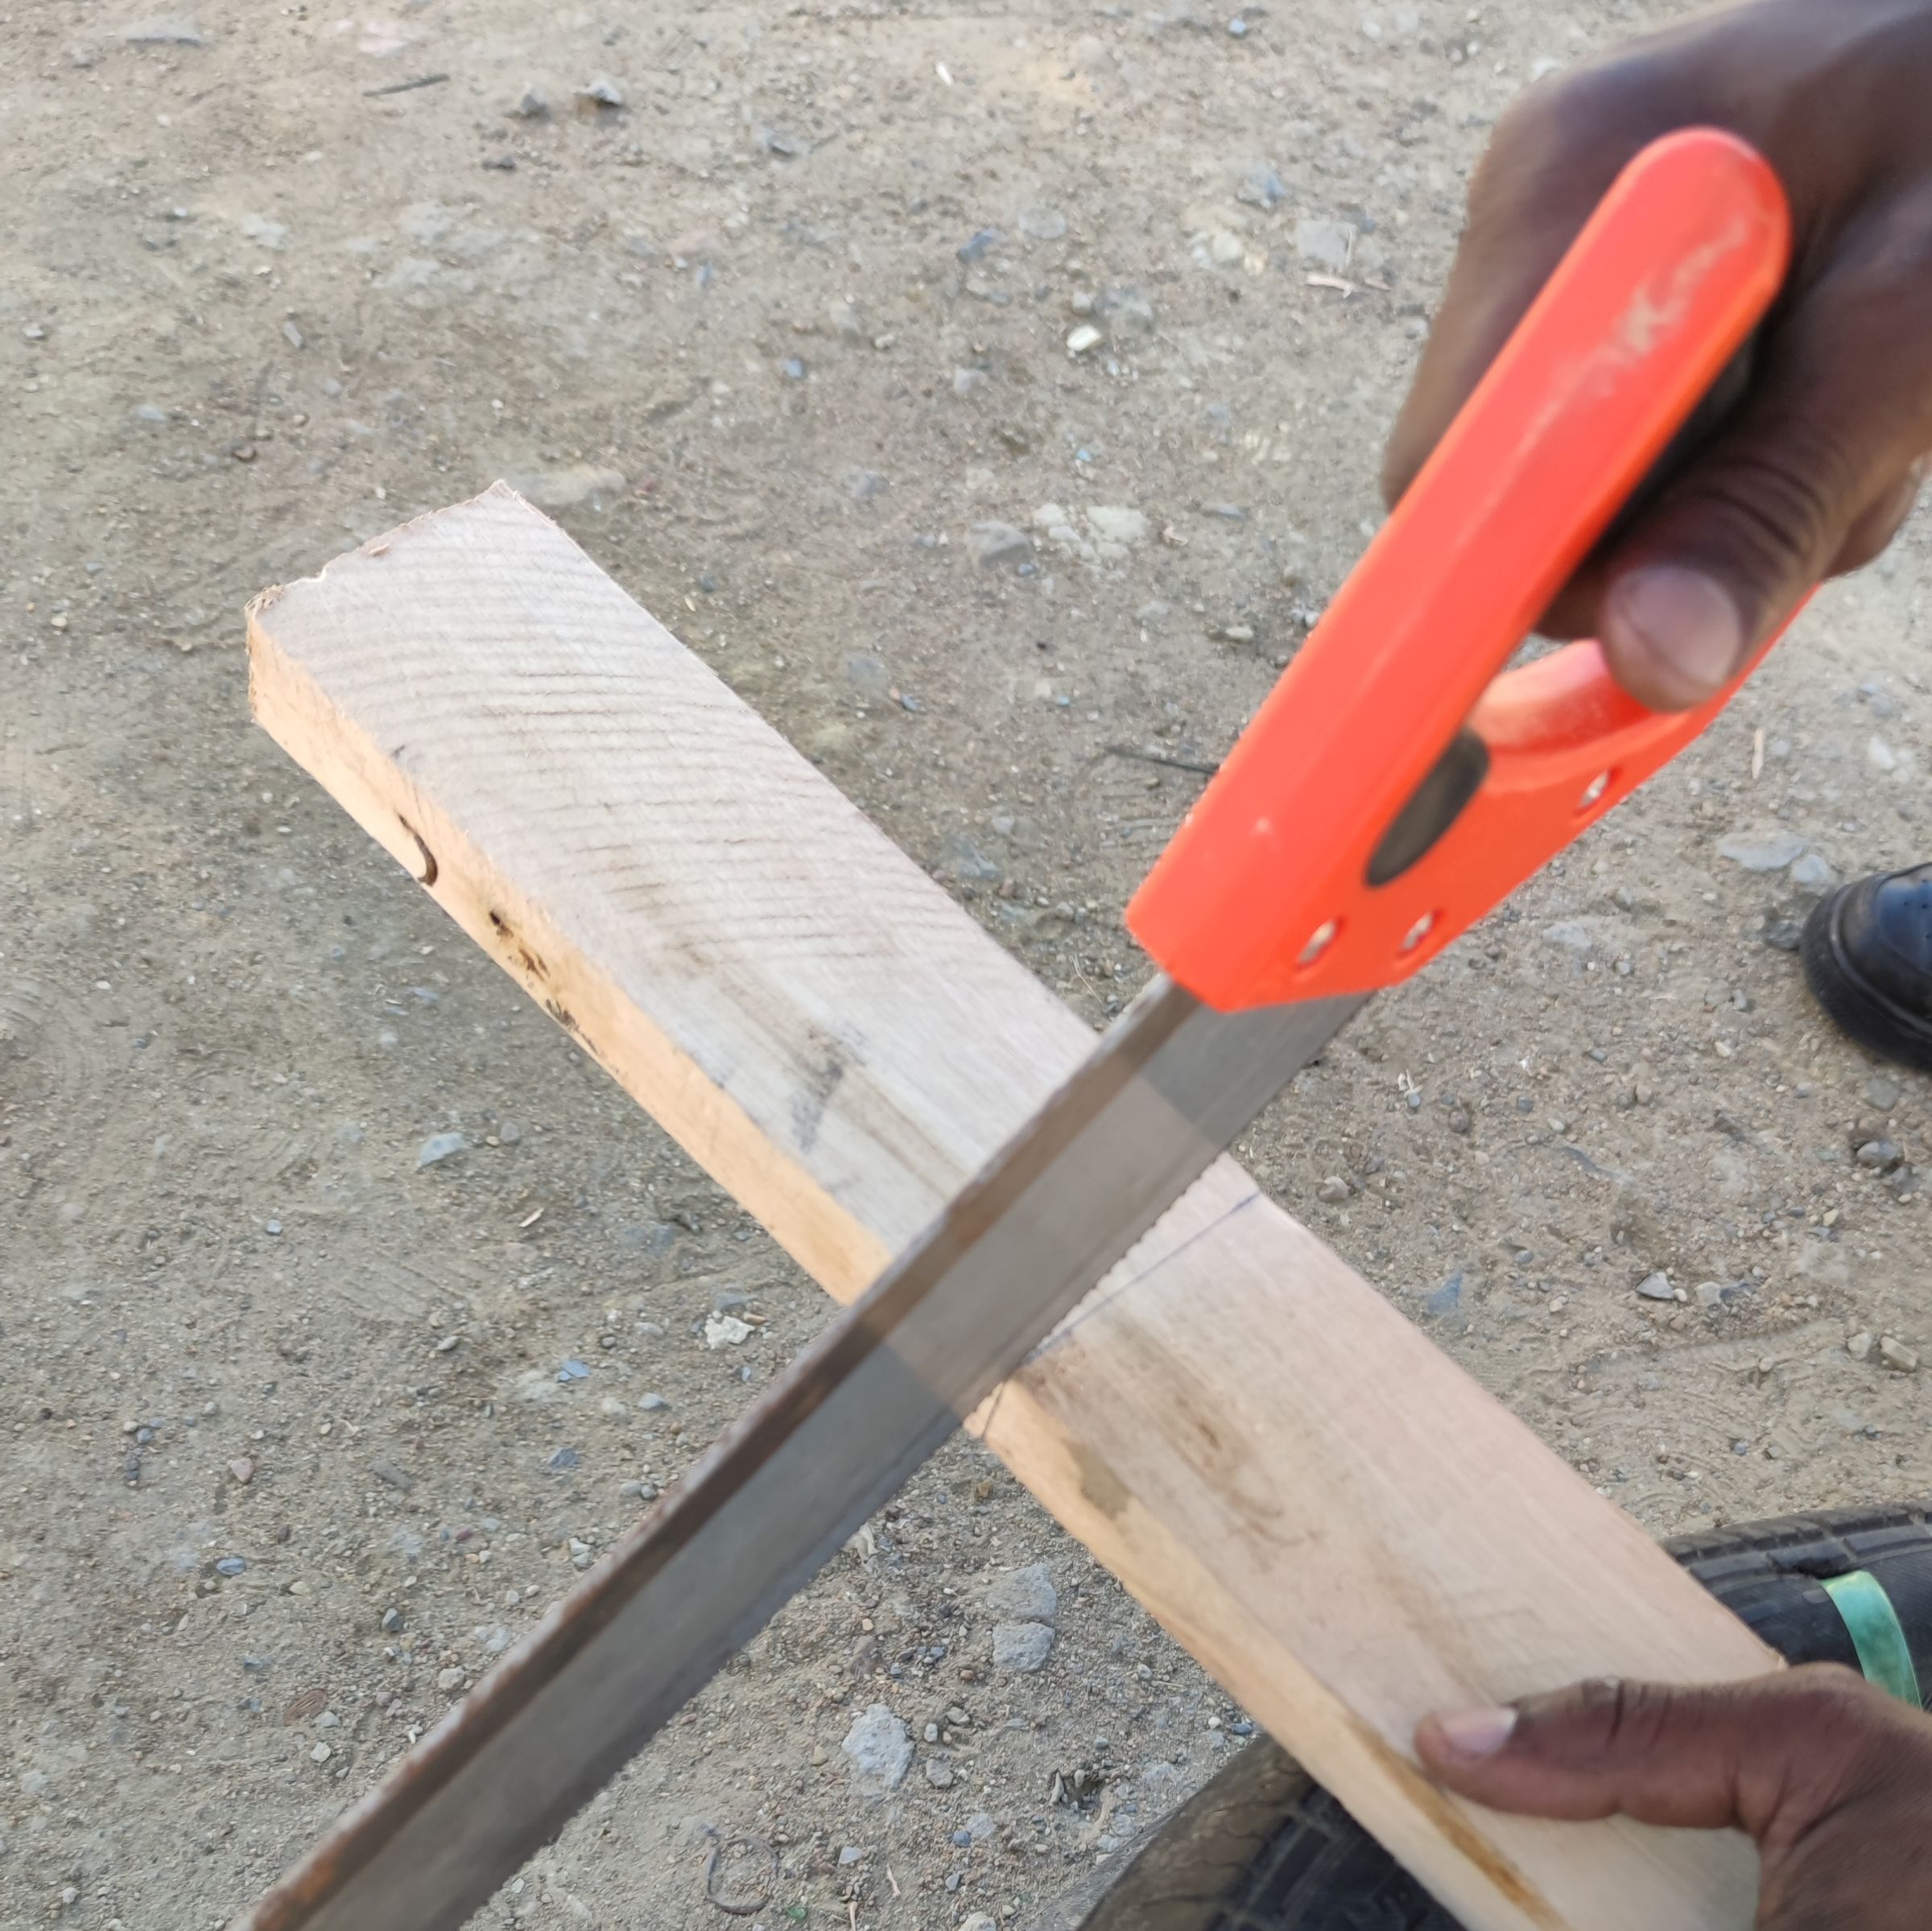
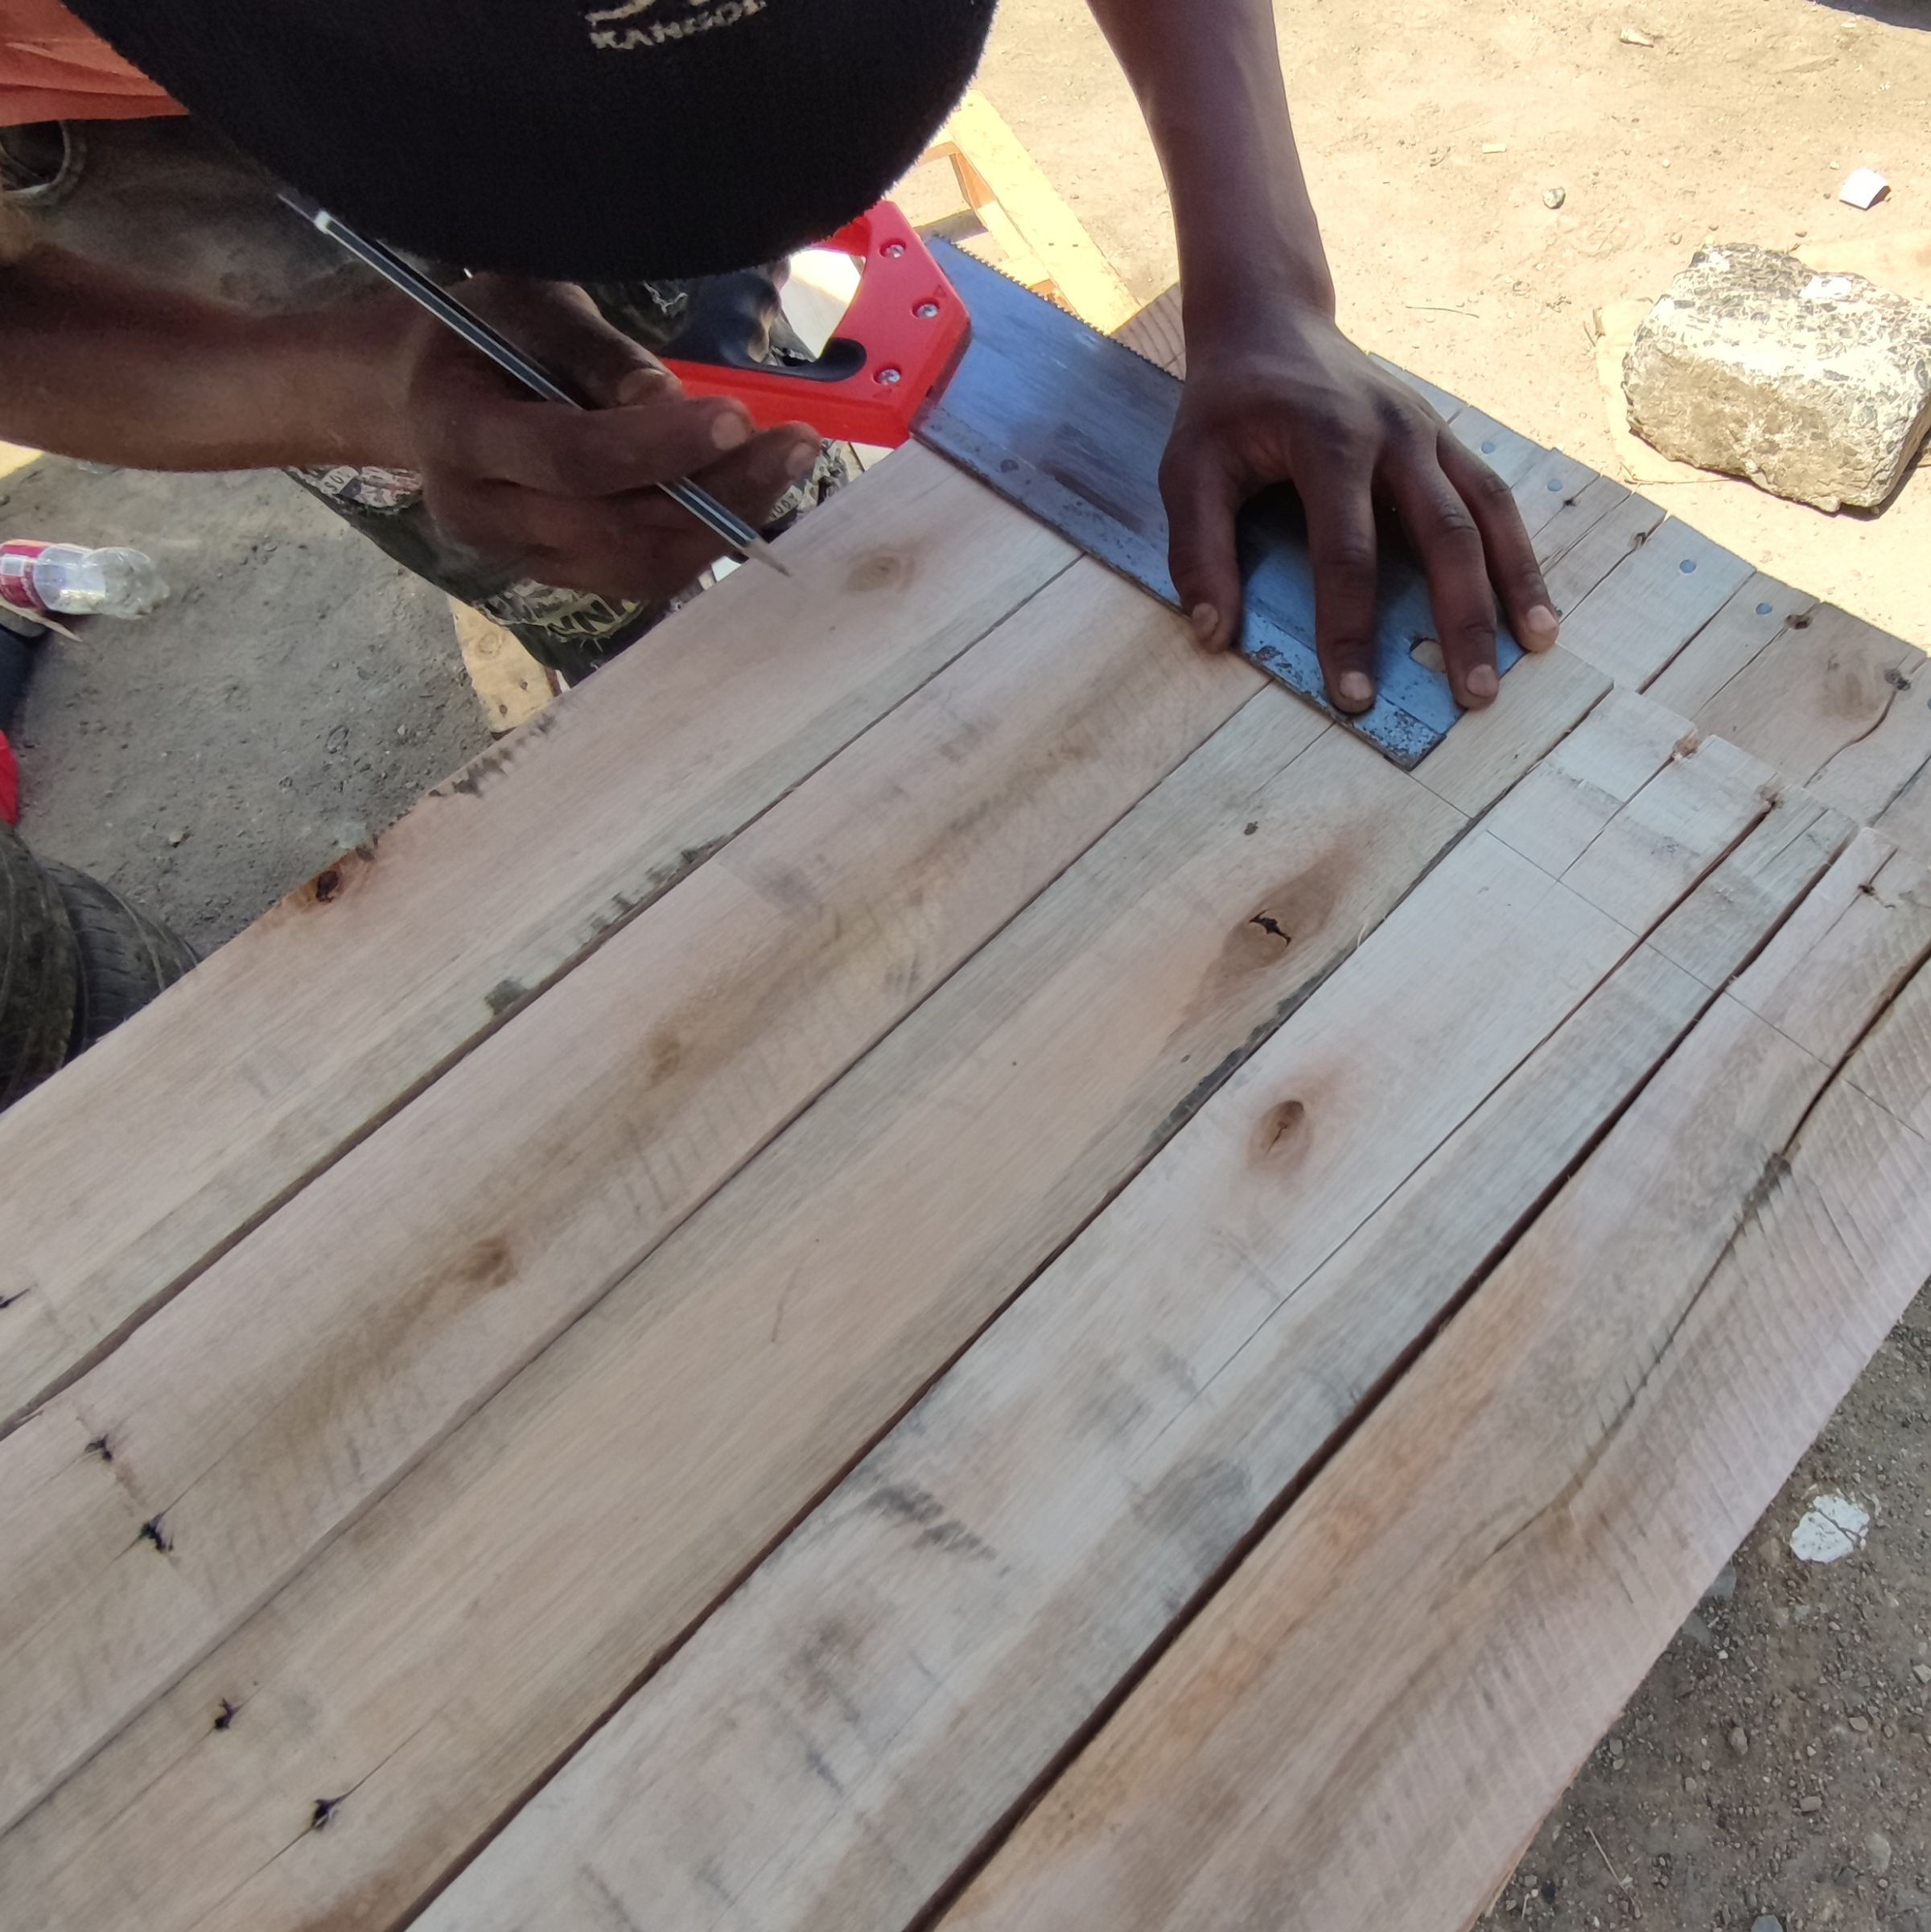
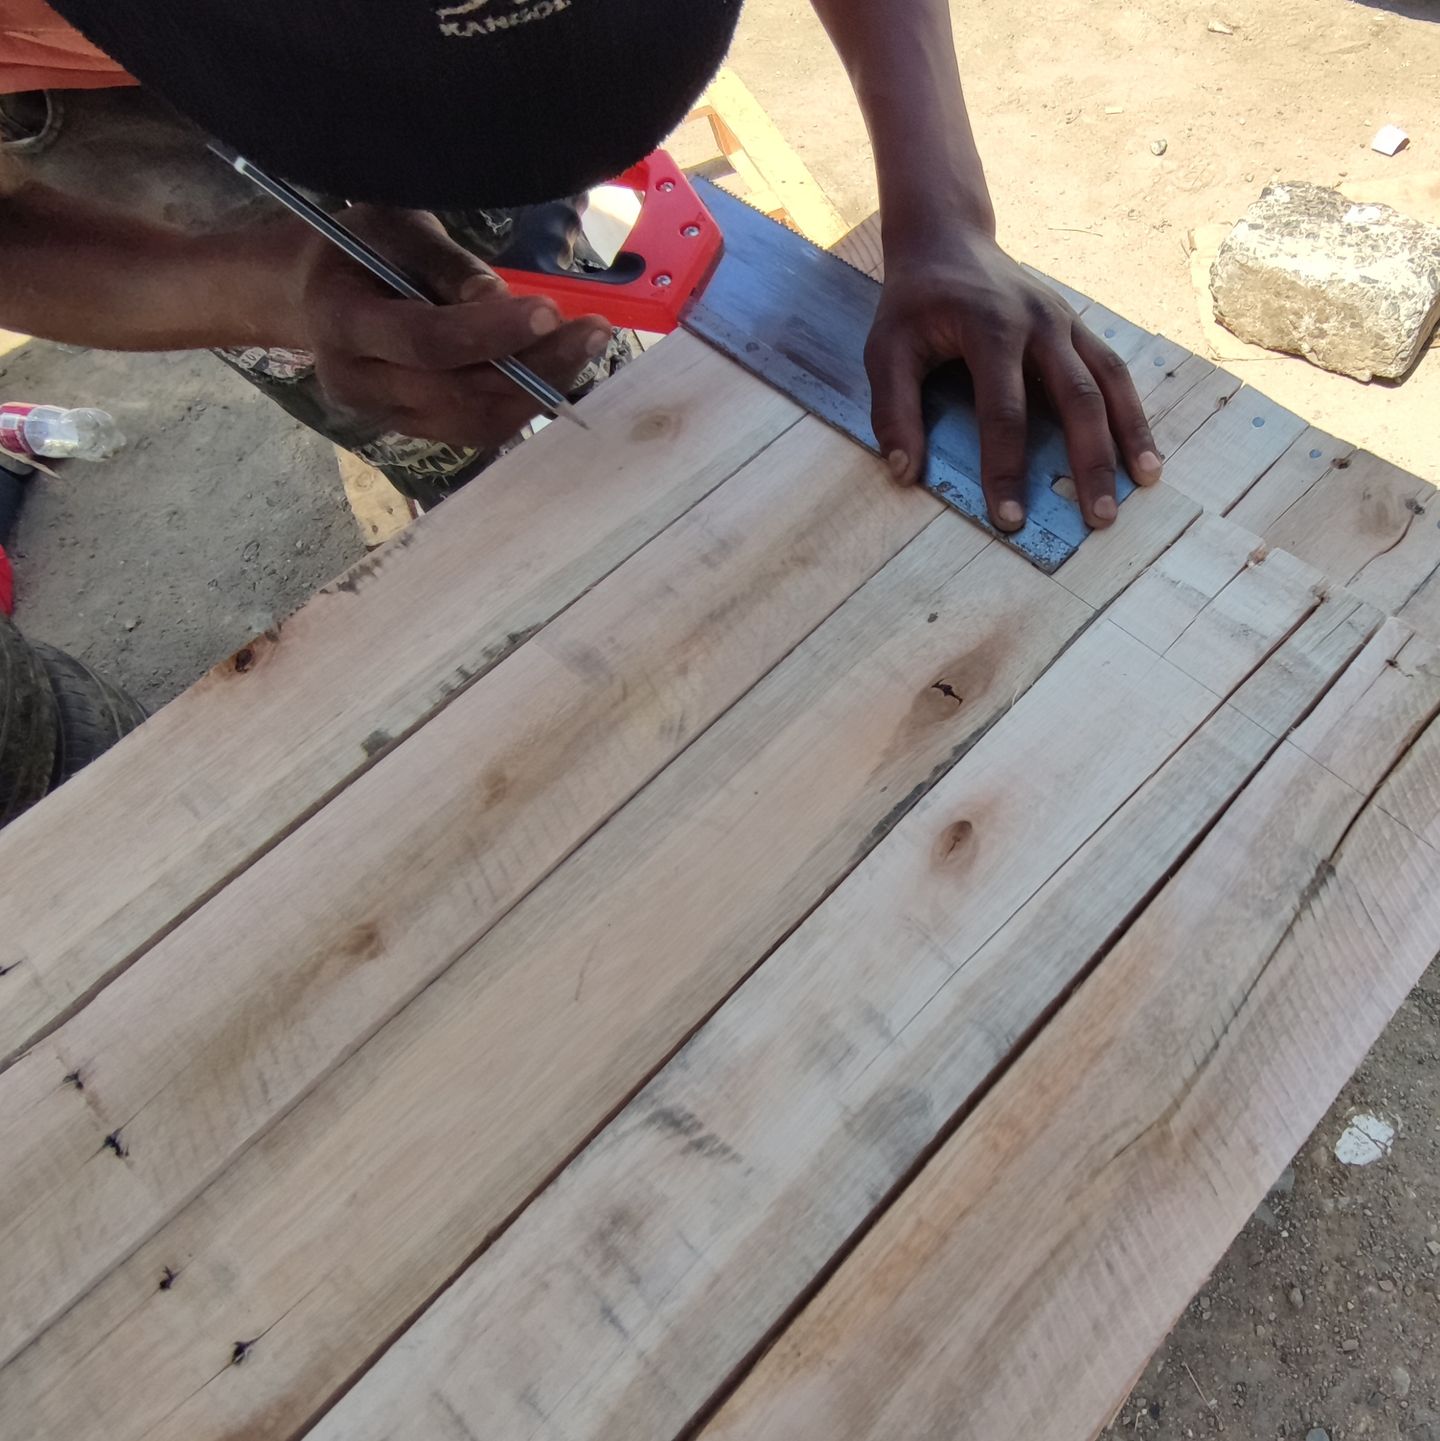
We want the kitchen to be roughly ~85cm high, because that is comfortable to work on. The countertop is already 8cm high, so we cut the legs to a length of 77cm.
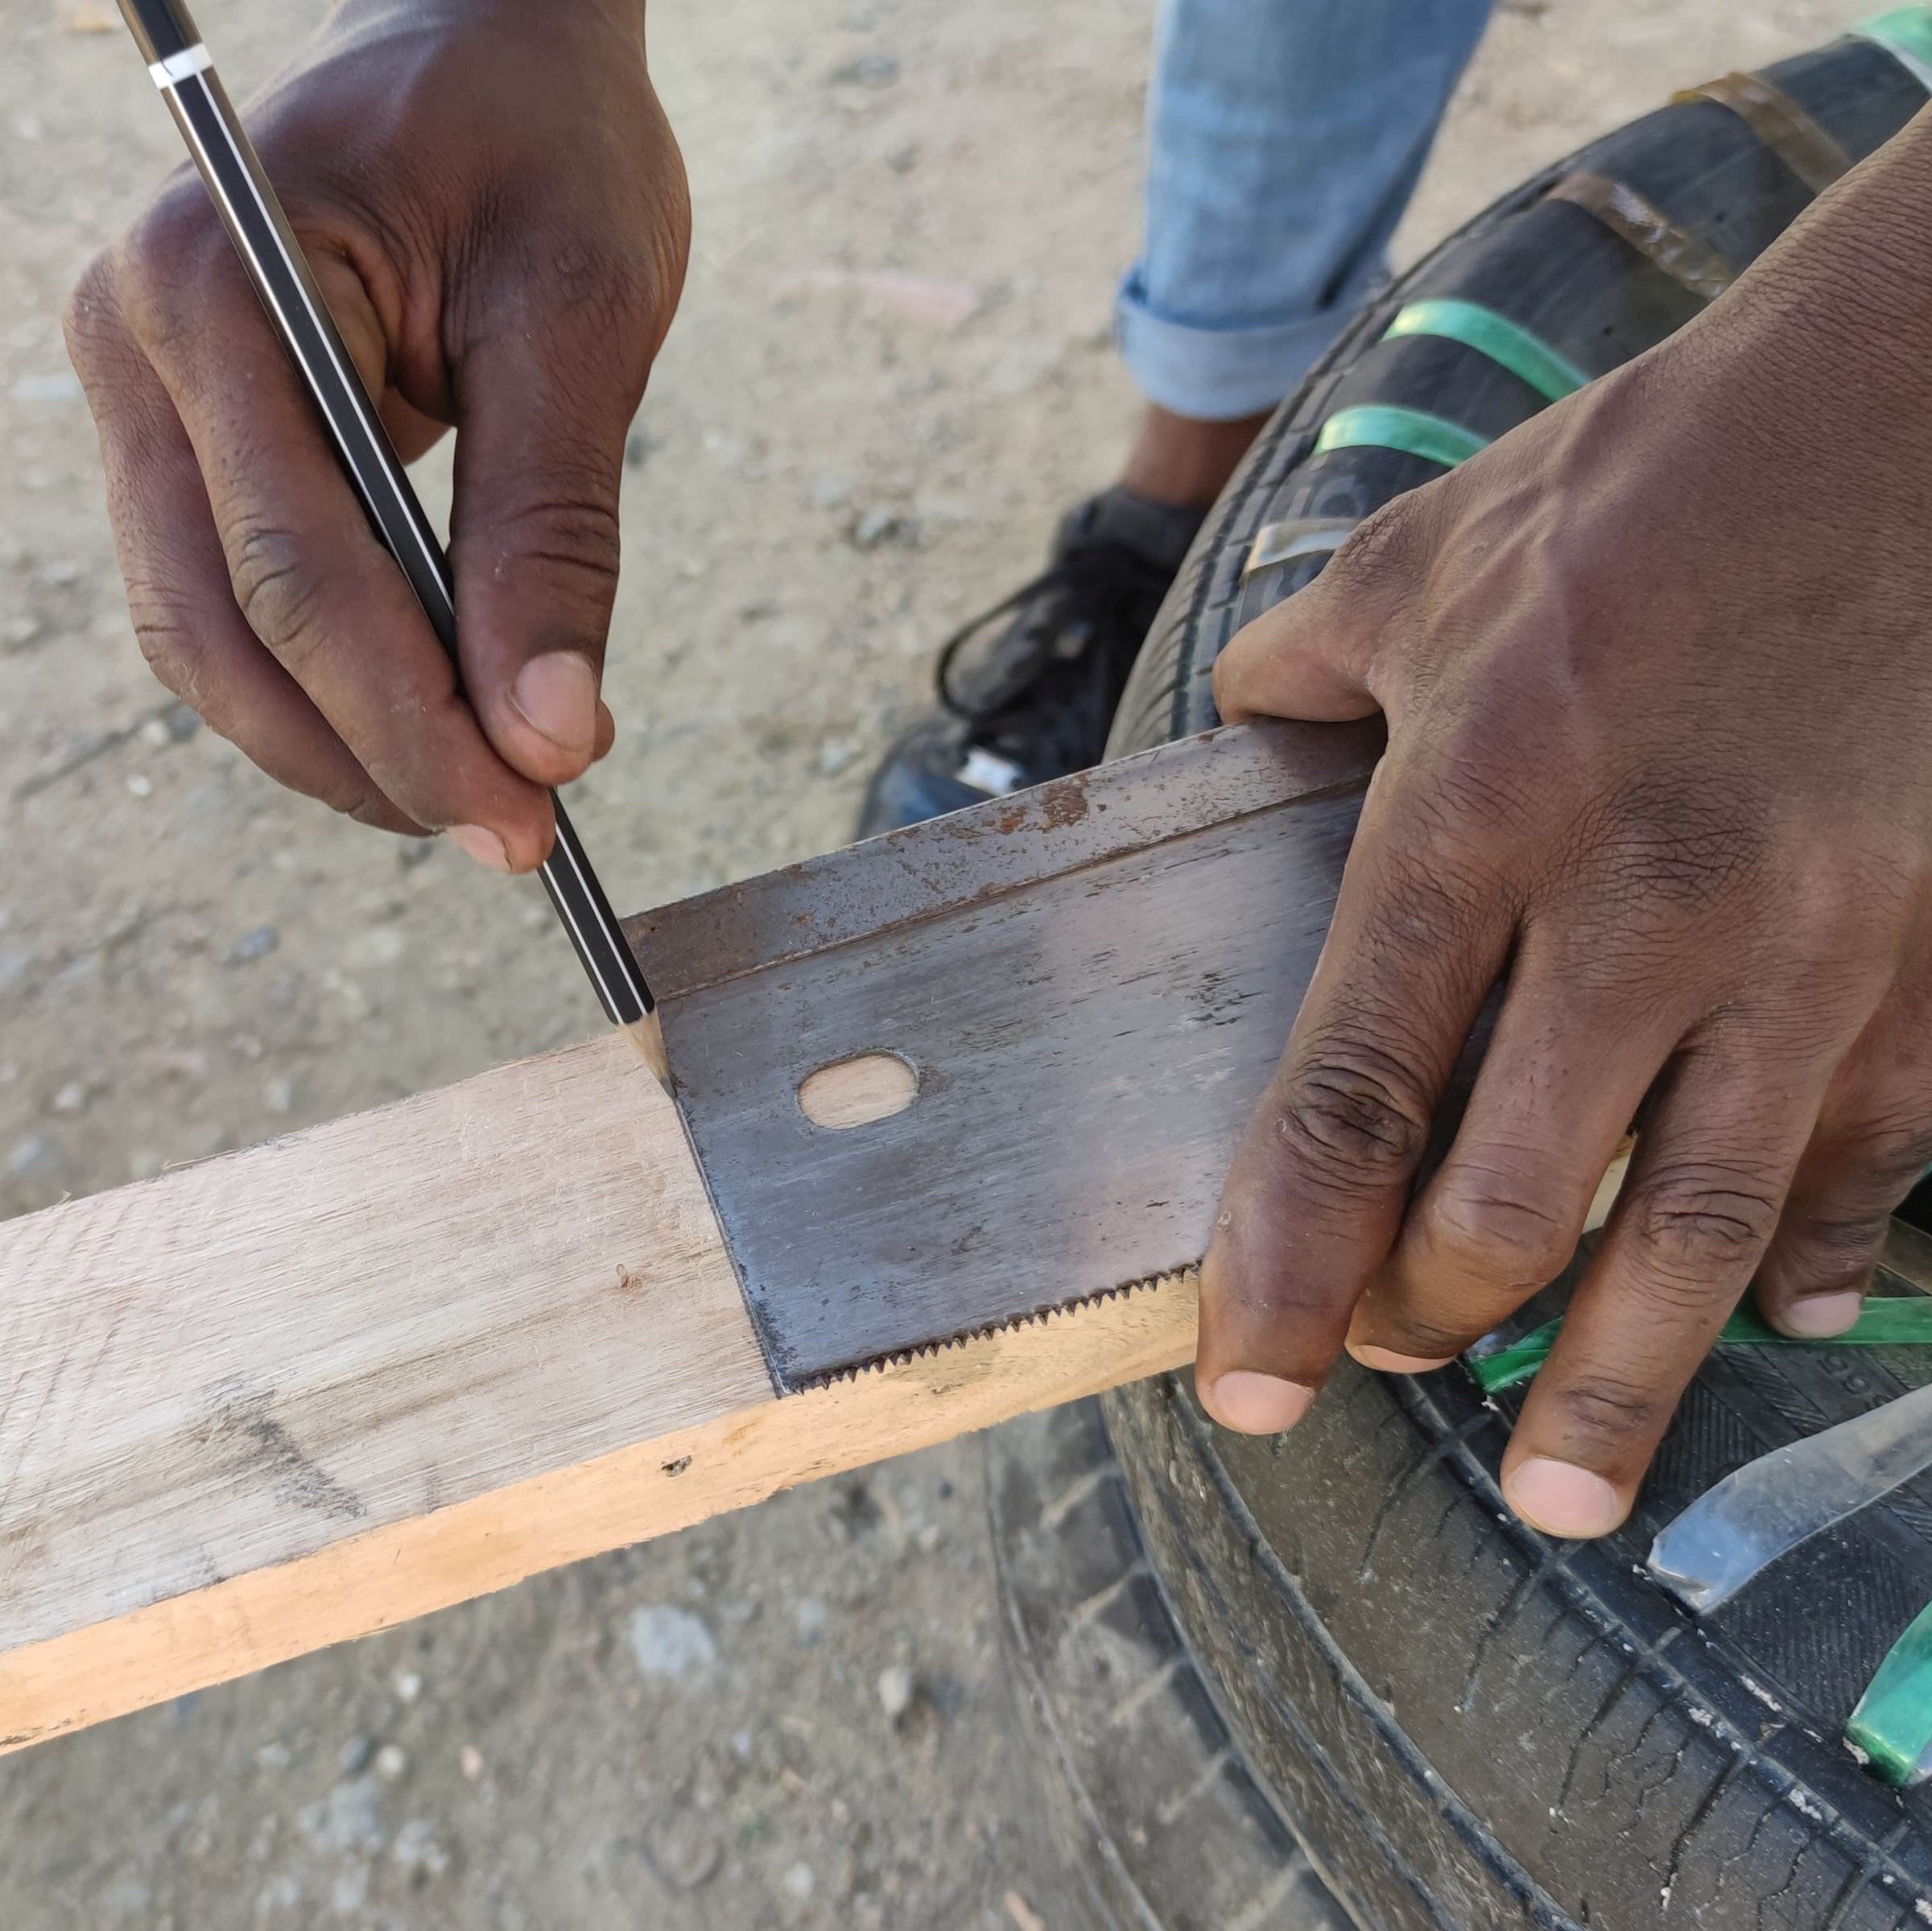
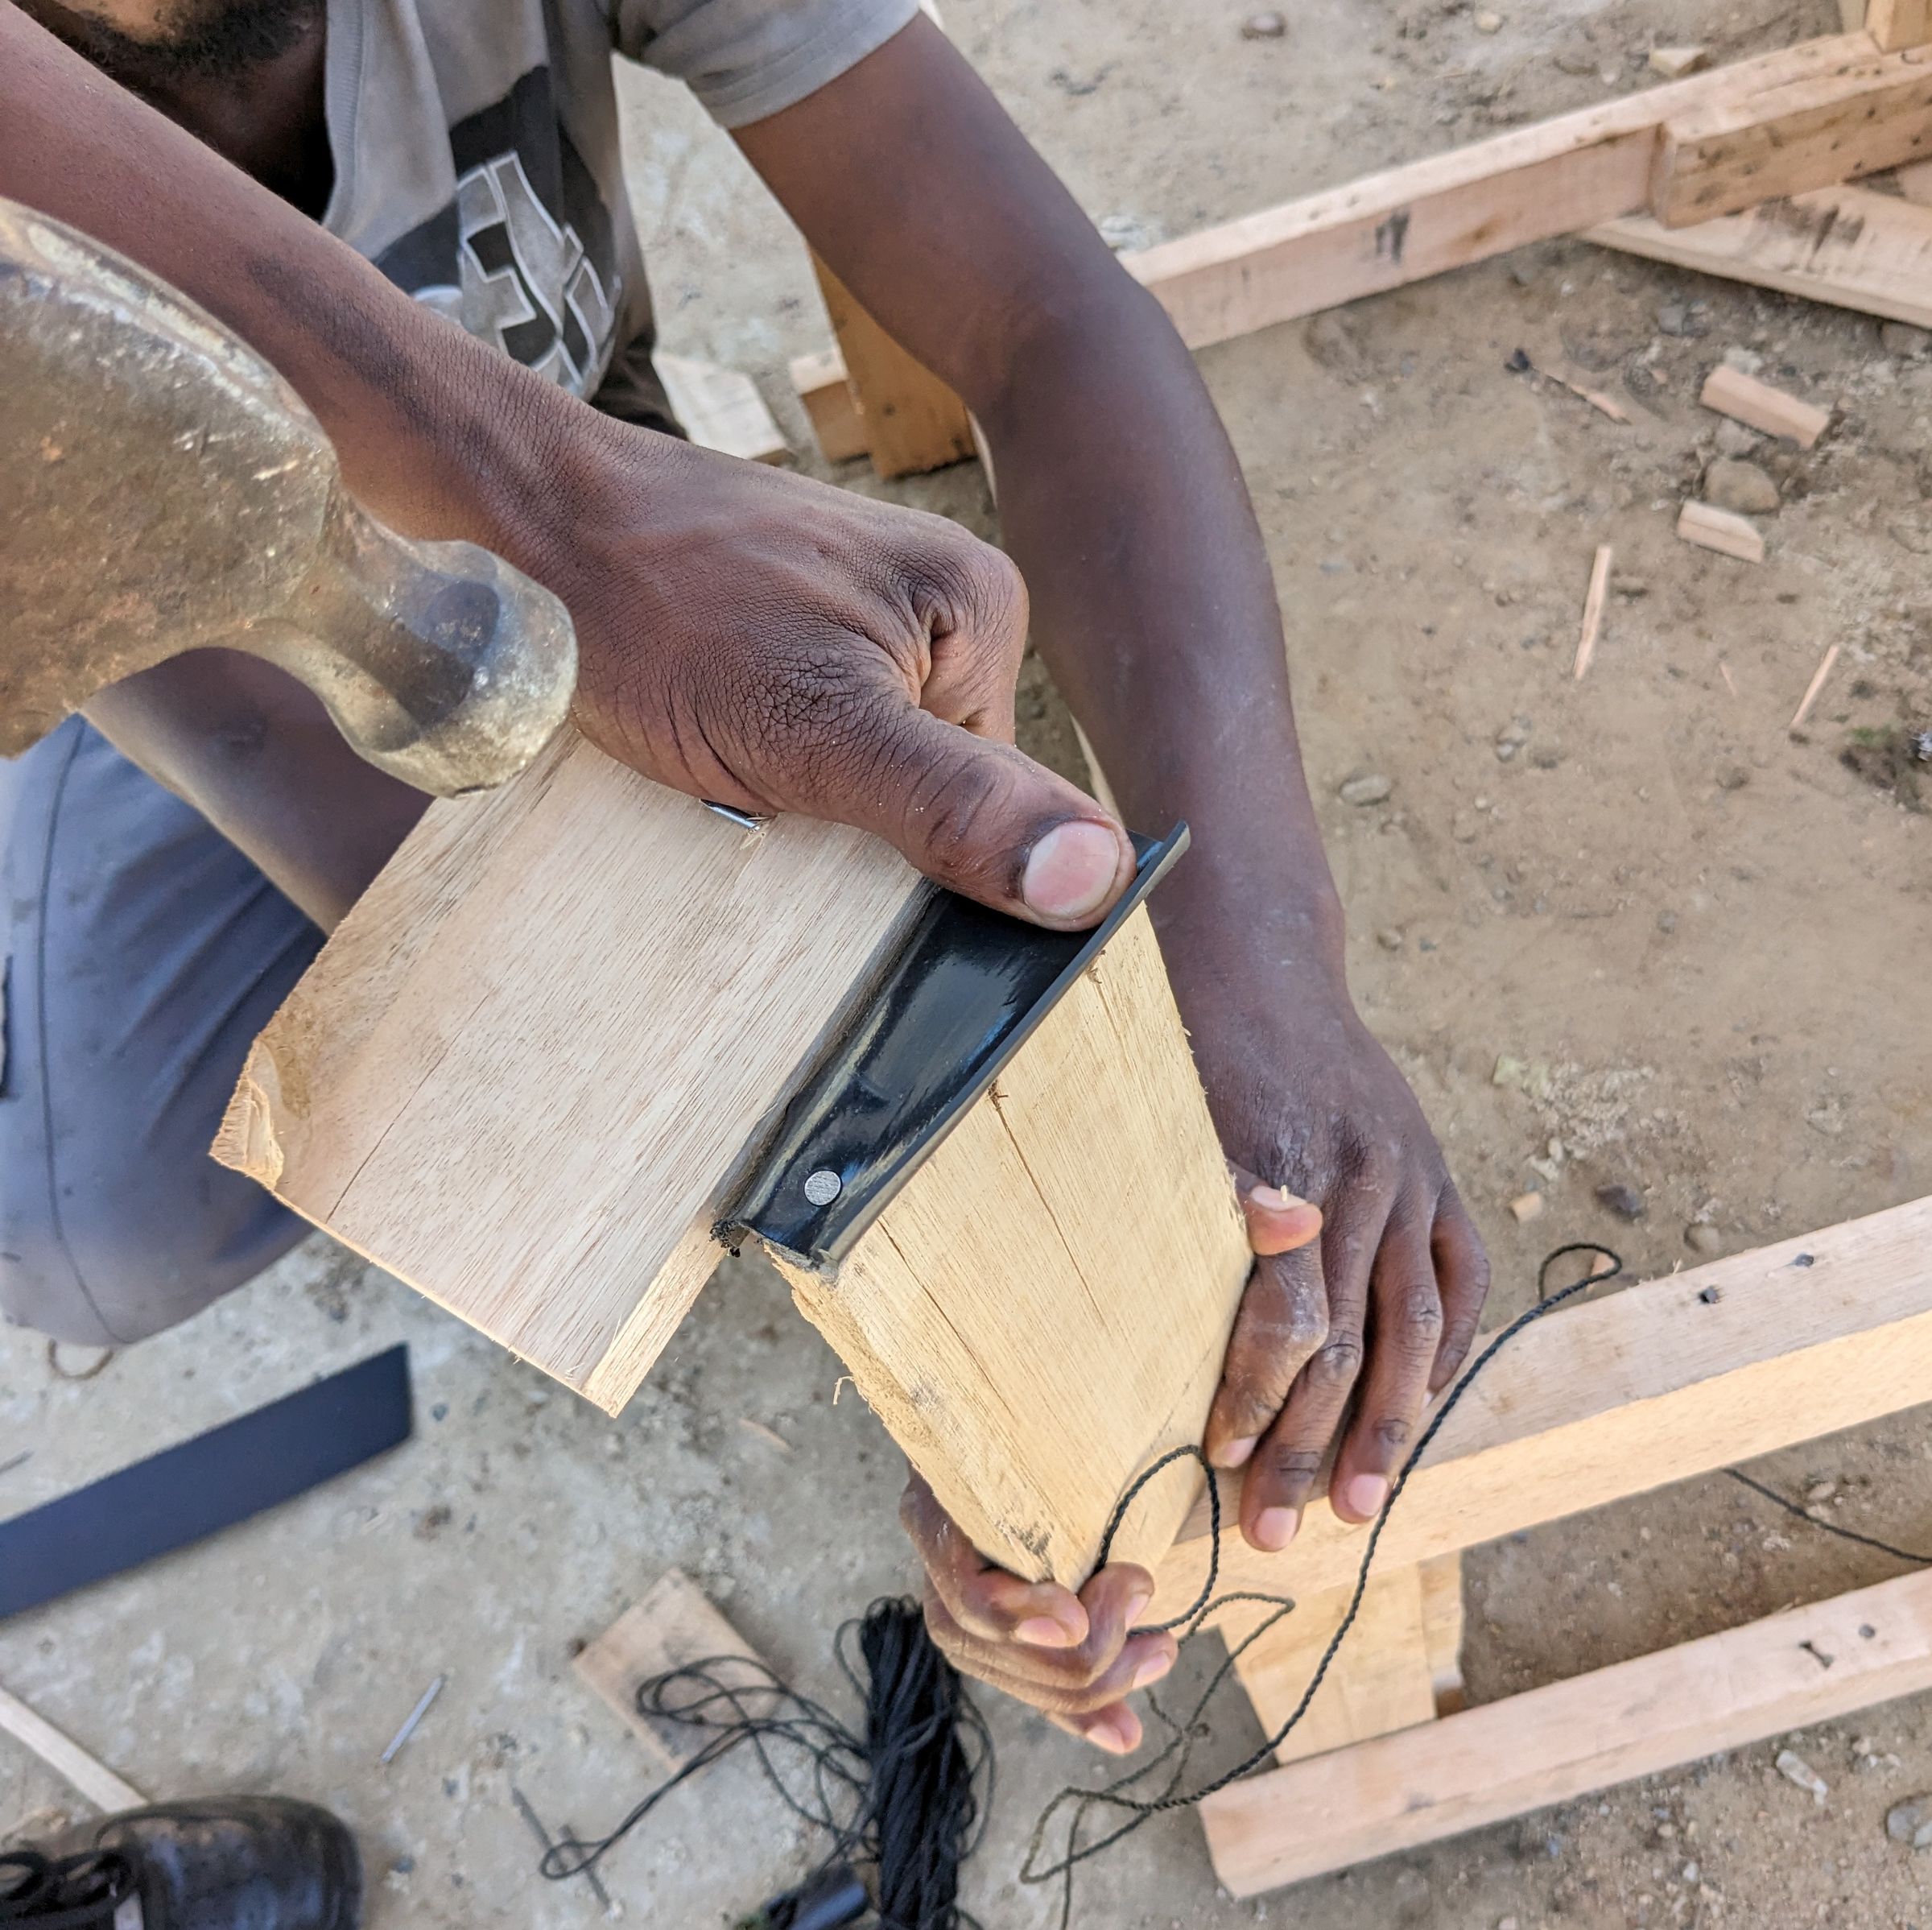
The cut should be as square as possible. We use our saw, to draw a rectangular line for cutting.


We will use the four offcuts of ~20cm length to attach the legs to the countertop.

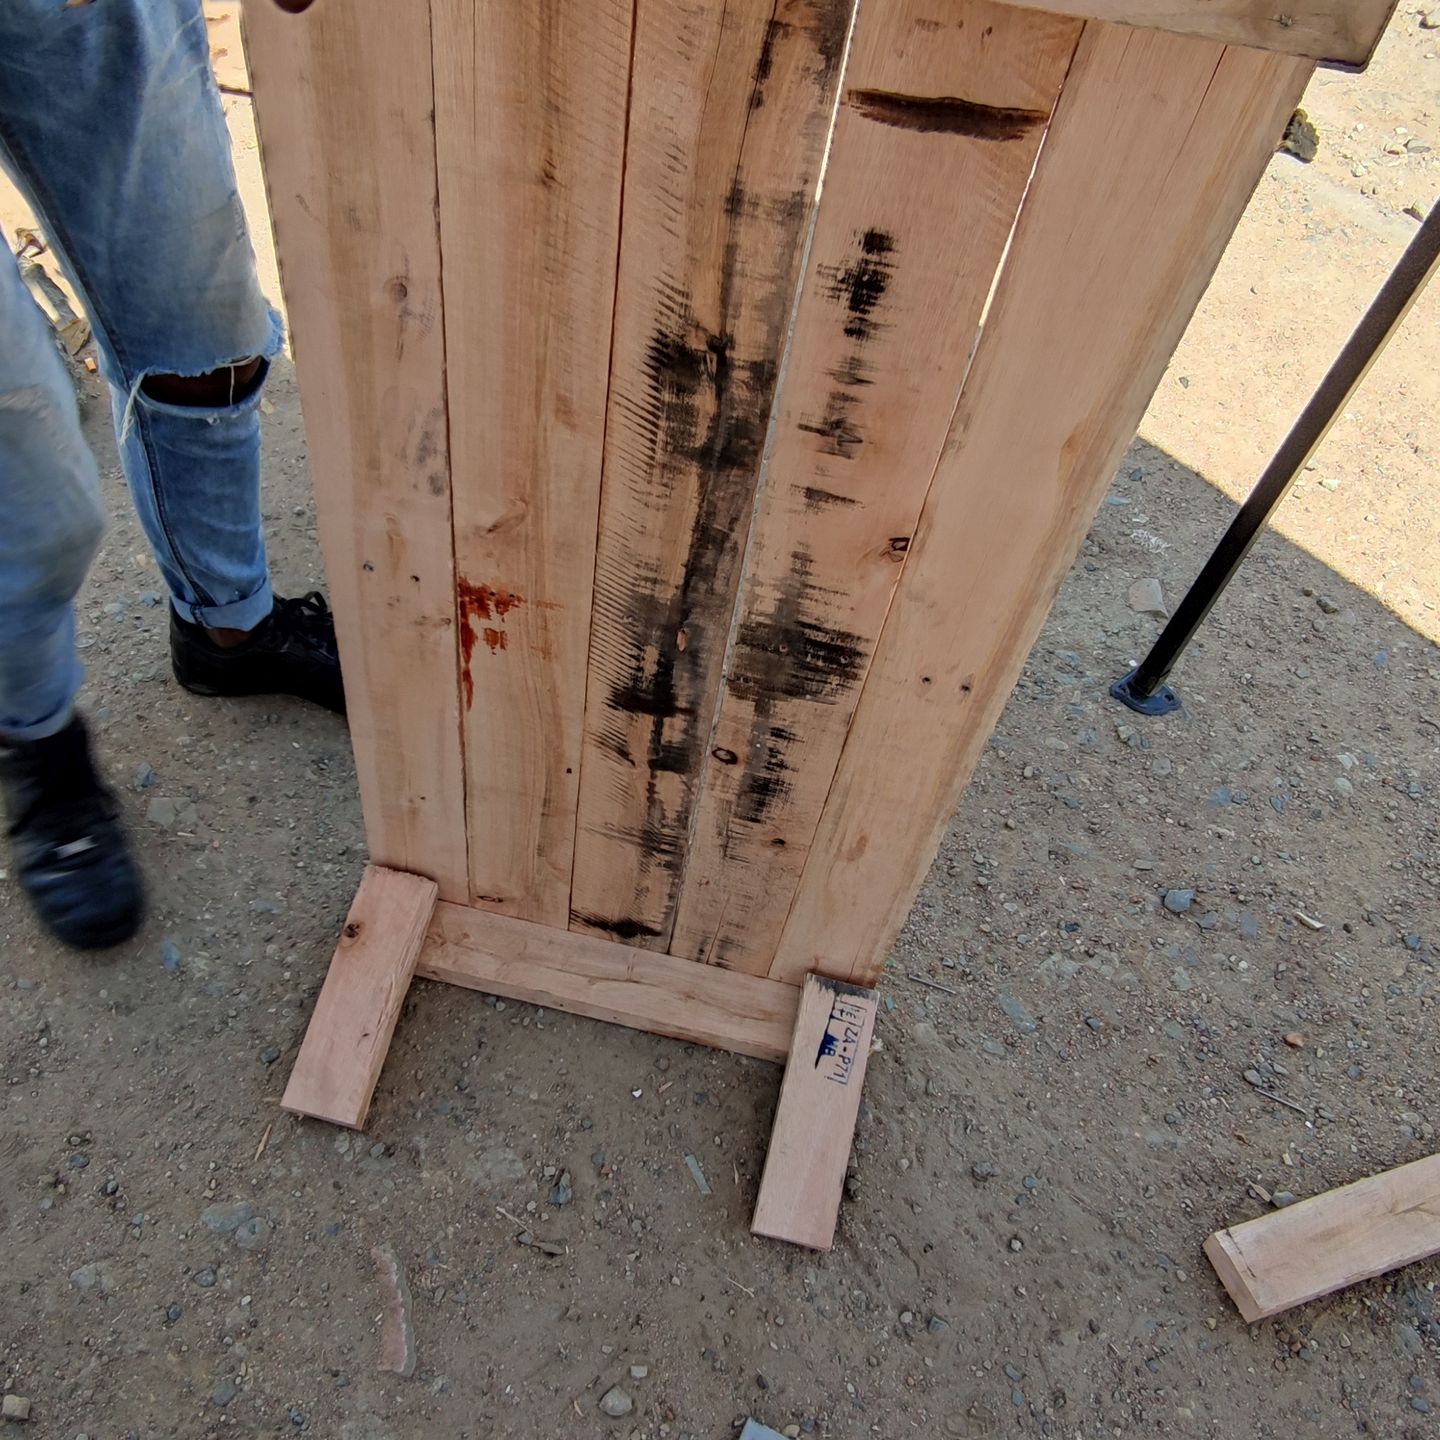

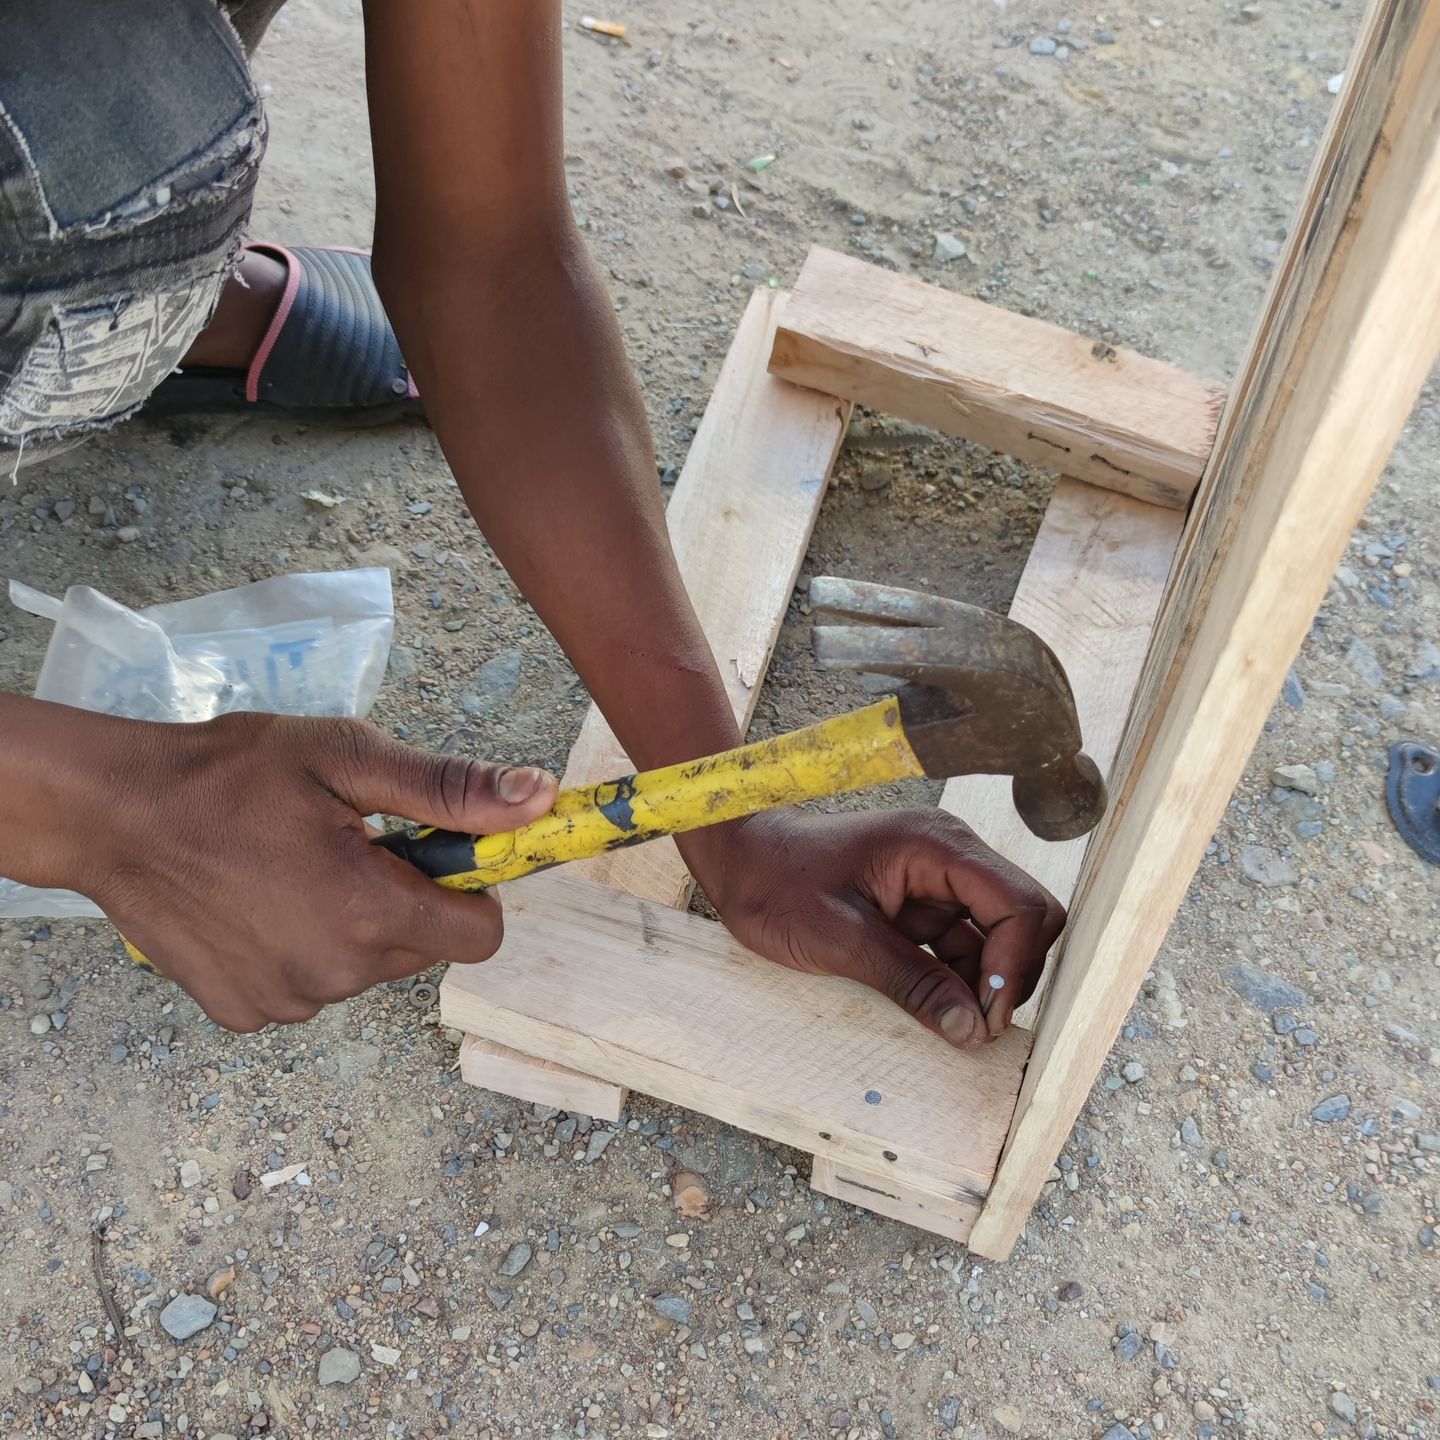
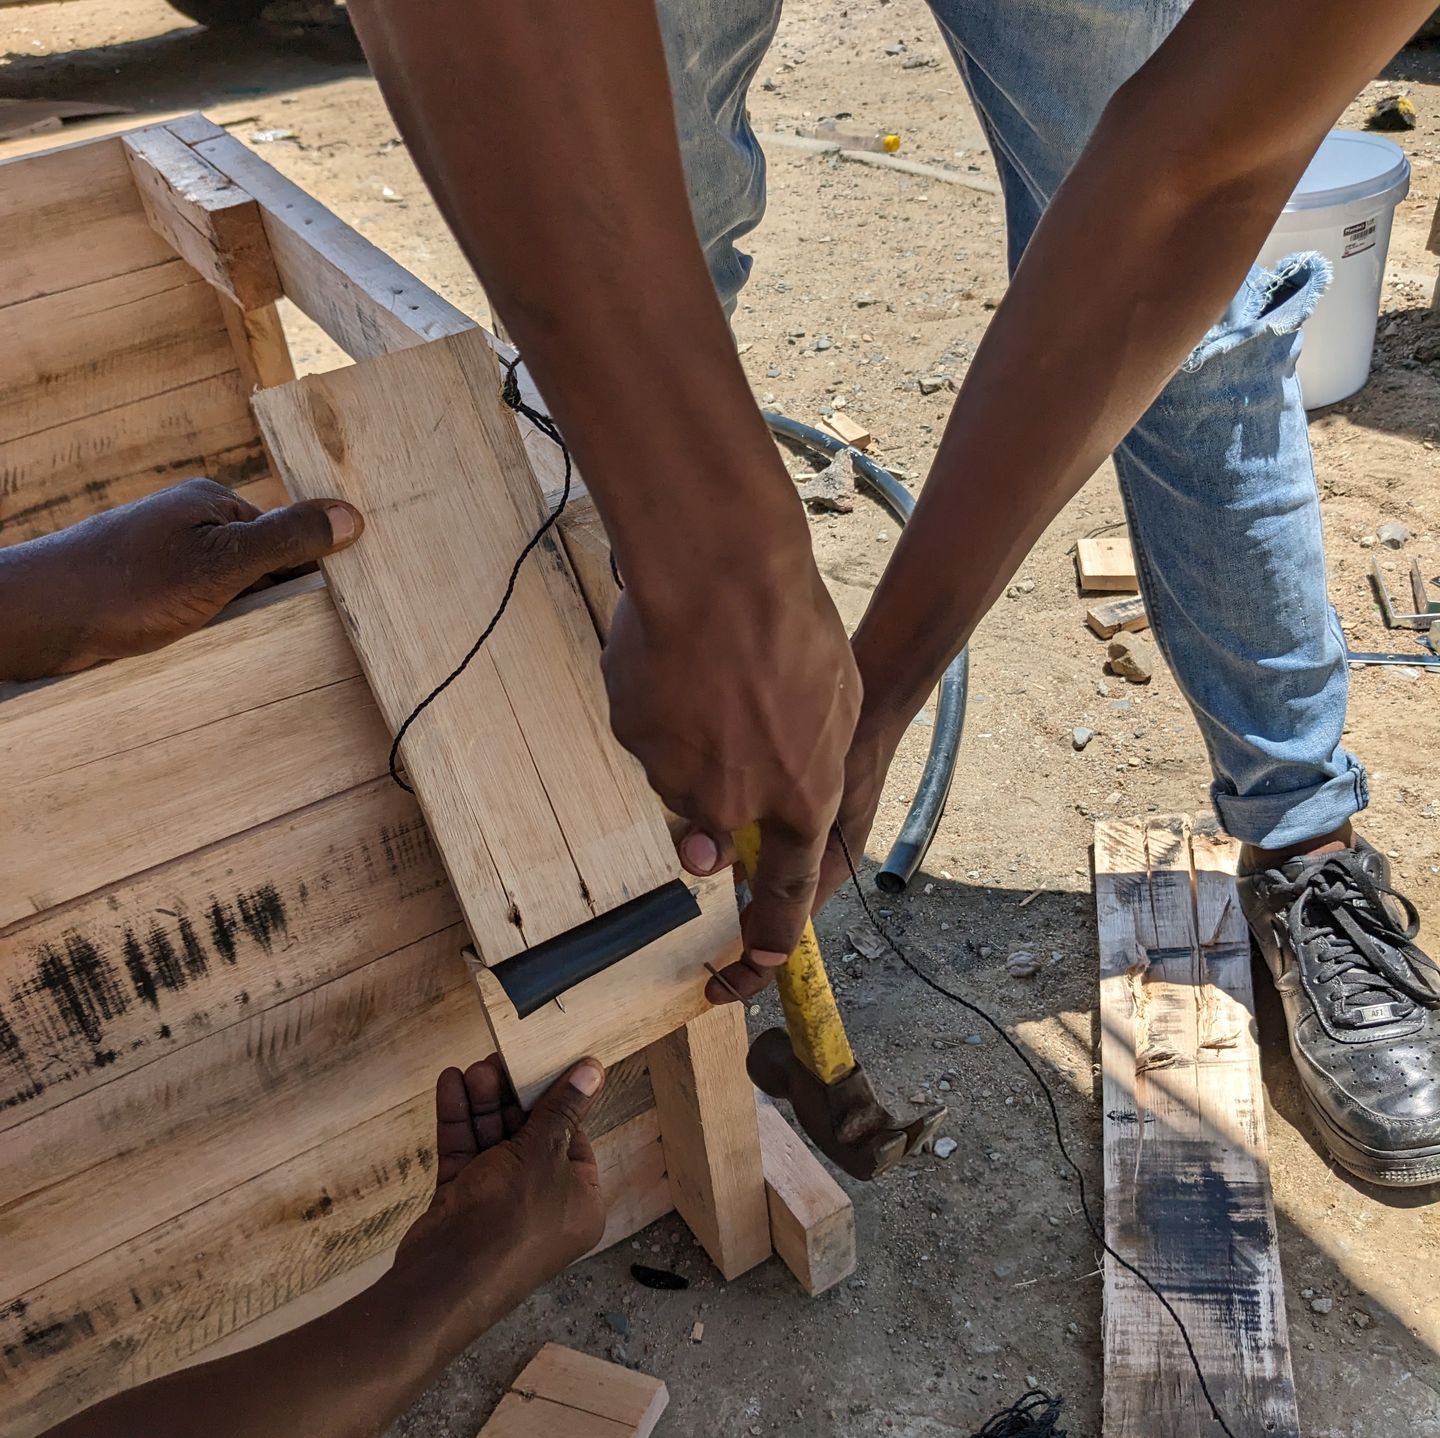
Nail the cutoffs of the beams to the inside of the countertop.
Use at least two nails, better four. It must be really robust.
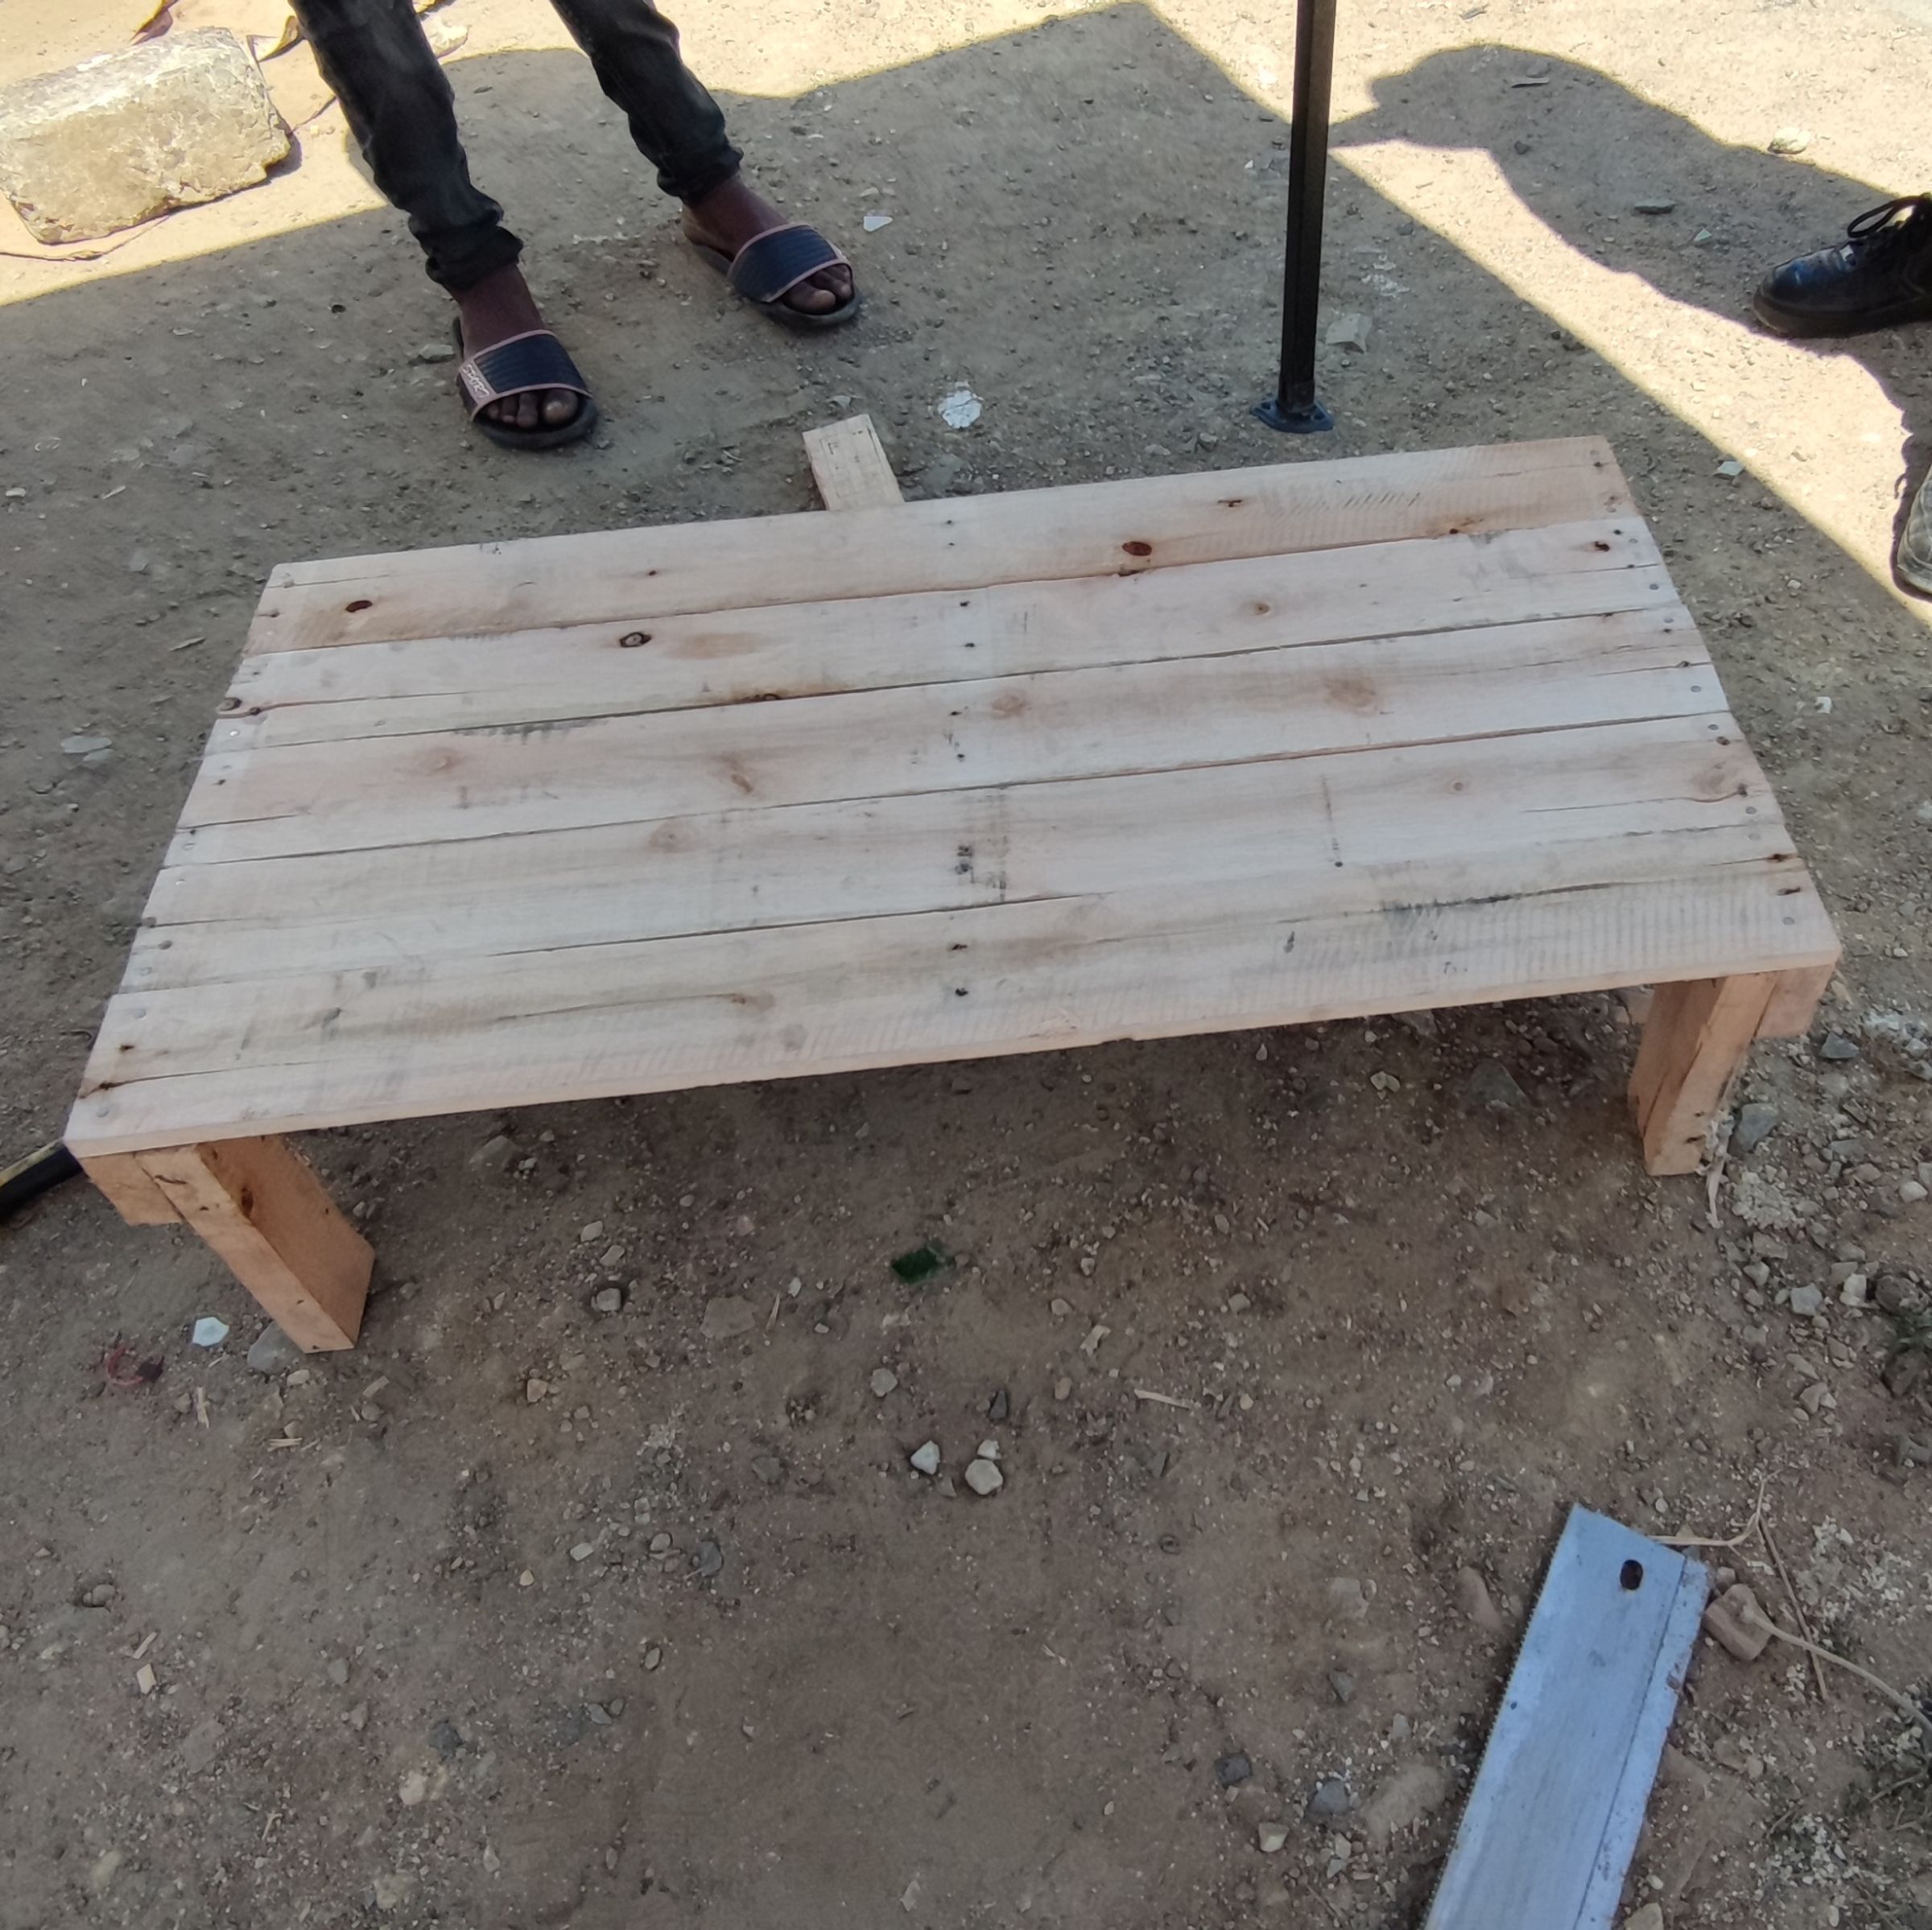


🦊 Without the actual legs it makes already a stylish coffee table…
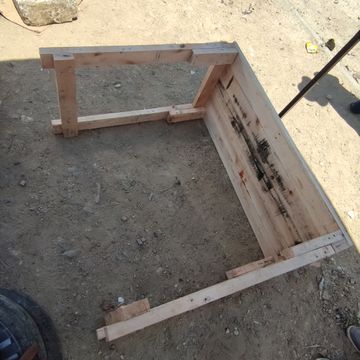
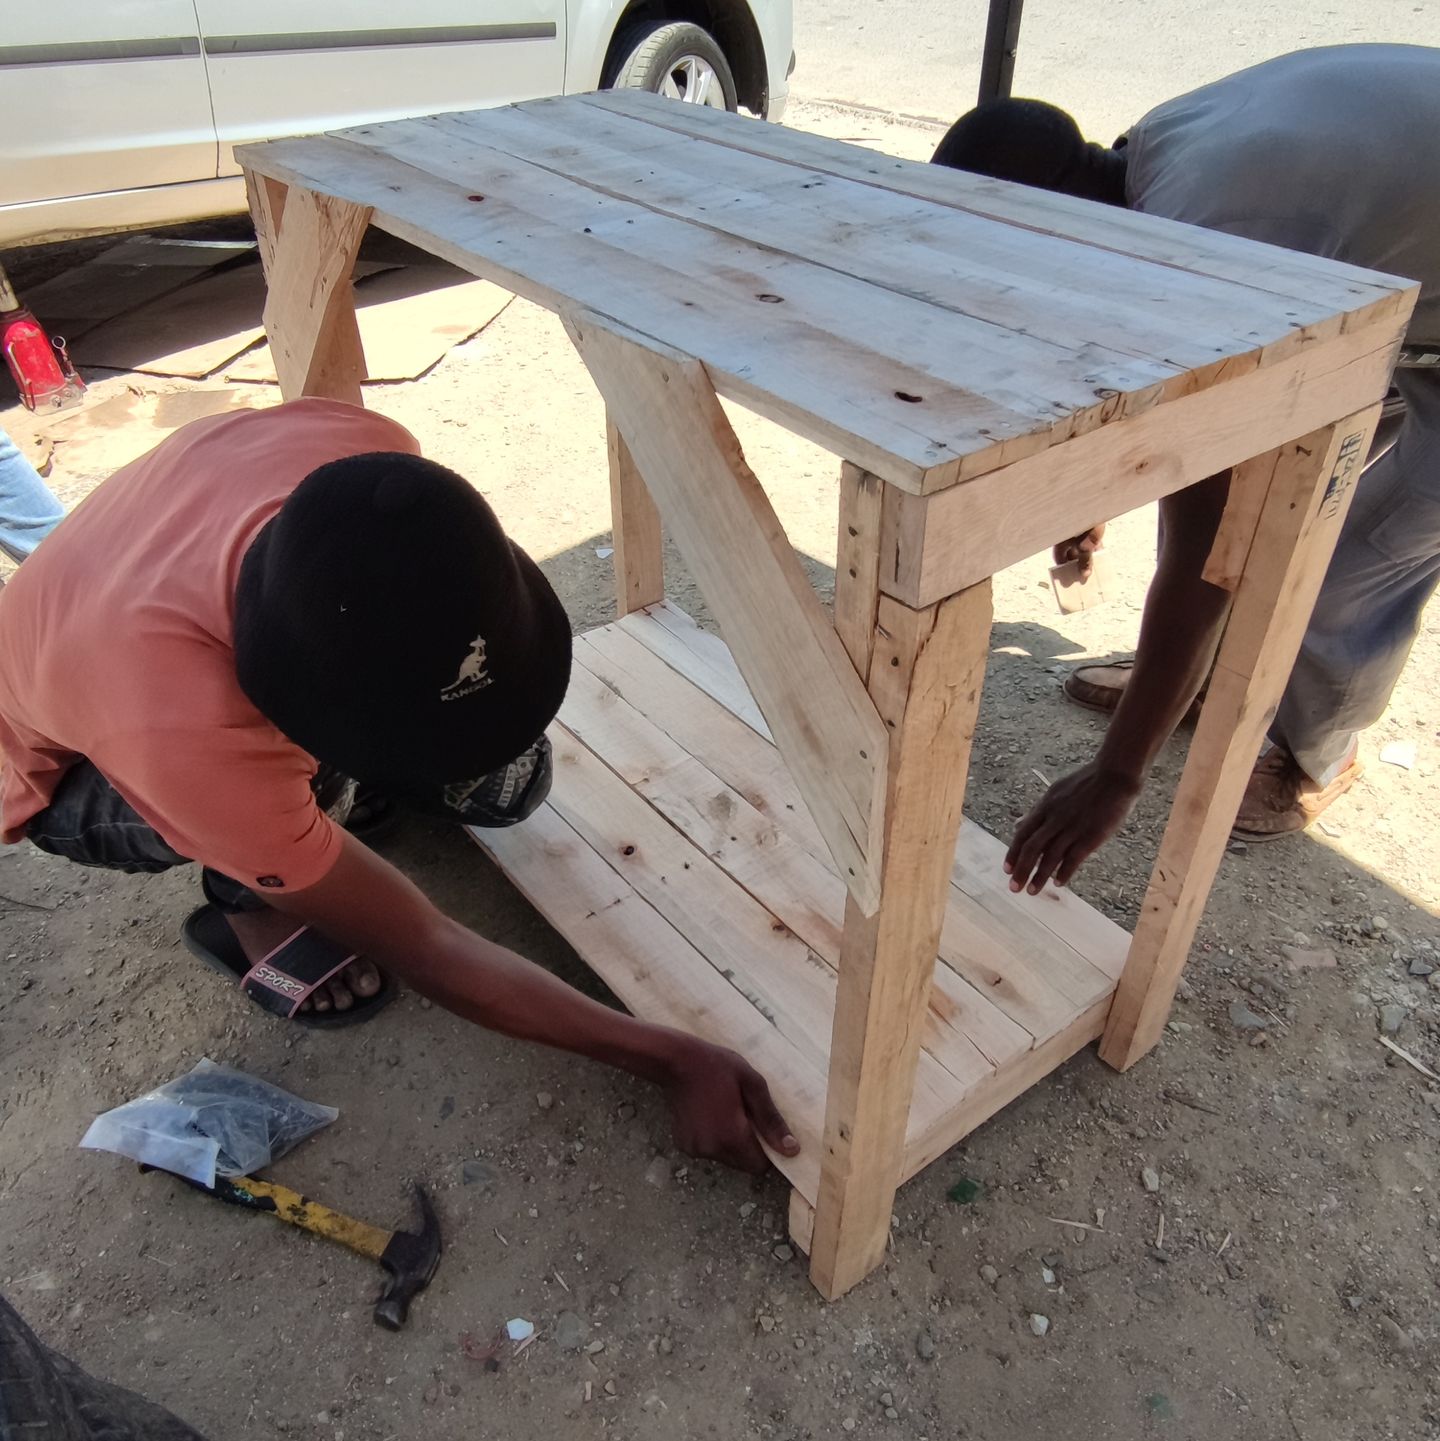
For attaching the long legs, we need a plane underground. We took an extra palette, that we had lying around. Again, rather use more than less nails.


Cut the last beam in half and nail it across the legs. It stabilizes them and will be the support for the bottom shelf.
It looks already good, but the stability is still not sufficient.
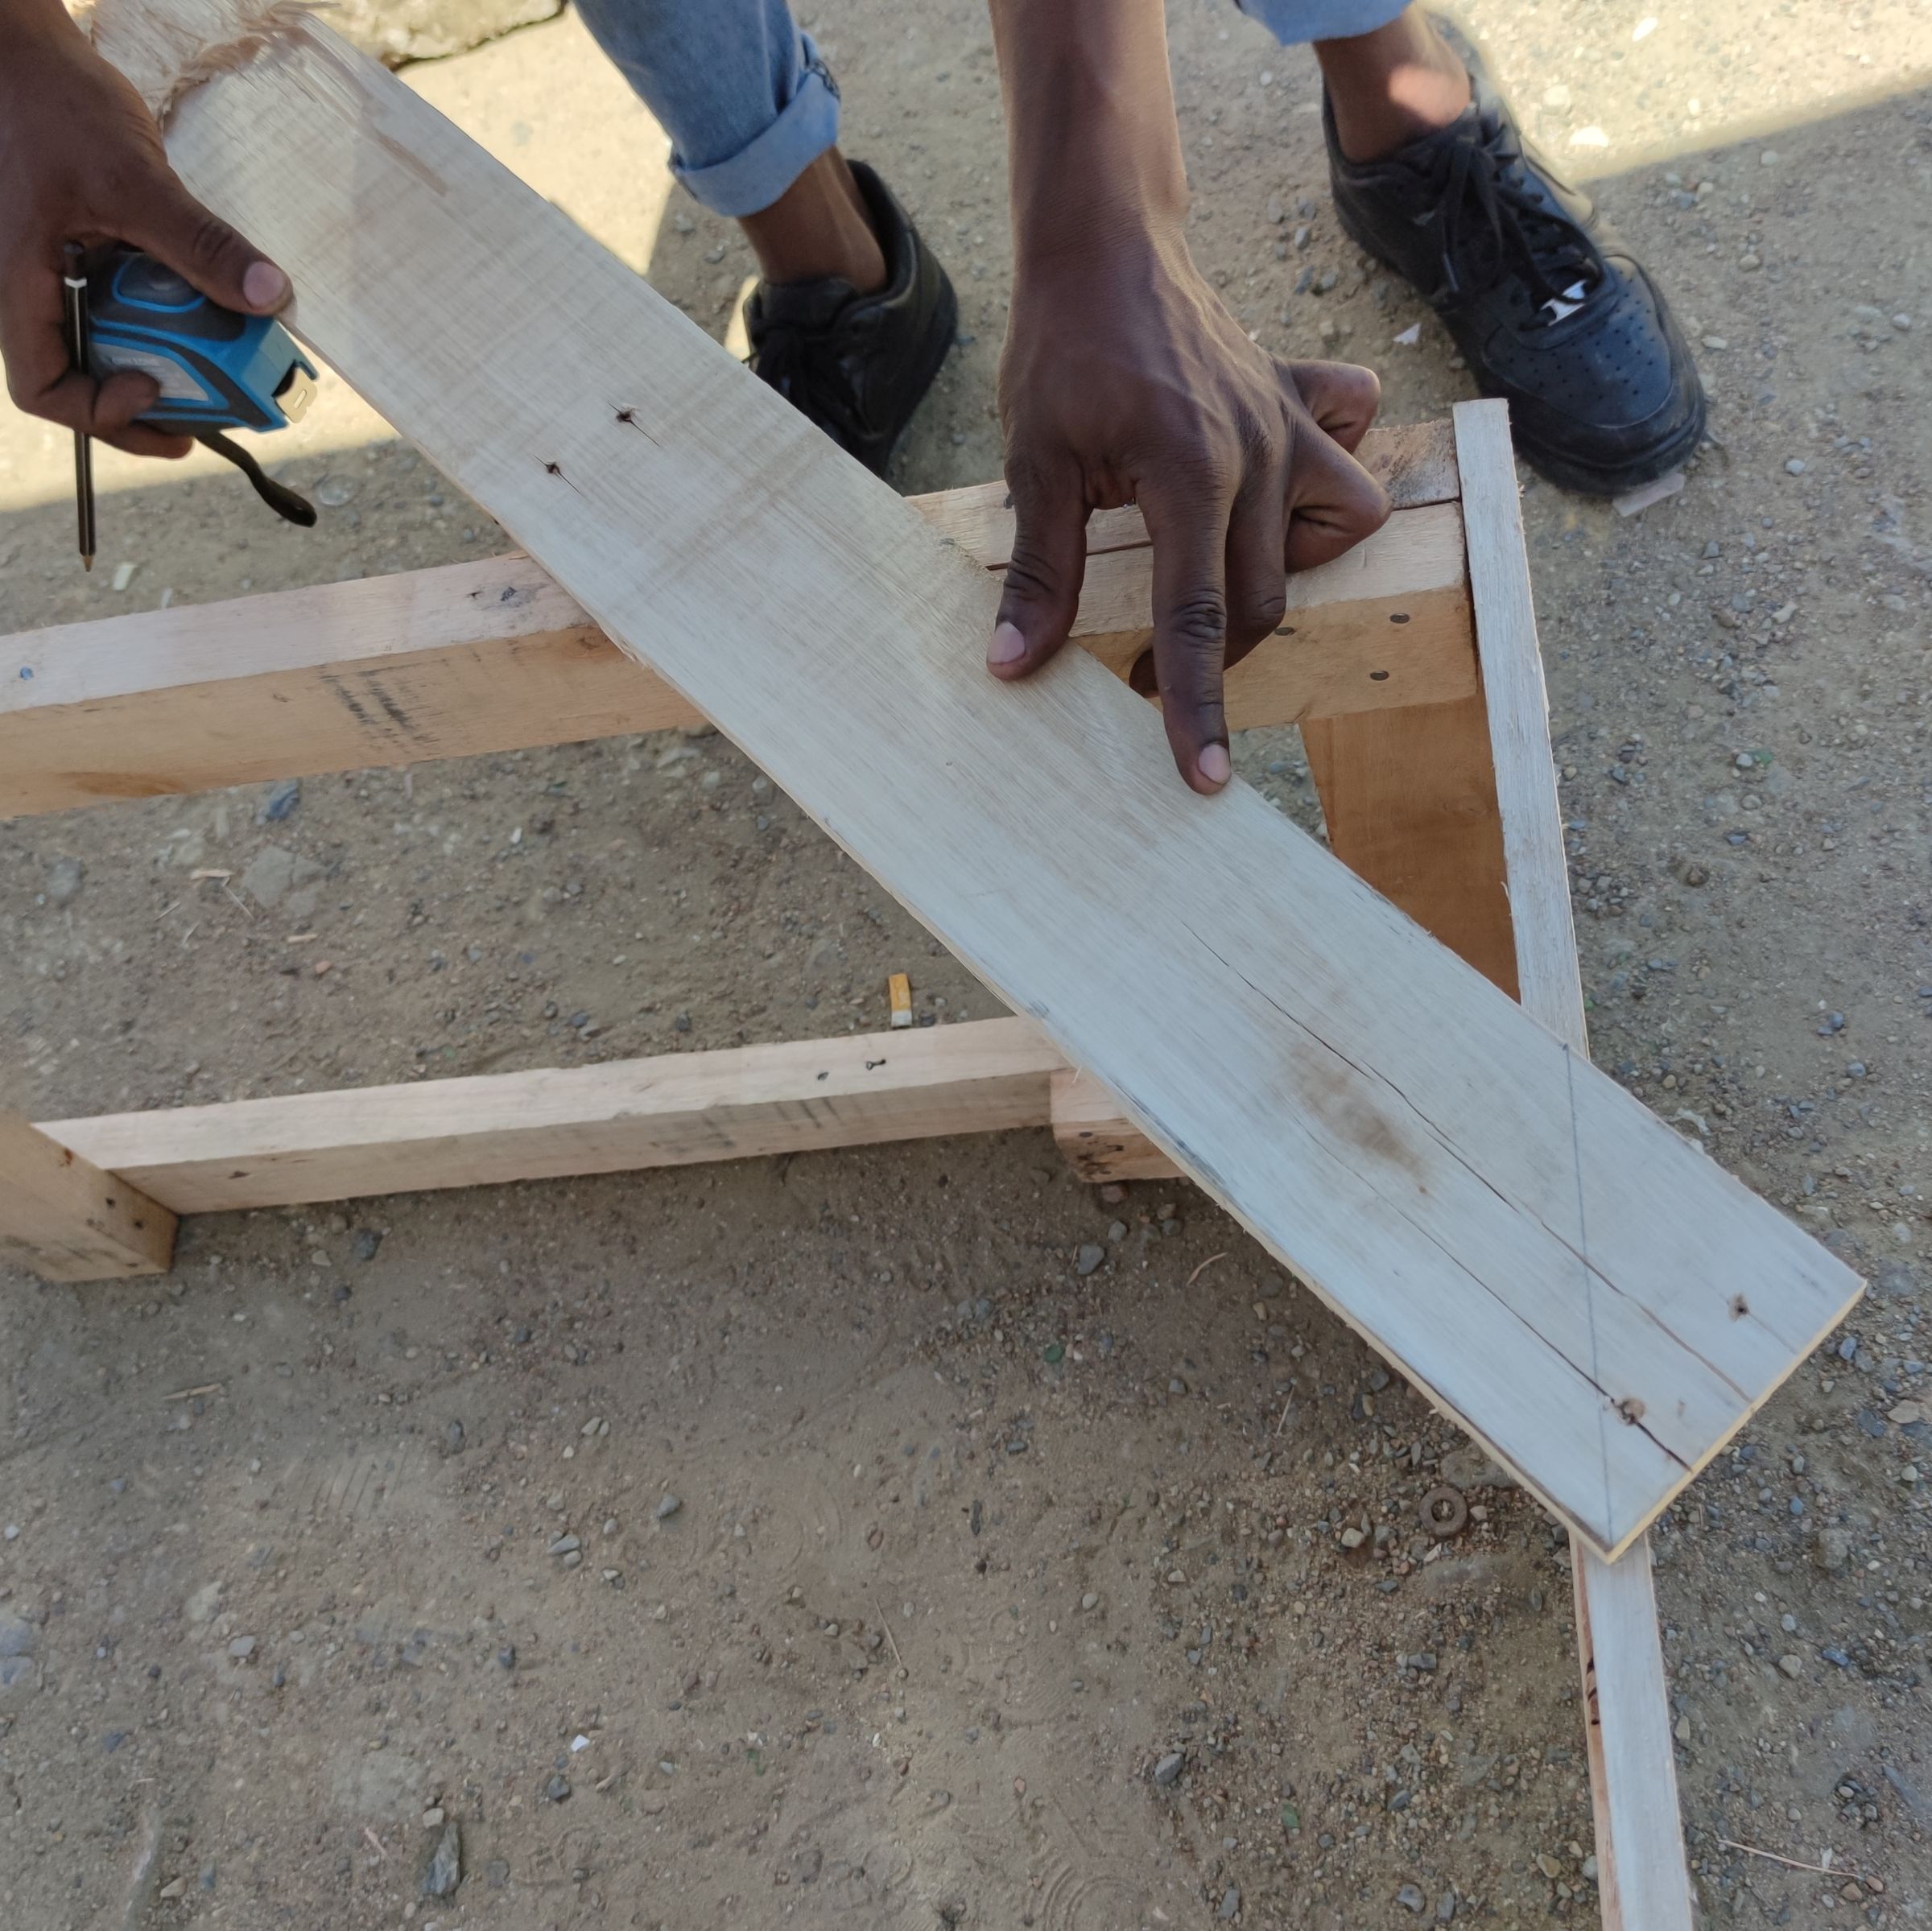

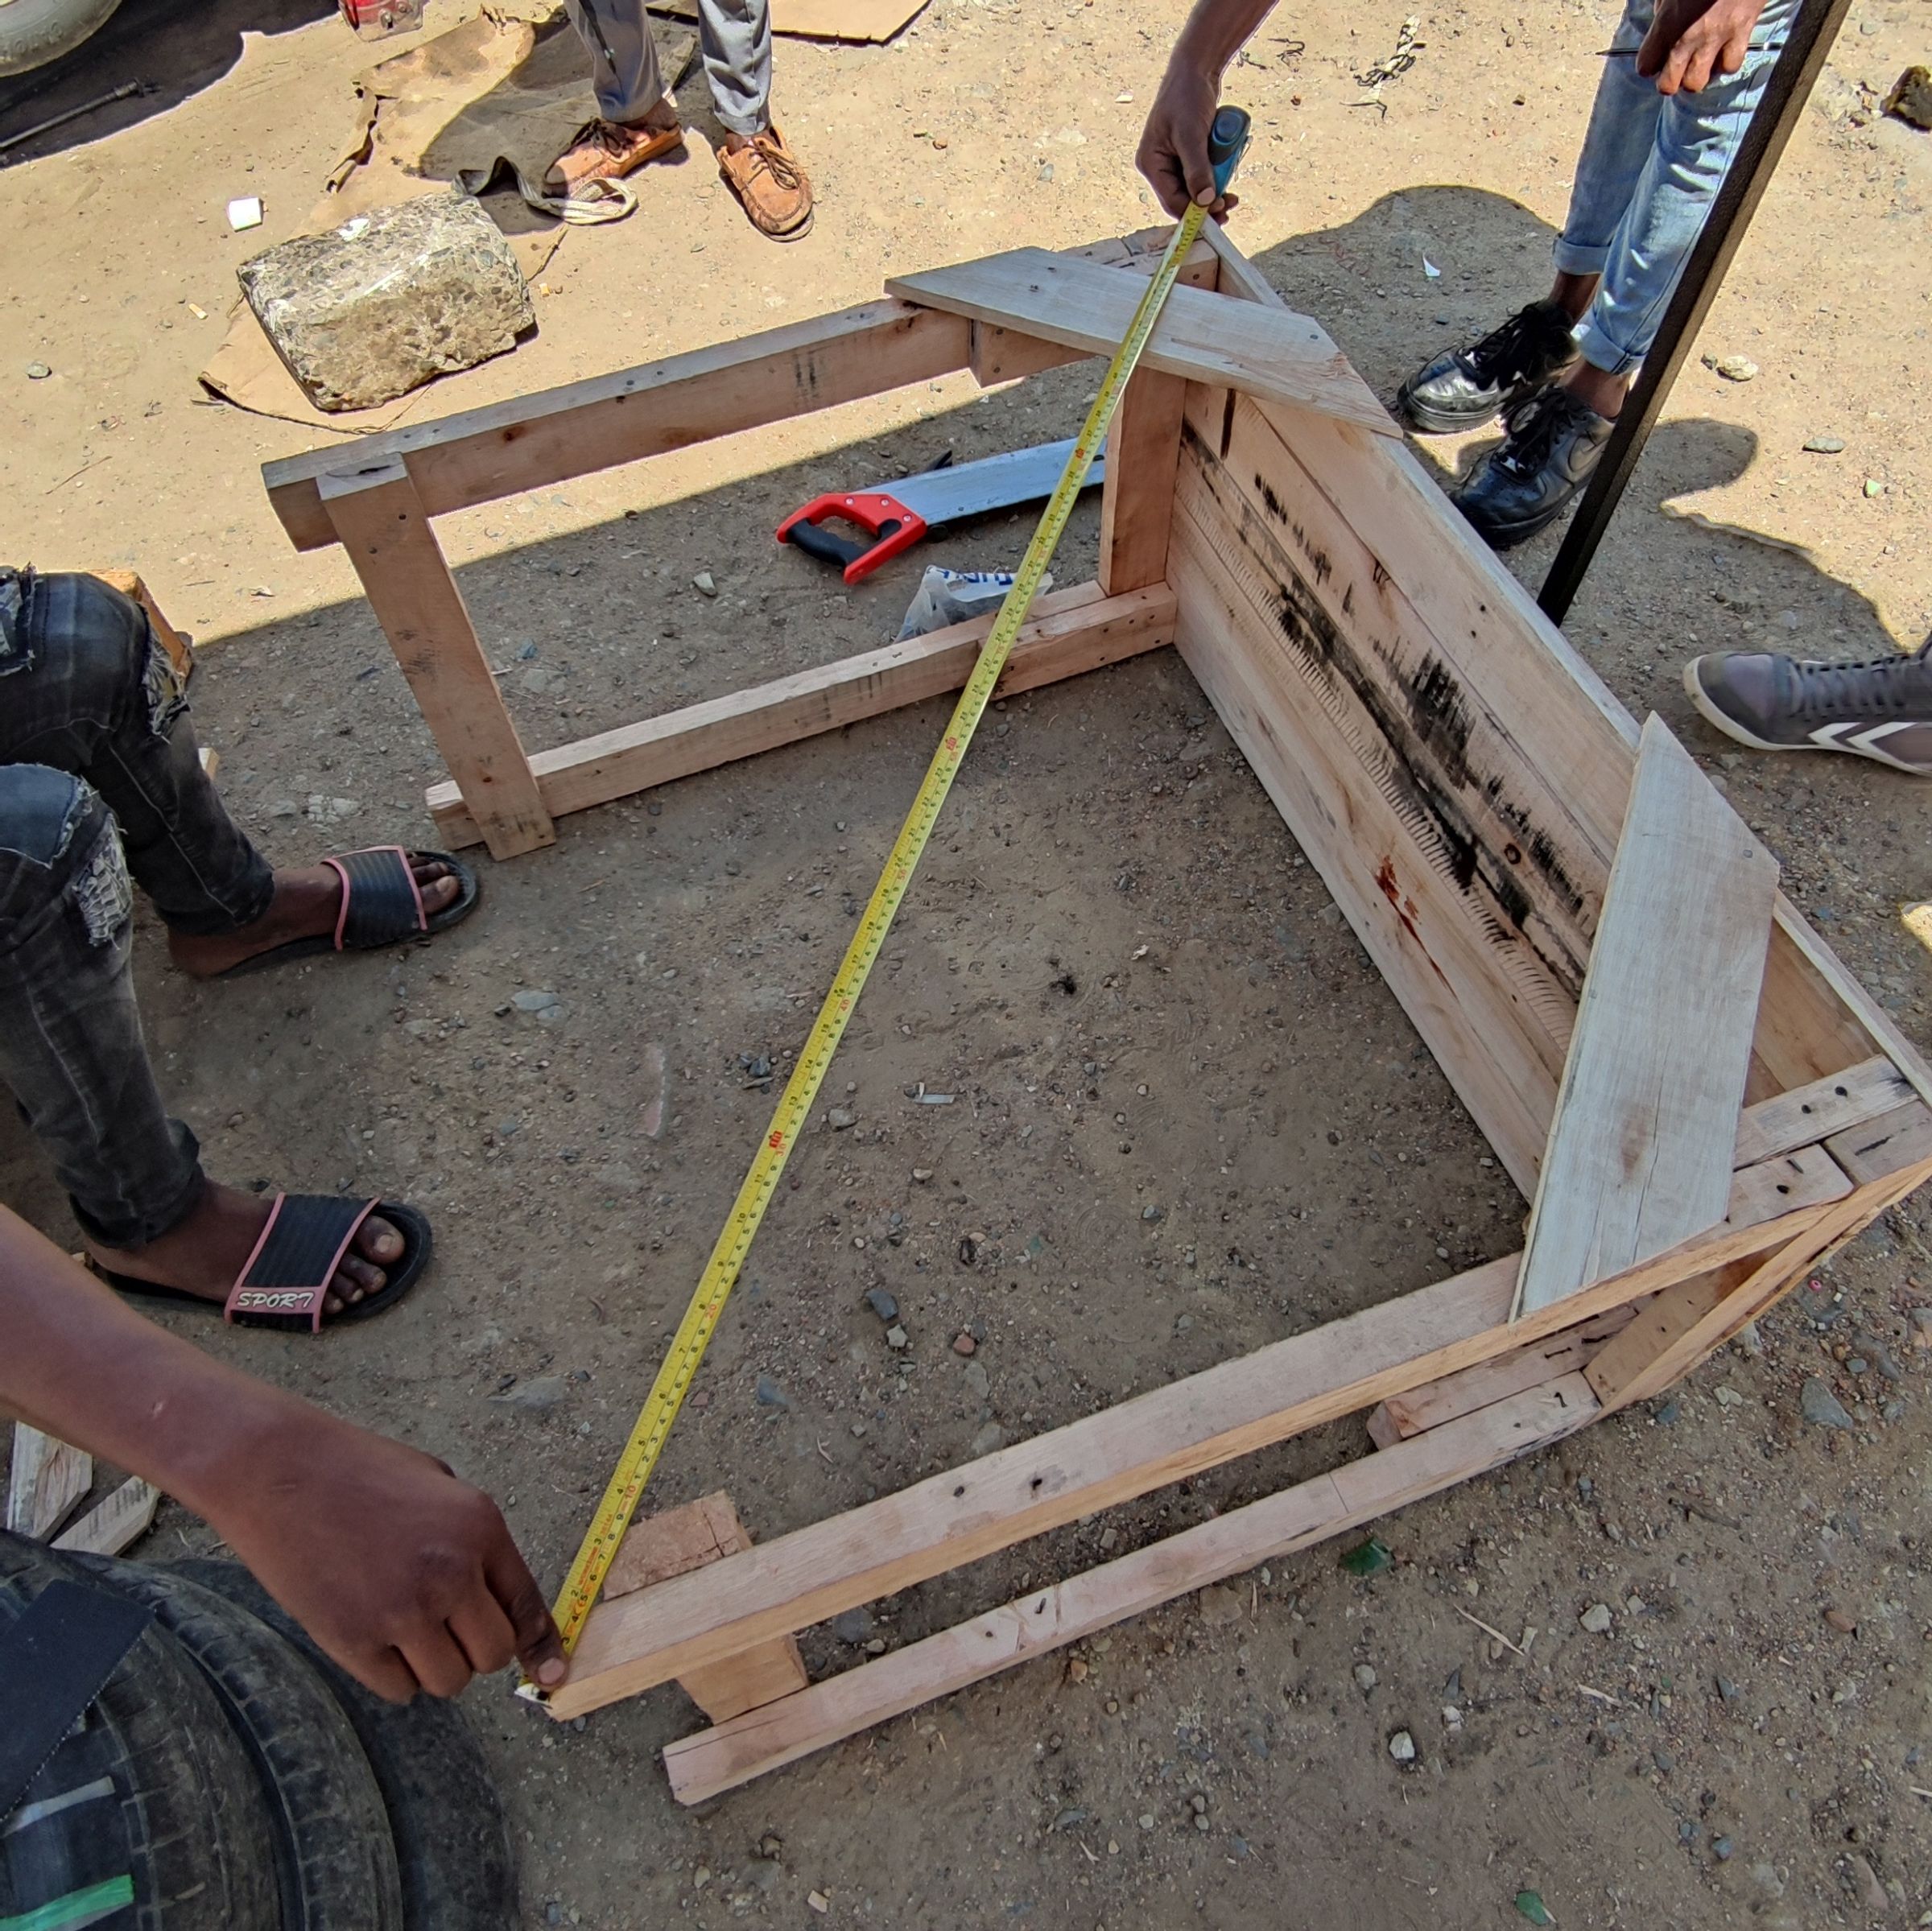

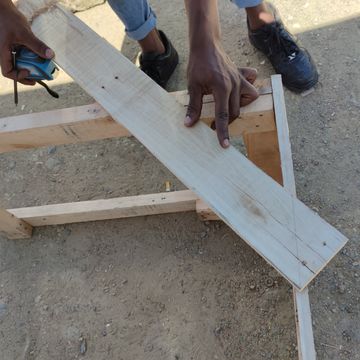
To keep the legs from bending to the side, we attach two short boards diagonally from the top to the legs. Before we nail both sides, we use the diagonal method to straighten the legs:
In any rectangle, the diagonals are equally long, i.e. from top-left corner to bottom-right must be the same as from top-right to bottom-left.
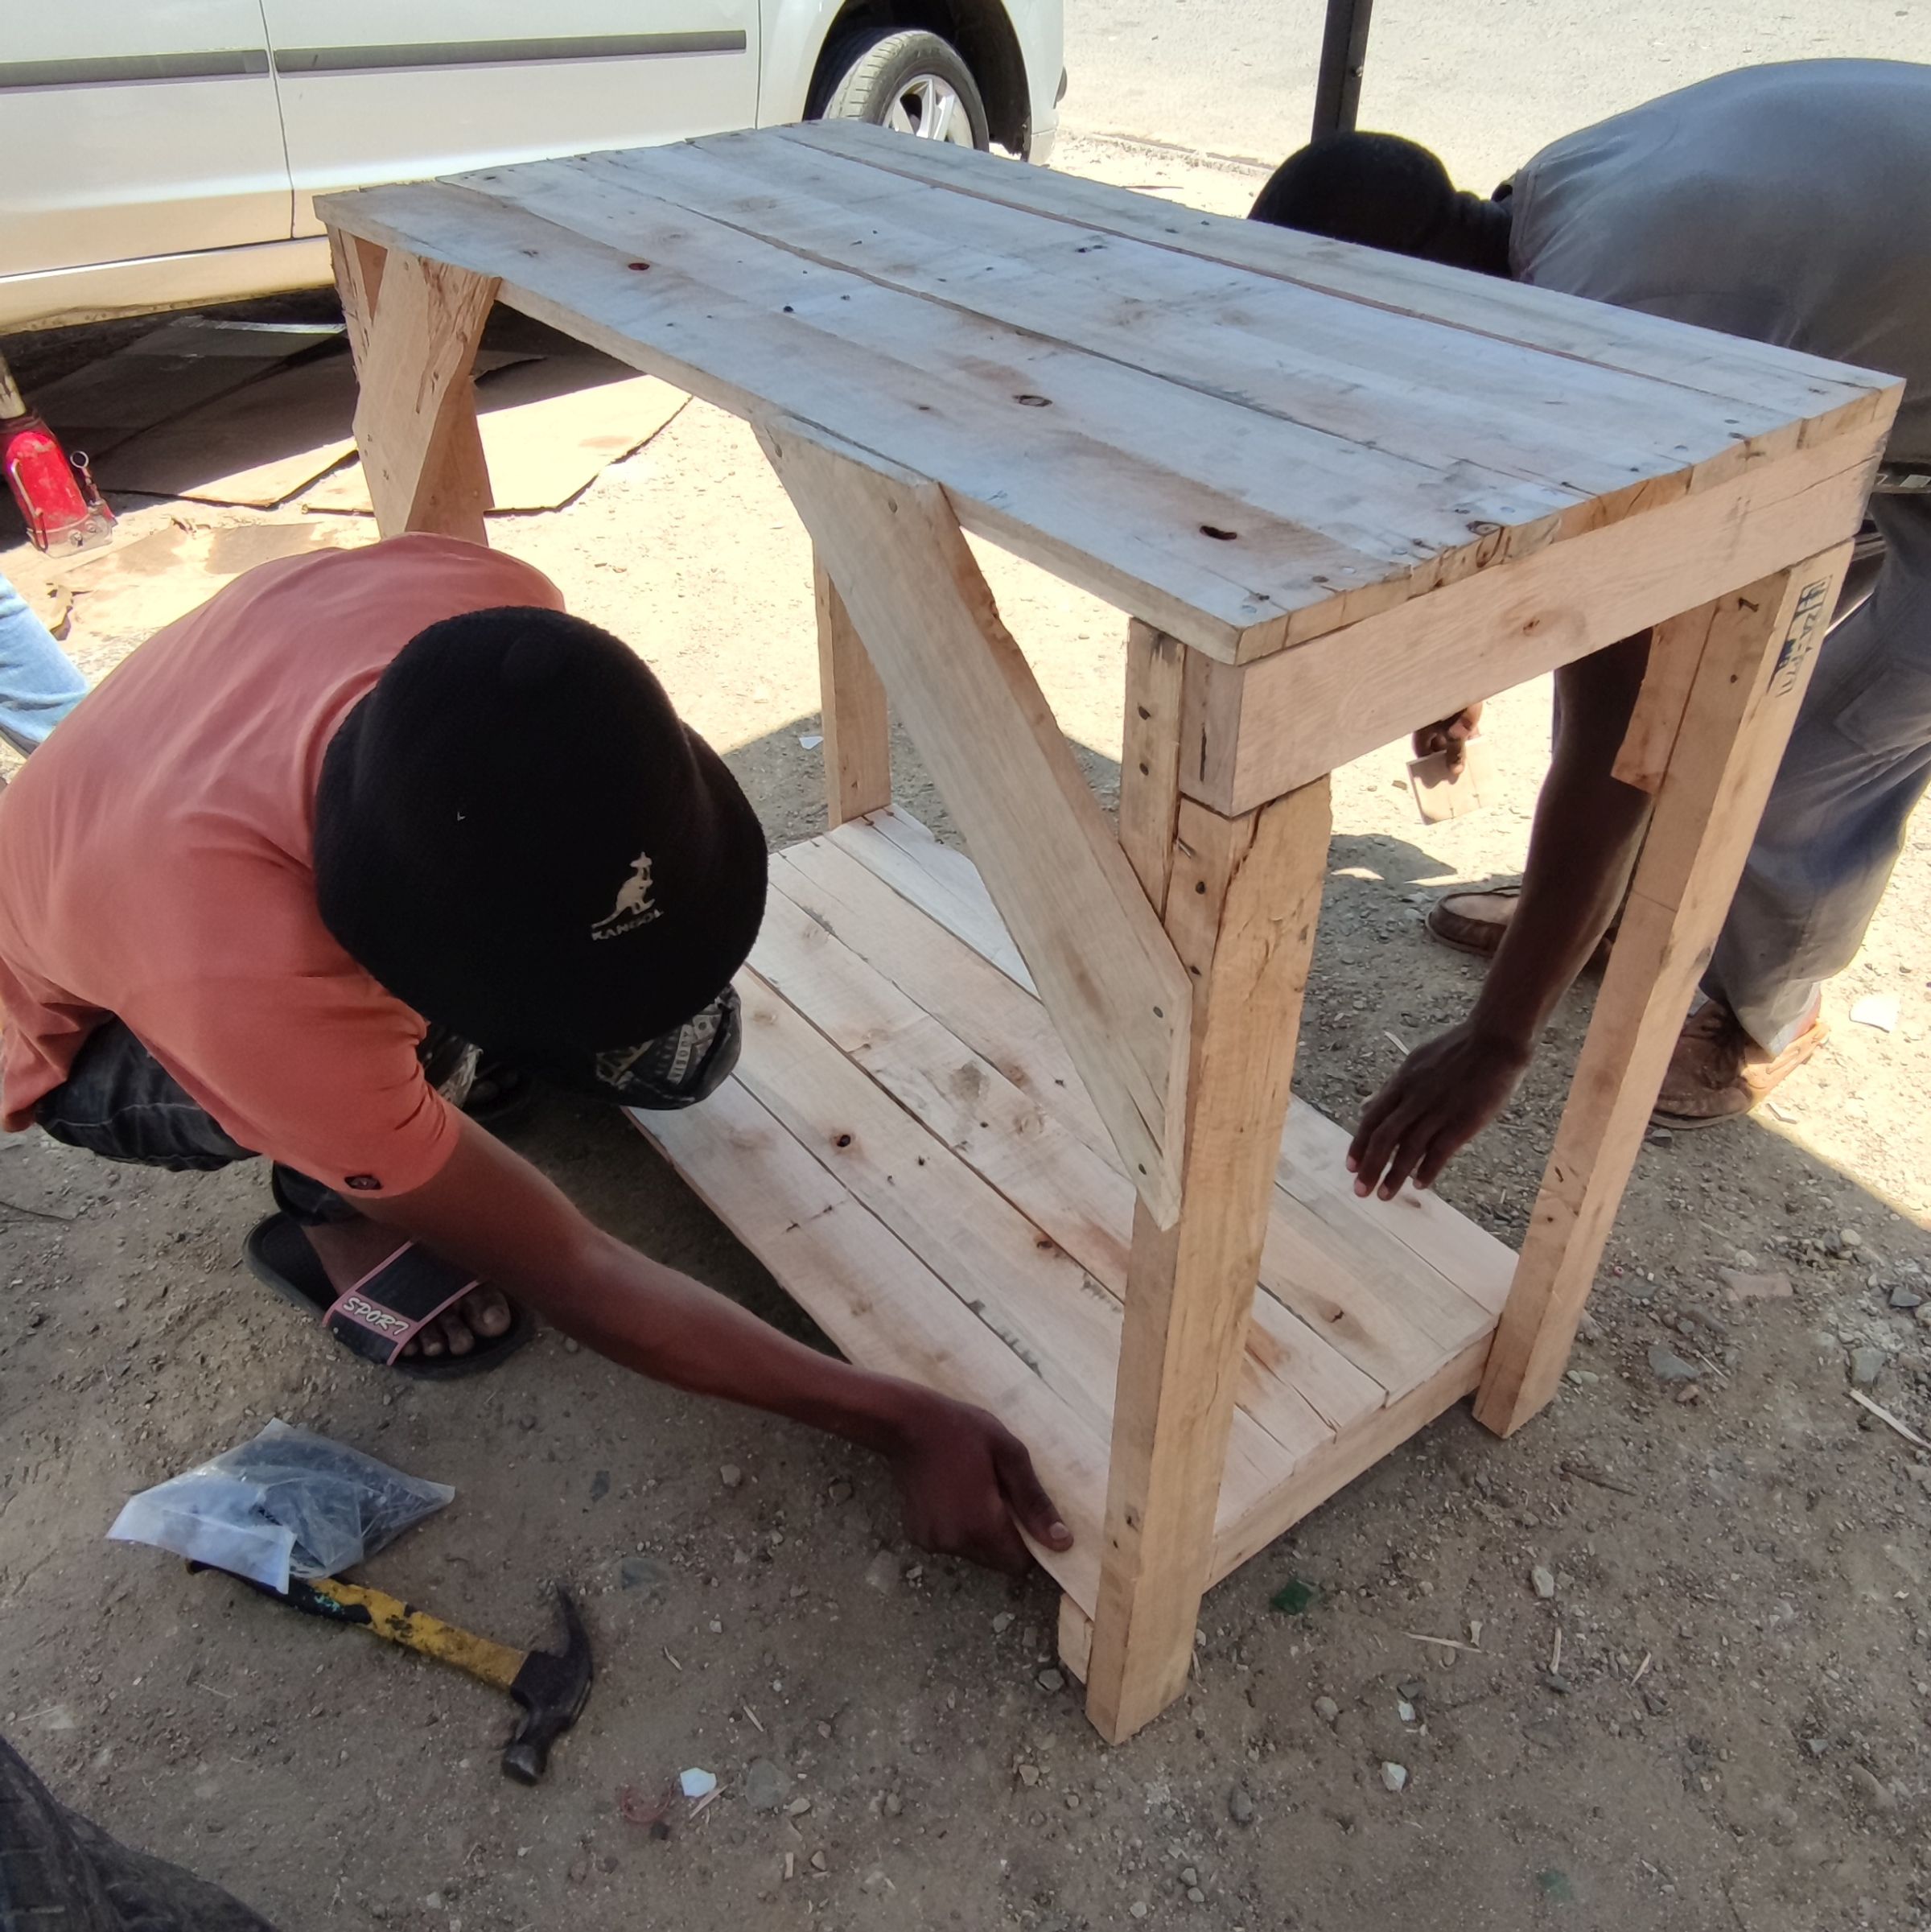
The bottom shelf is a bit shorter than the countertop, because it is inbetween the legs. The legs are 4cm thick, so we need to cut 2x4cm=8cm off 5 boards.
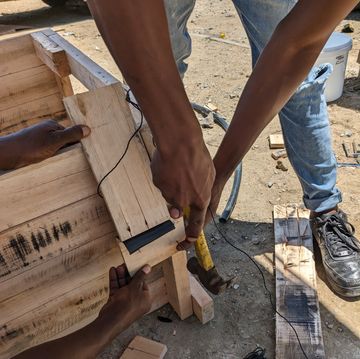
The boards are nailed onto the cross-beams. For nailing them, it is good to put some offcuts under the crossbeam, so you do not loosen the beams again.
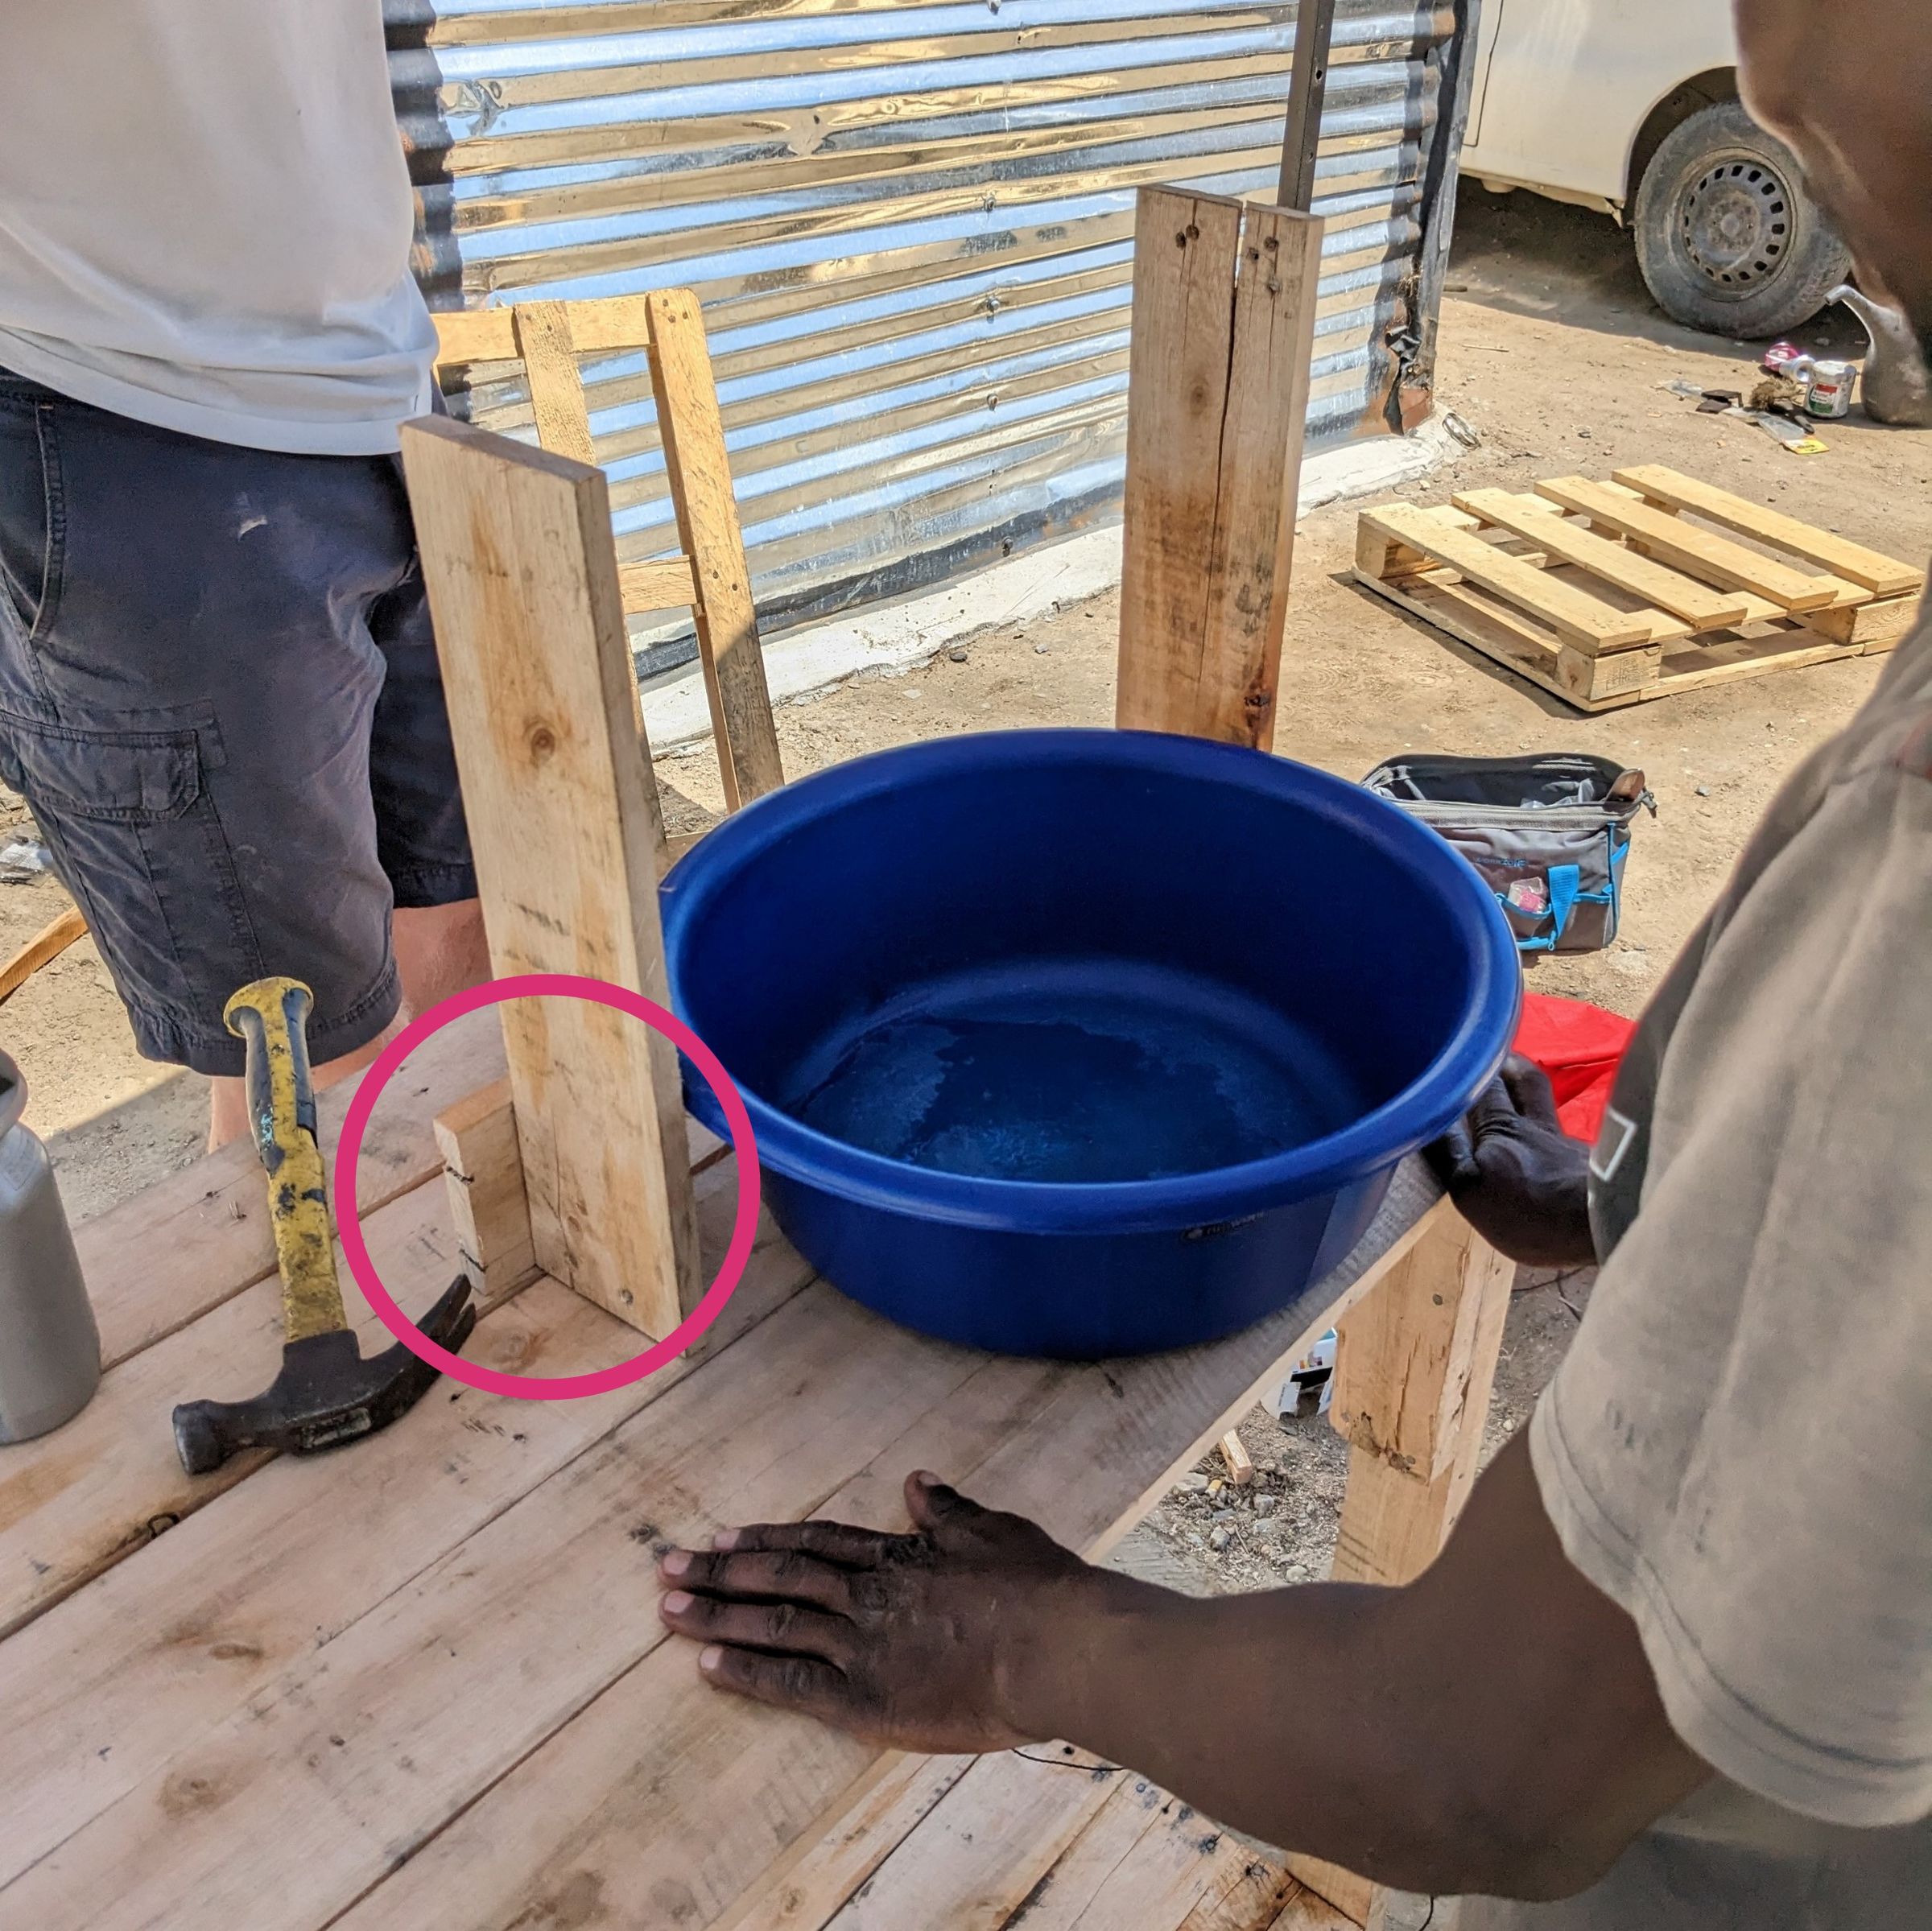


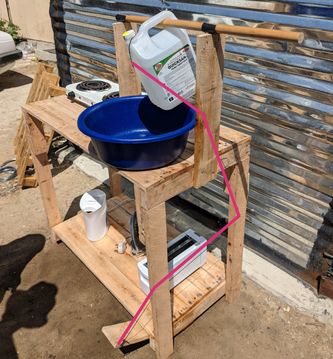
We want the tippy tap to sit in the middle of the countertop, so that the bowl is easily reachable on the front edge and the 5L canister has some room to swing to the back, when used.
So we had to mount the left pole onto the middle of the countertop, by nailing it from the bottom. To reduce bending to the side, we attached a short offcut from another board in “T” shape to it’s back.
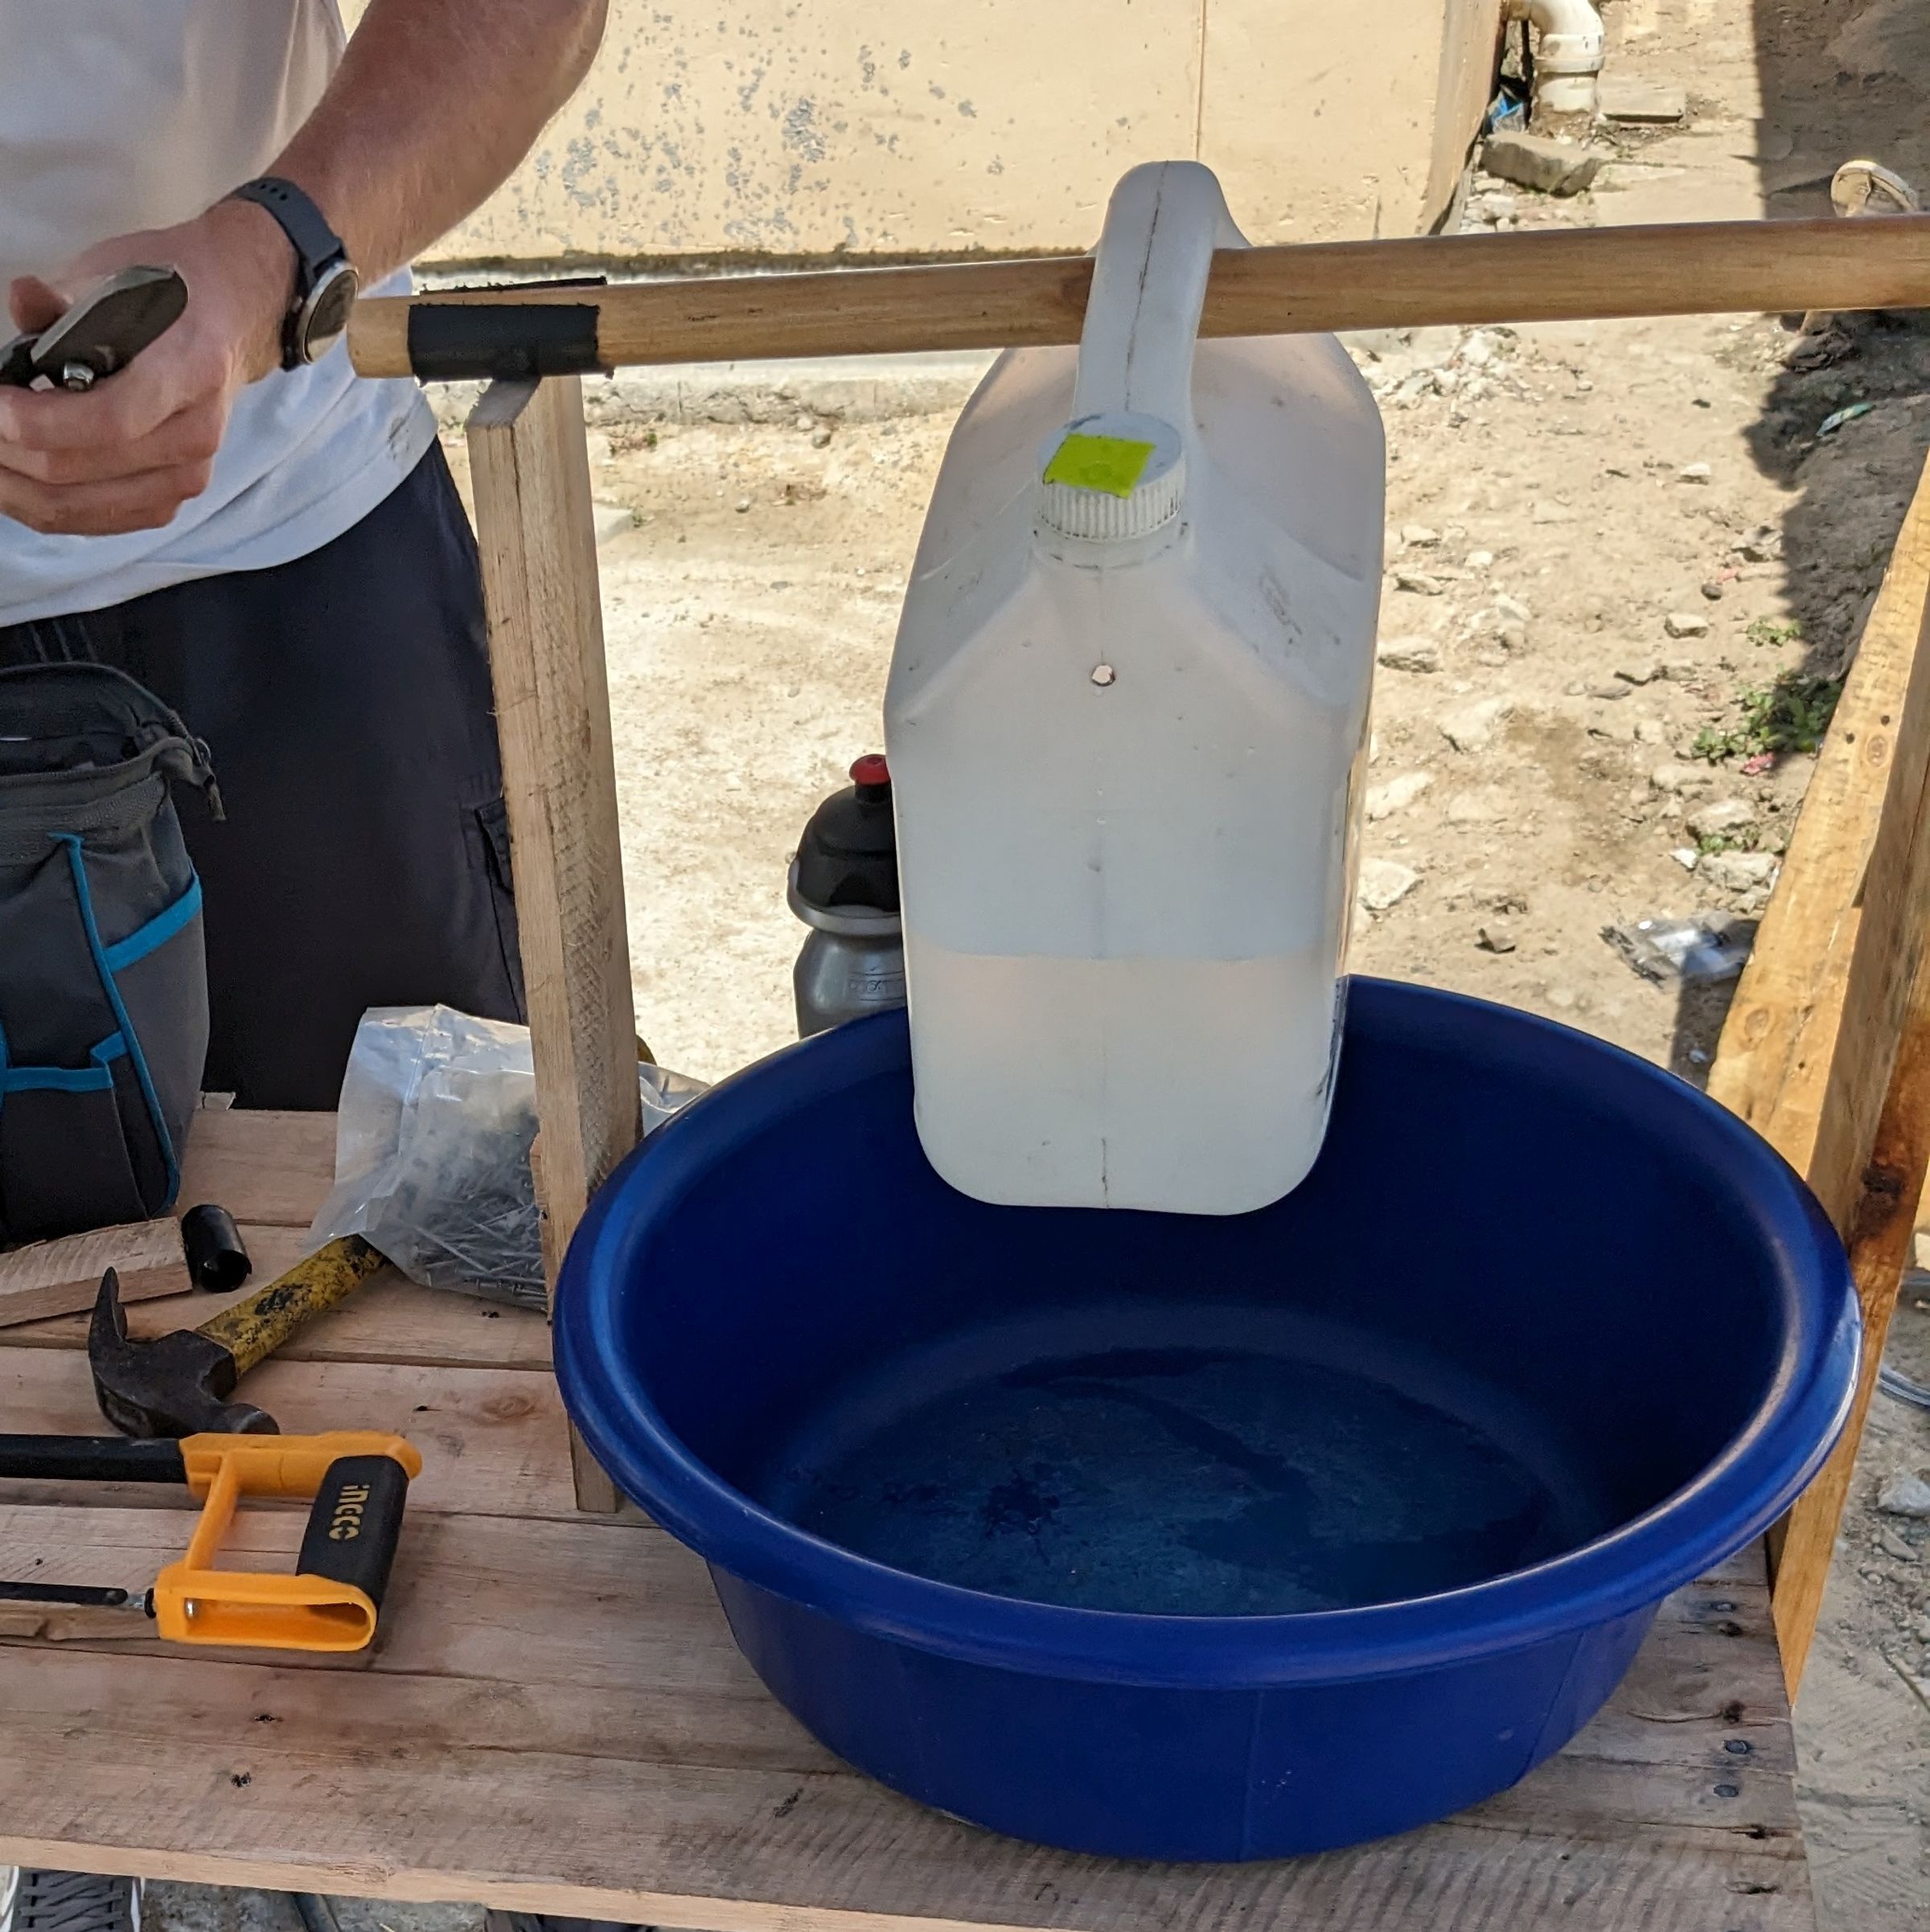

Here you can see very well, where we put the hole into the canister. You can also see the black hose pieces, that we cut open and nailed to the structure to hold the broom stick.


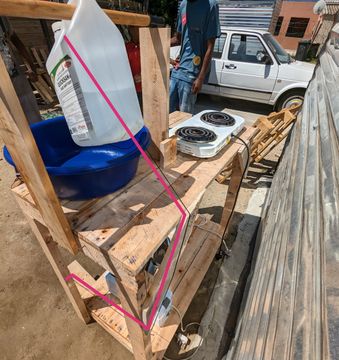
The 5L canister can be swung back by stepping on a pedal, that is attached to the bottom of the kitchen module.
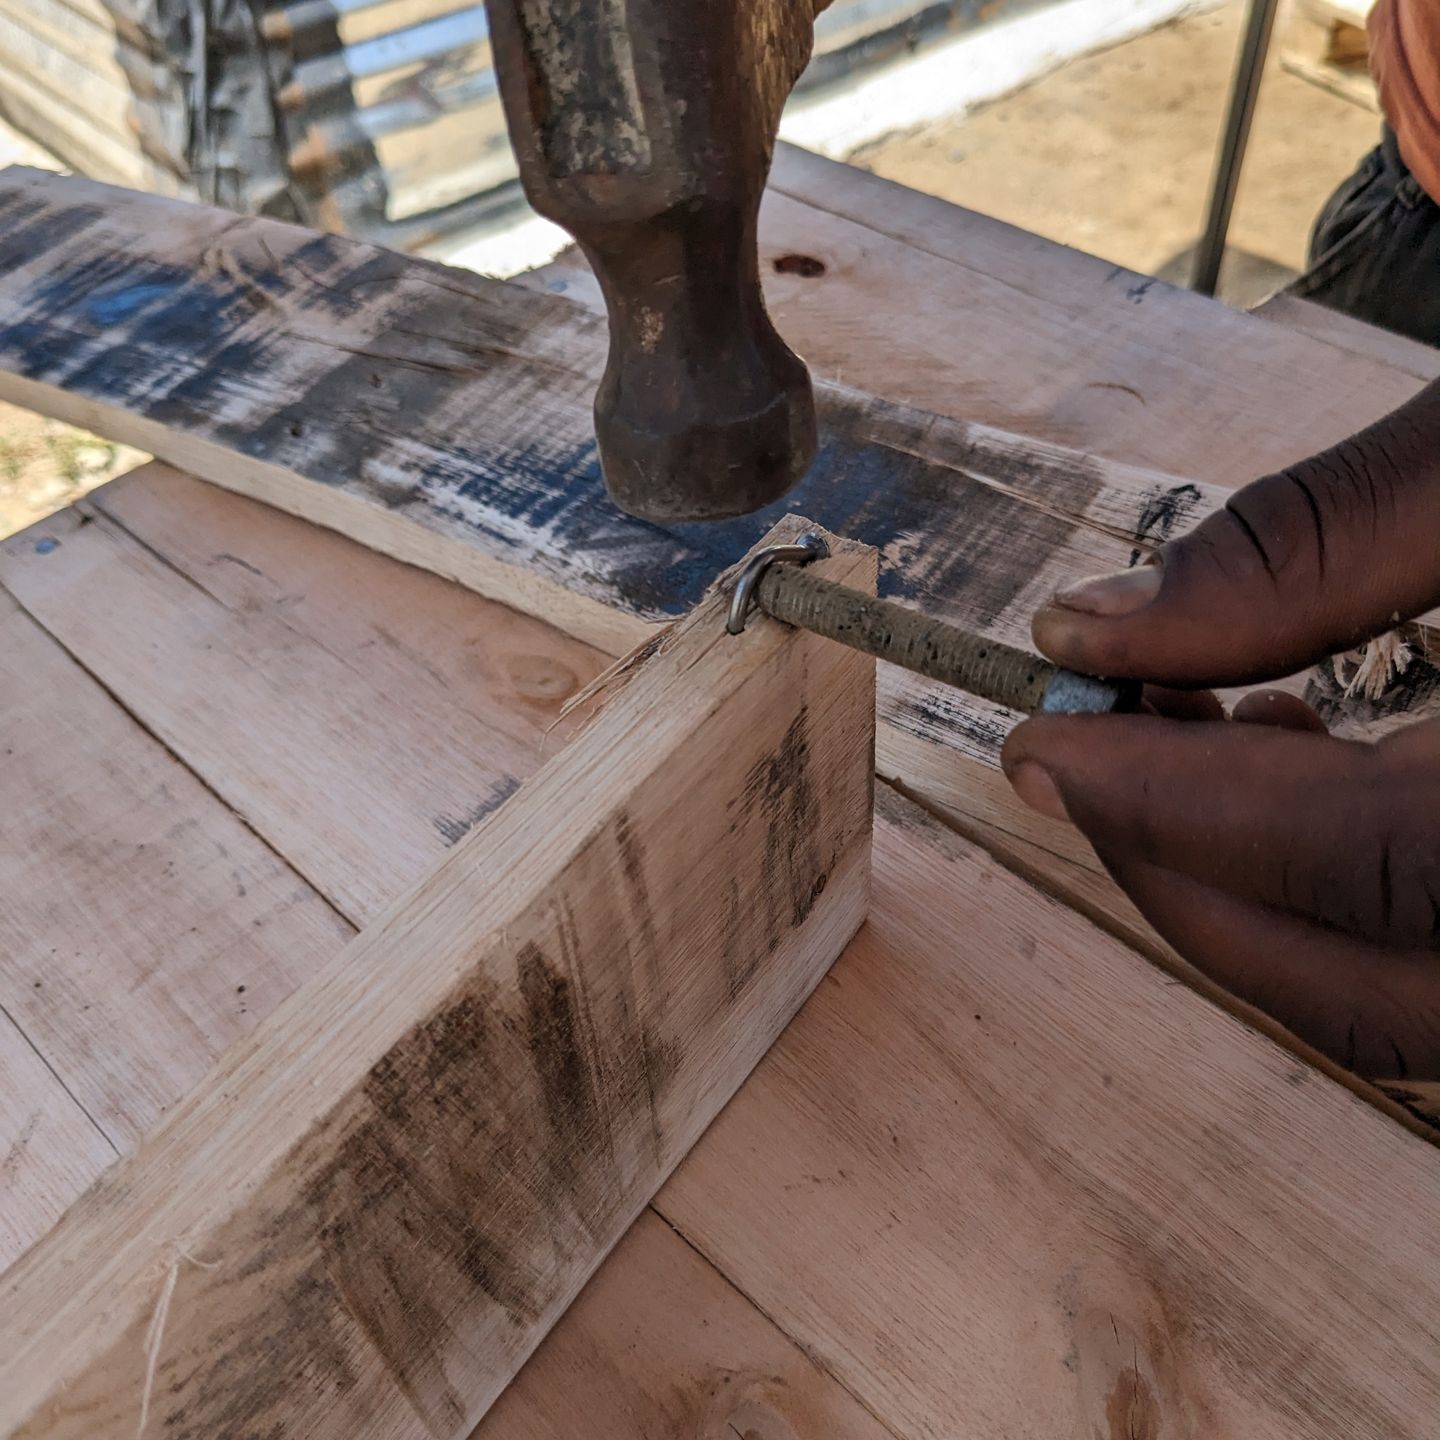
We need a hook to attach the string to. We use an old bolt to hammer the nail round into hook form on the right side of the pedal.


As a hinge for the pedal, we use a small piece of soft pipe, that we cut open. It is easily bendable and will connect the pedal the kitchen block (Thank you, Wellington, for the genius idea!)
Now we can attach the pedal to the bottom of the right cross-beam.


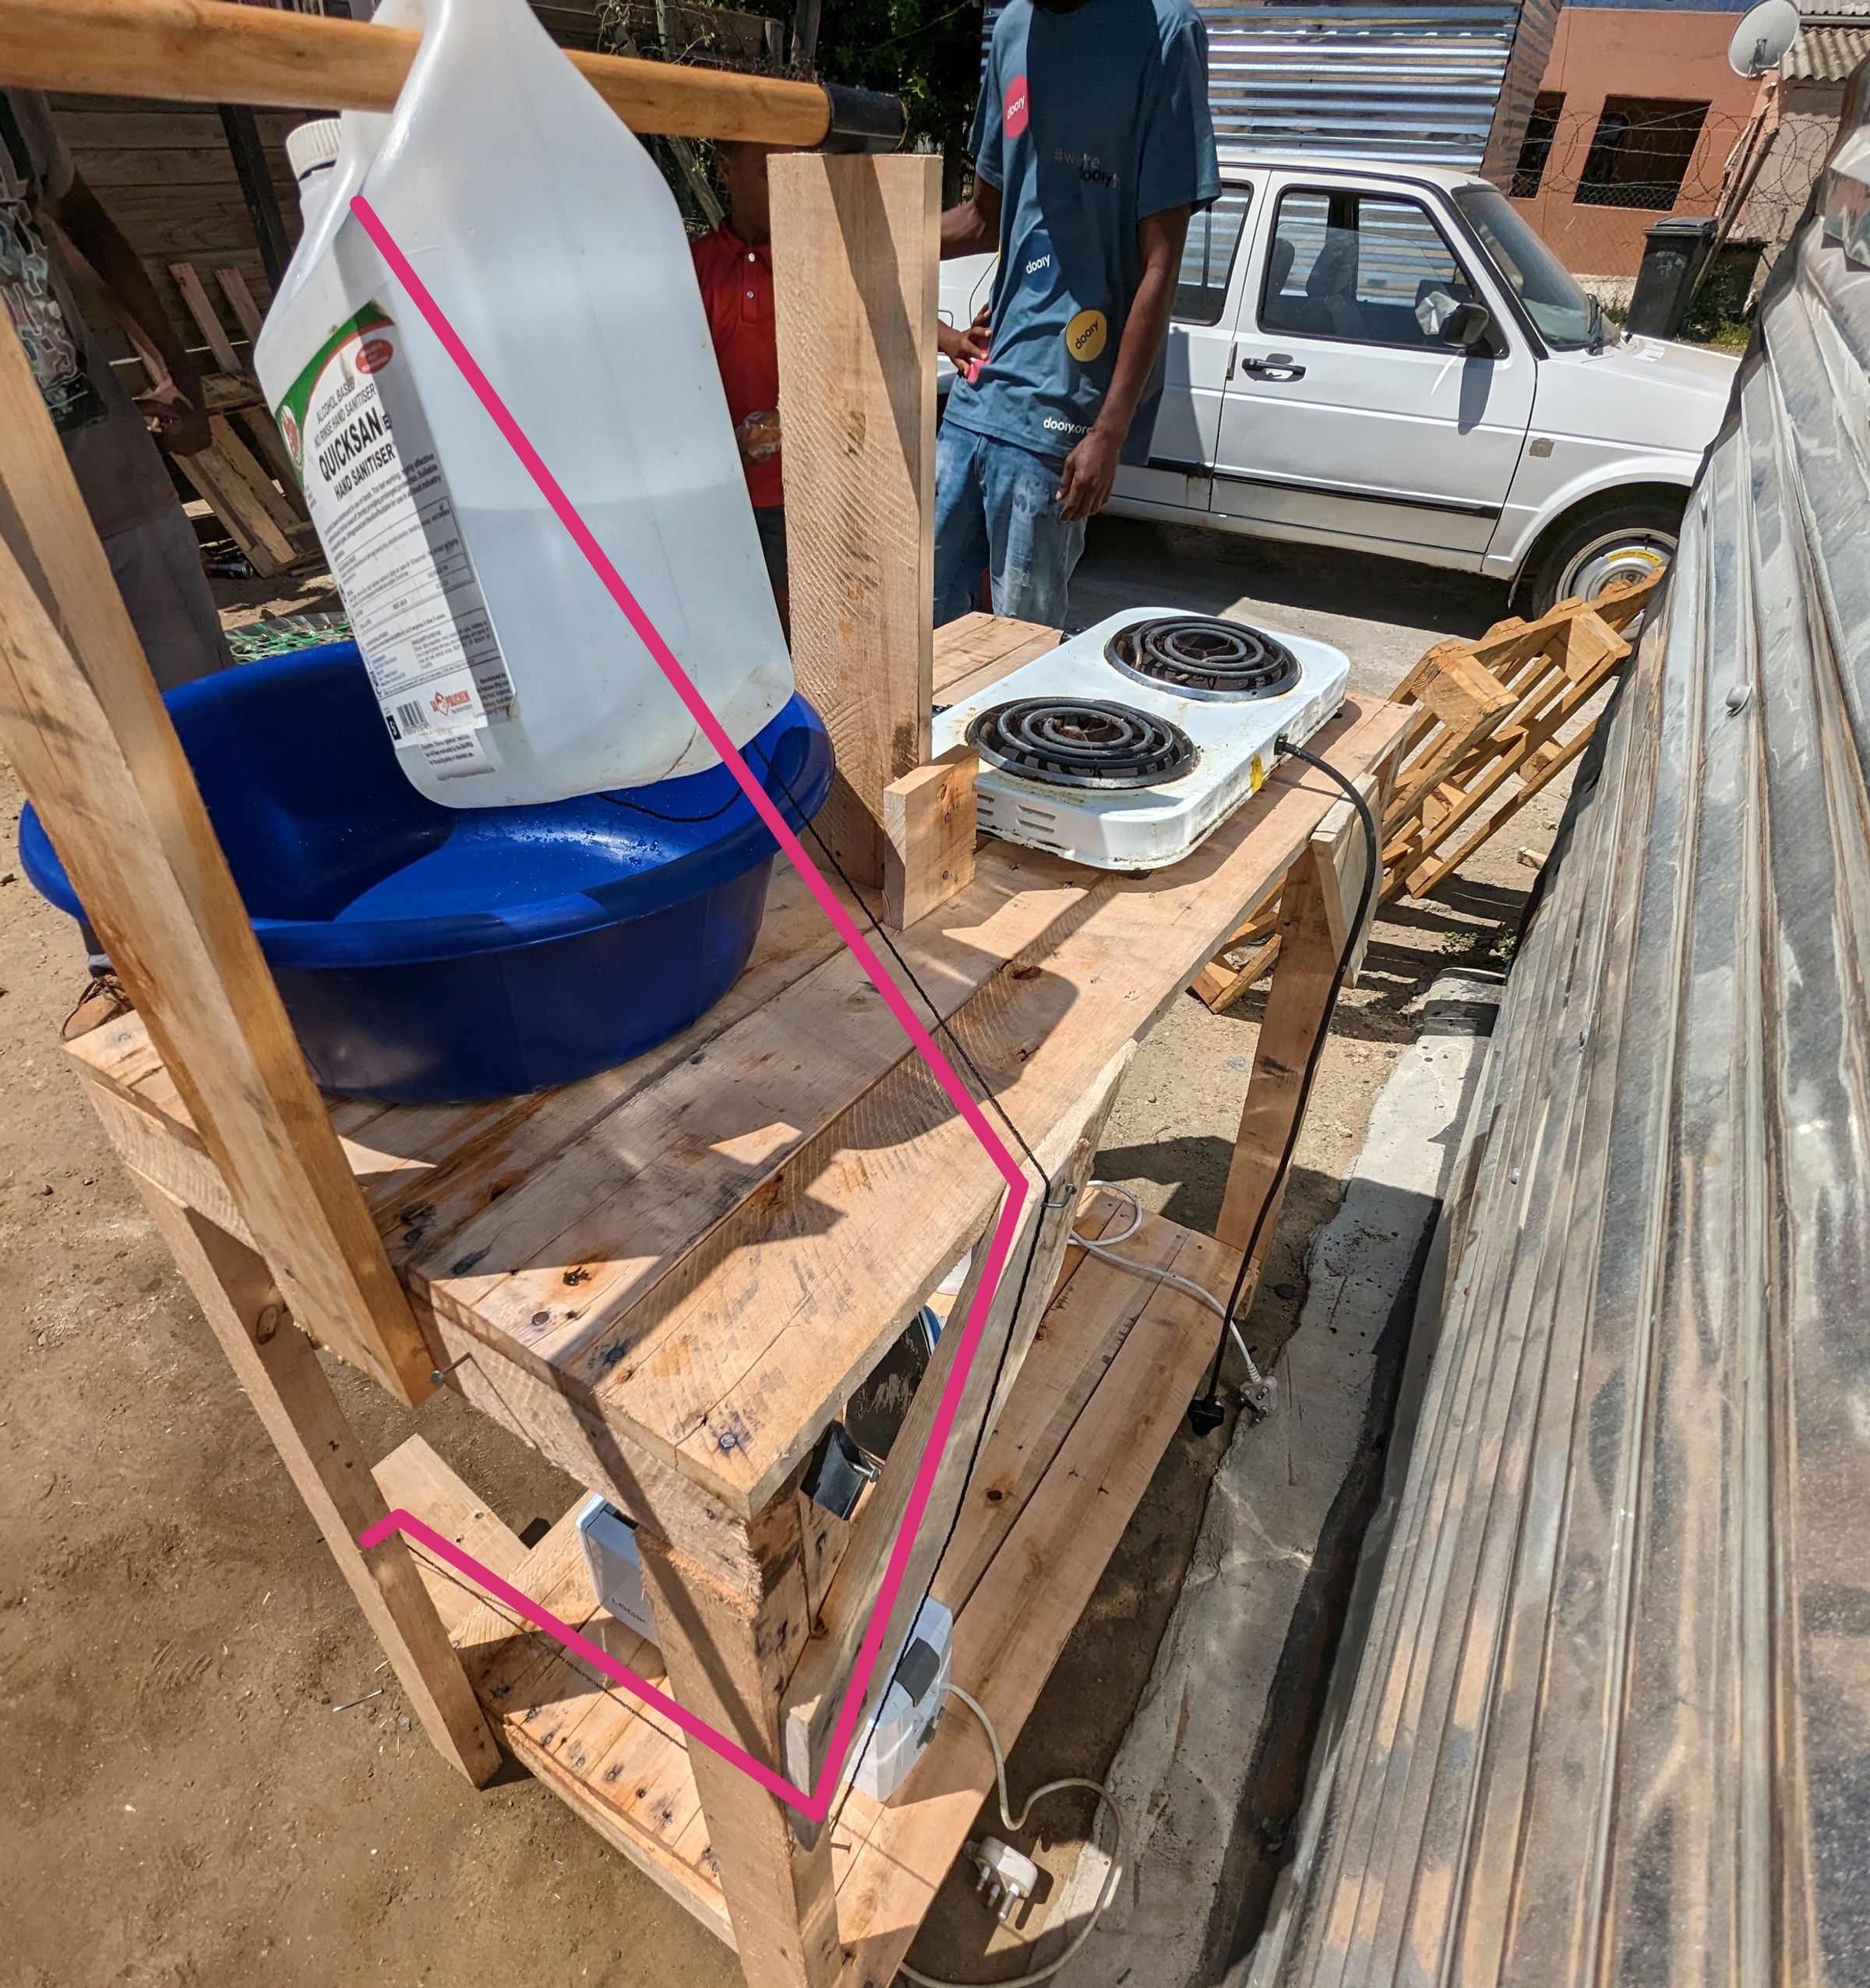

When connecting the pedal to the 5L canister with the string, you don’t want the string to be in the way of your storage. Nevertheless, it has to pull the canister in the right angle to the bottom back.
Also the pedal should have a good angle, roughly perpendicular to the string, to produce enough travel, so that the canister can go all the way up, so it can be fully emptied.
Safe money and the environment
Vinegar and bicarb are really great products for cleaning. They are...
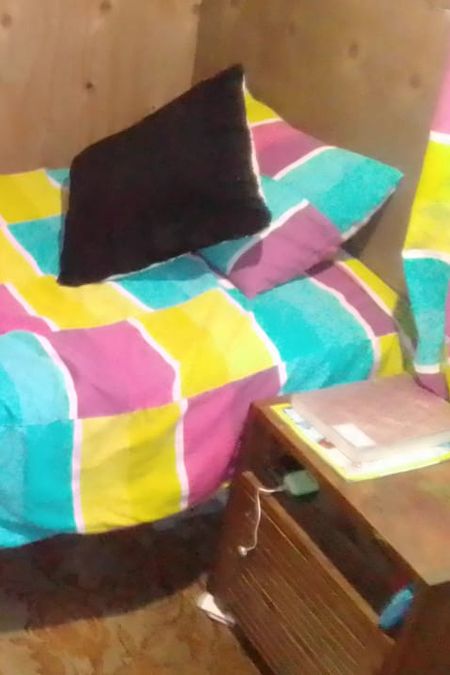
Comfy and easy to make
This bed is comfy and easy to make. As the legs are pretty high,...
Easy recipe, saving 30 min. of gas/electricity
Utilize your smart cooker box , smart cooker from blankets, or wonderbag for...


On dooiy you find fun and easy hacks that make life easier. Just follow our simple step-by-step guides and create something for your home or community with little materials and tools. Want to start a business? dooiy might be the perfect starting point for you.

from dooiy
You don‘ t have to be an expert to start making with dooiy. Just choose an easy hack and get going. After you made a few, I am sure that you will come up with your own ideas.
dooiy is being developed by passionate people in Germany and South Africa.

To fulfil our vision, we are looking for partners, volunteers, donors and people who spread the word.
Learn moreand become a partner