Guide by RWTH Aachen University - Institute of Landscape Architecture
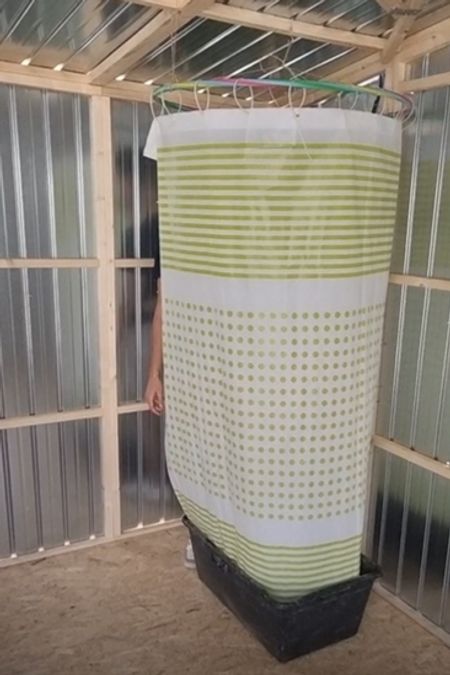
Shower Cabin
Build your own pop-up shower cabin for your home with just a few simple steps.
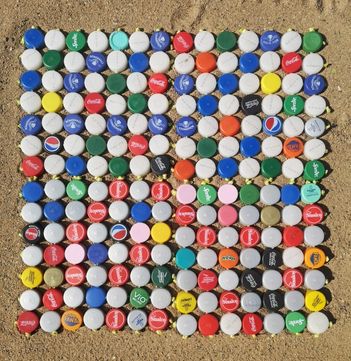
Create colourful flooring from waste
| Done in | 10 hours |
|---|---|
| Skill level | easy |
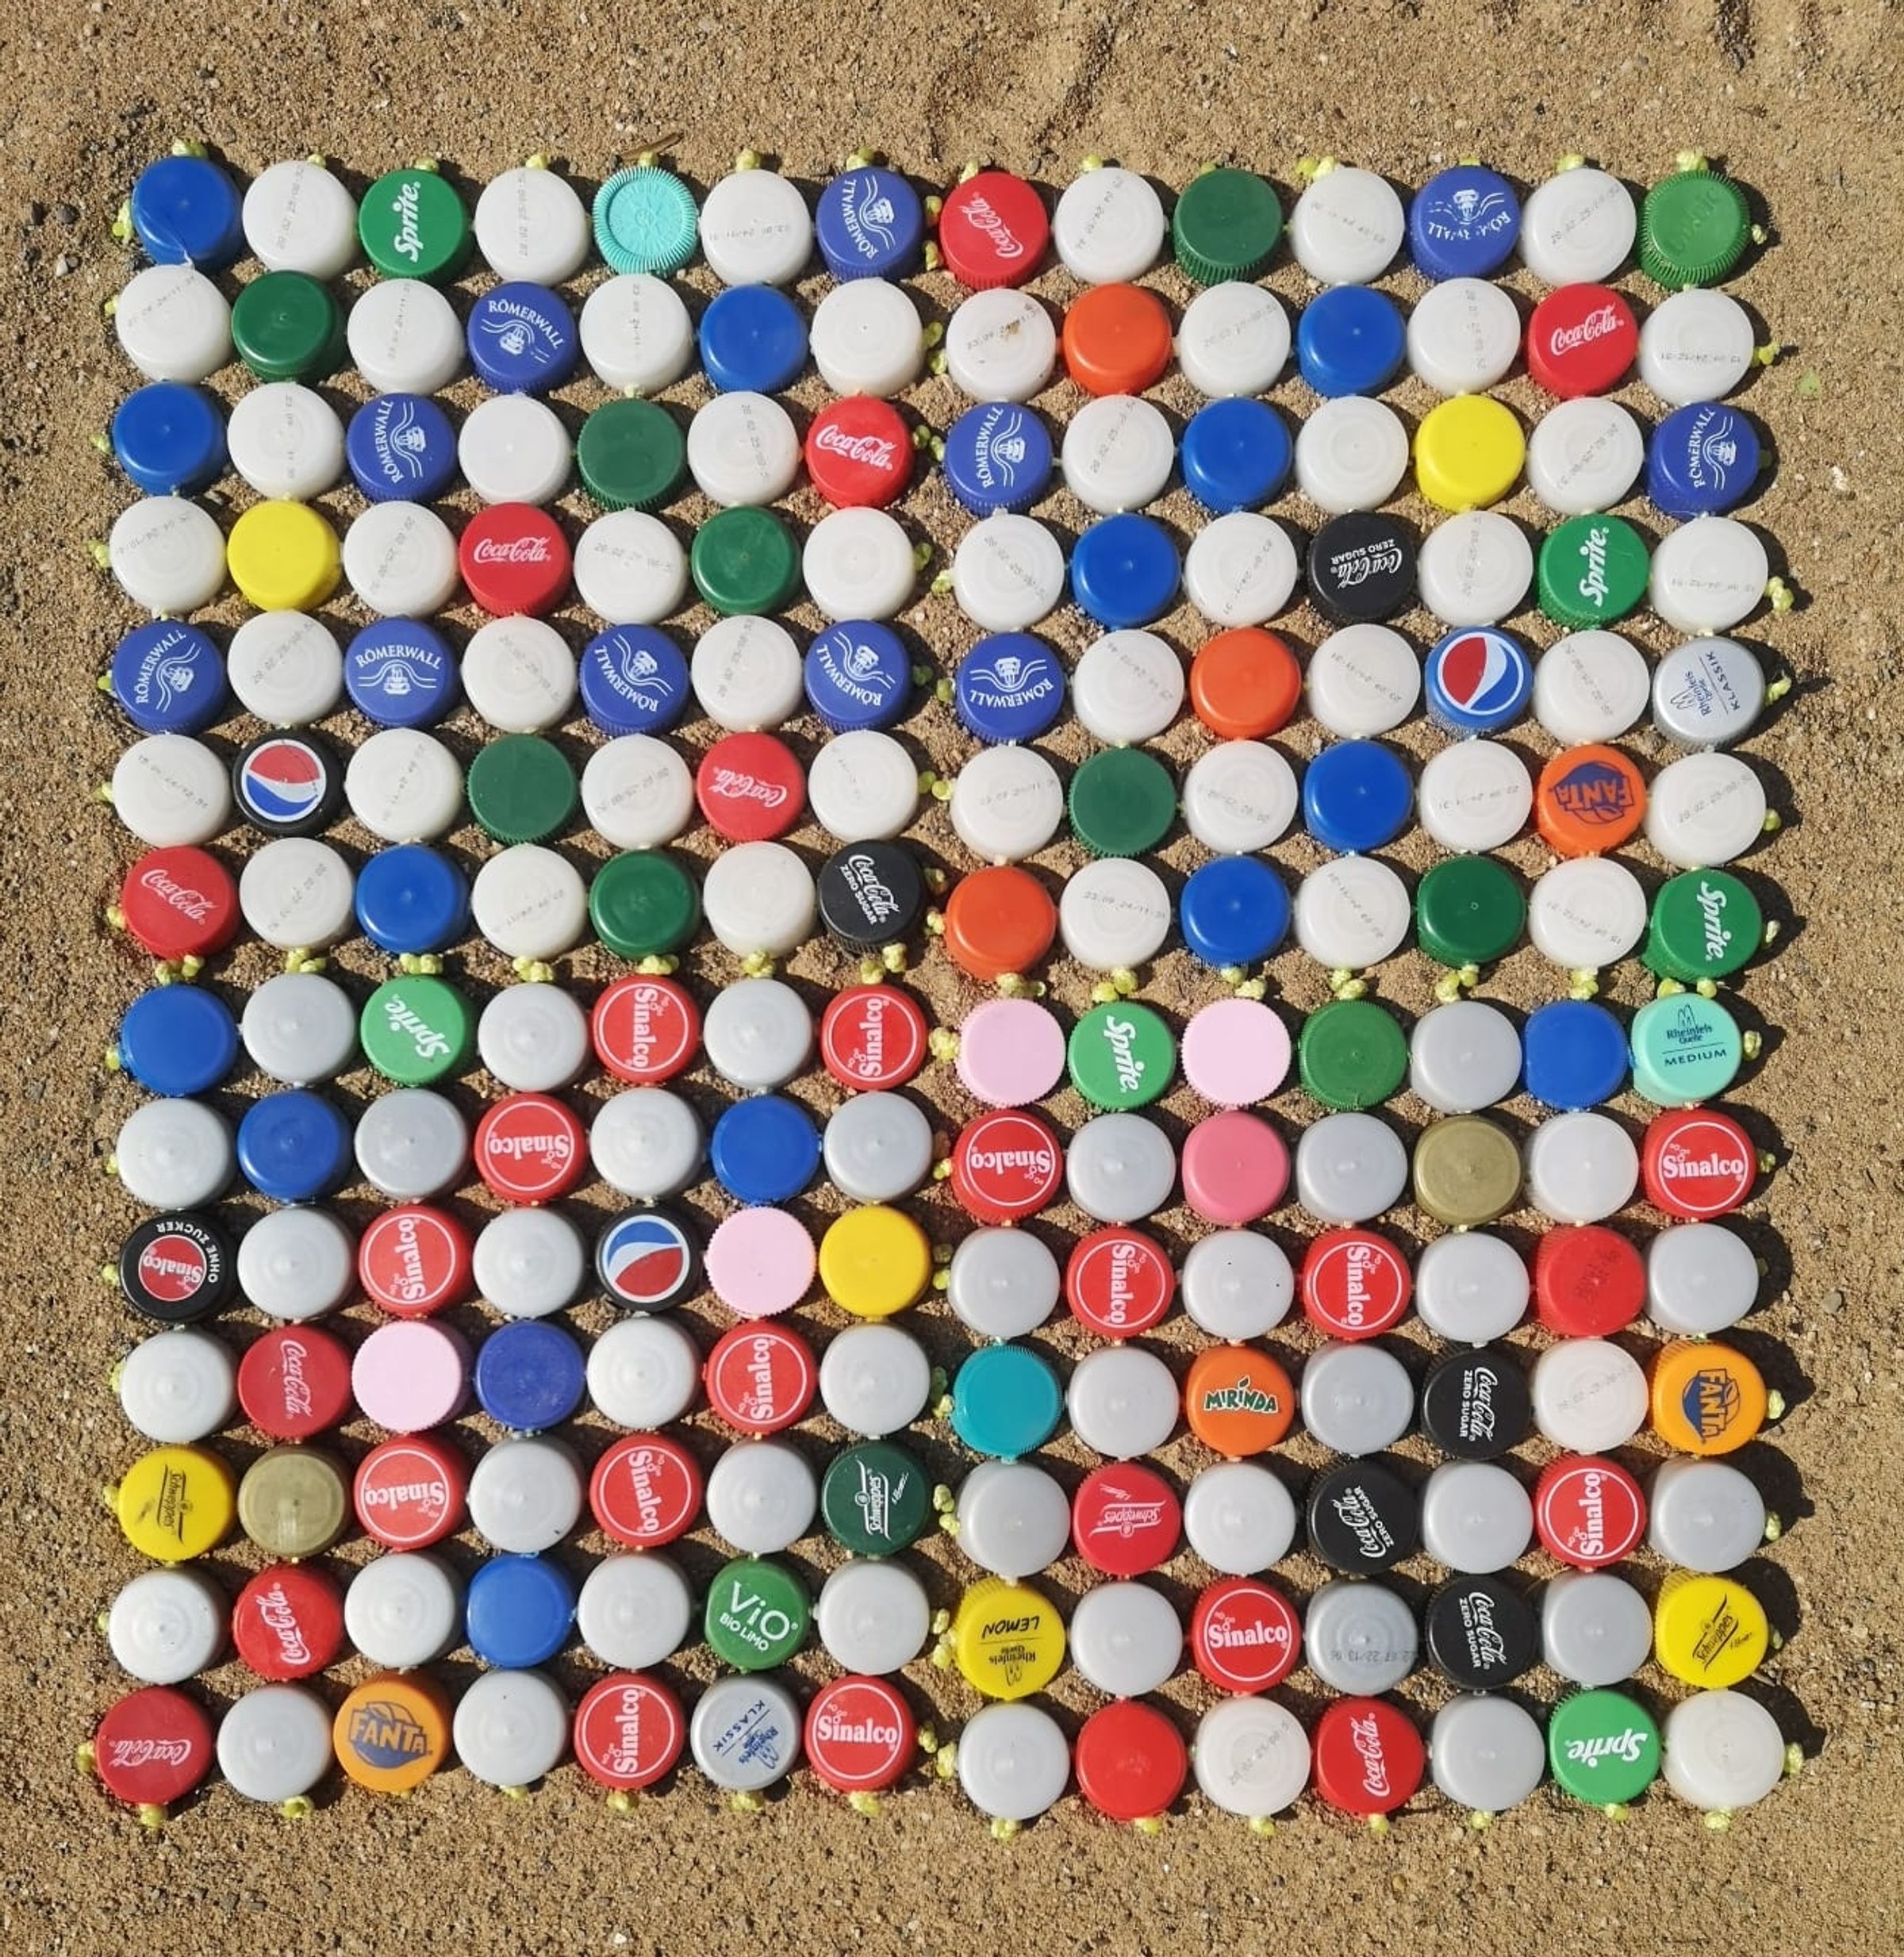
By repurposing bottle lids, you can give your floor a vibrant and unique look while helping the environment. It’s an affordable technique for shacks that are build on sand. You can use it indoors or outdoors and move it to another place as it is not firmly attached to the ground.
Published under CC:BY-SA by
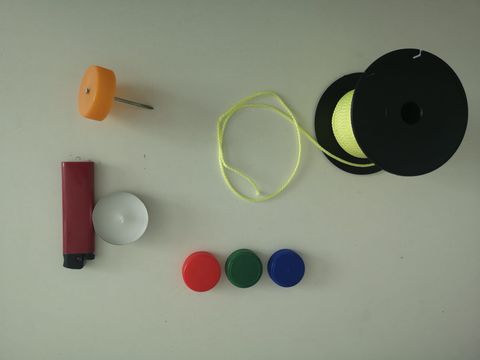
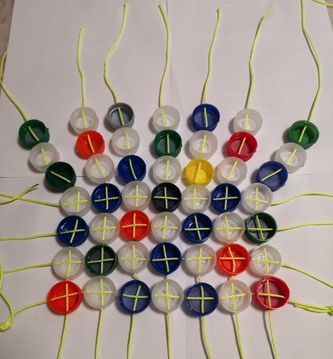
RWTH Aachen University - Institute of Landscape ArchitectureMaterials Needed for One Module (44cm x 44cm):


This instruction shows you the general technique. You can create flooring in any size you want. To create larger floors you need more bottle lids.
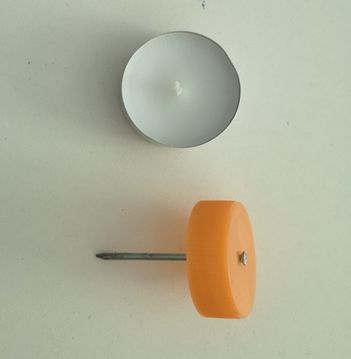
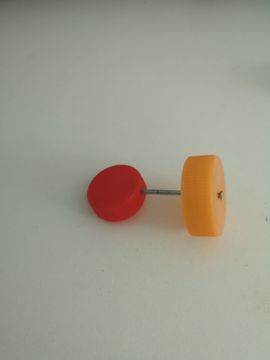
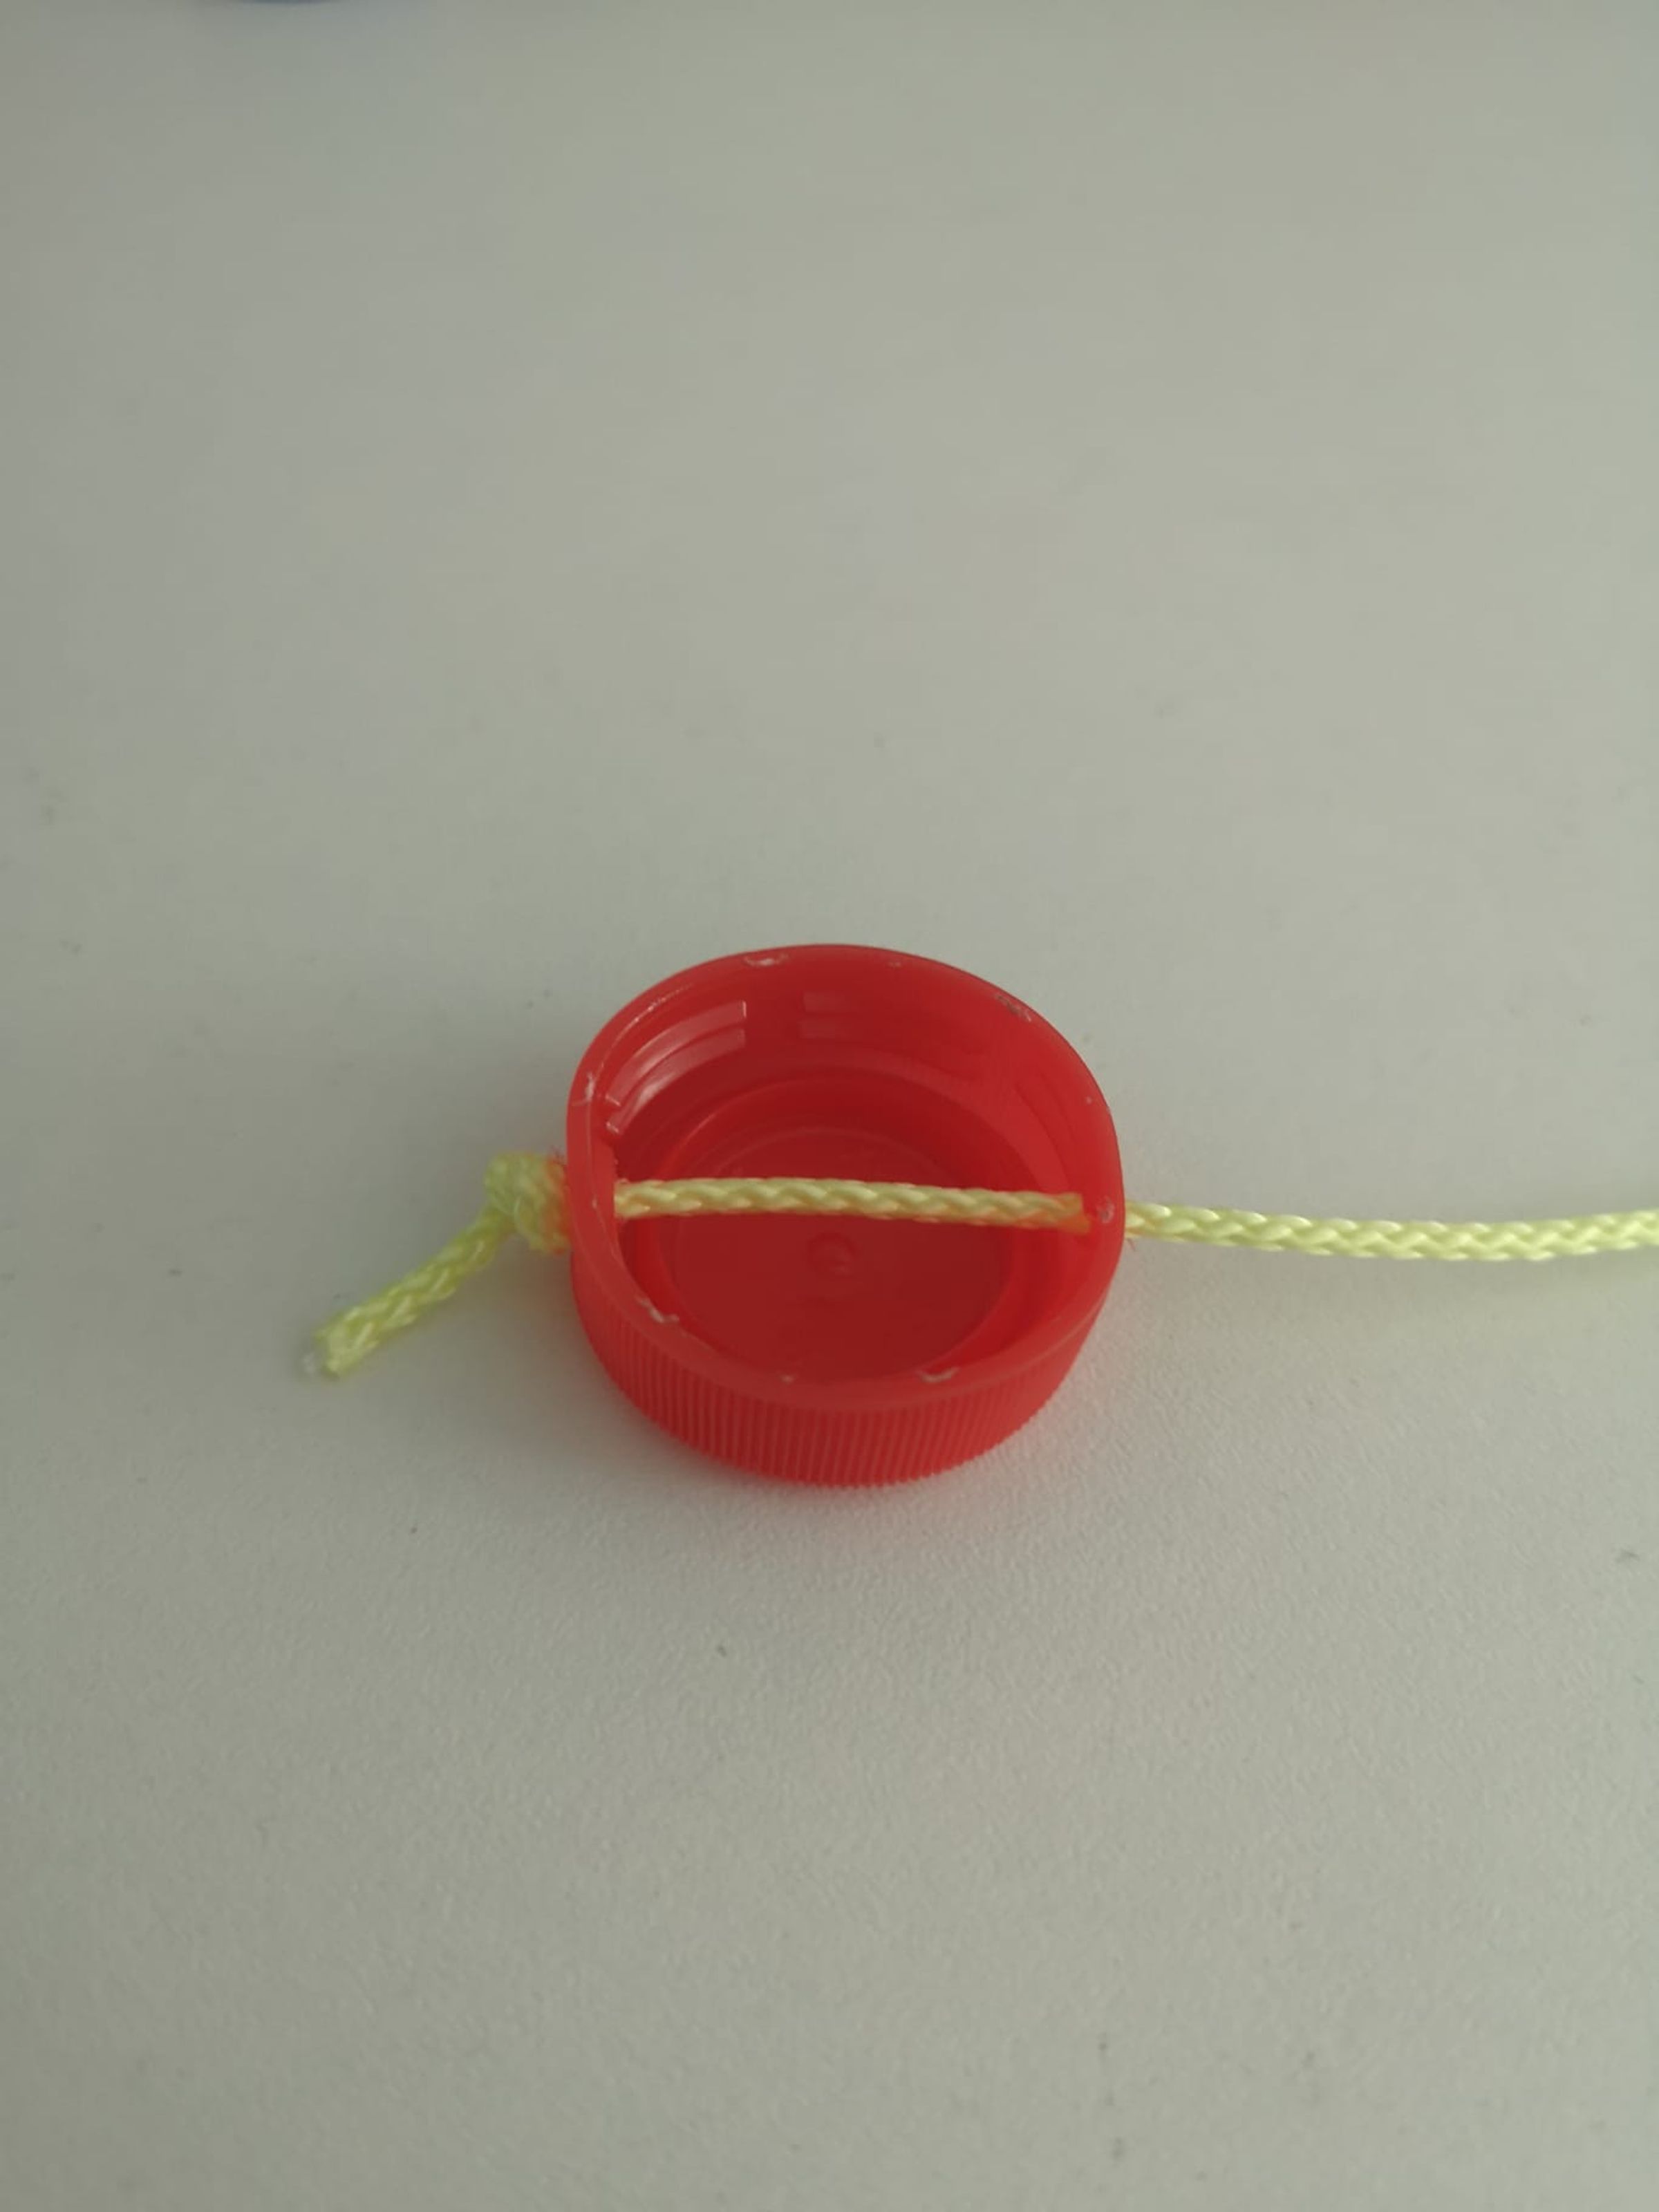
Heat the nail with the candle and insert it through the top of a bottle lid. If the nail becomes too hot, place a piece of fabric over the top of the bottle lid to protect against the heat.


Use your tool, to make holes in the bottle lids. Heat the tool and carefully poke holes in the lids. Each lids requires 4 holes. Each up, down, right and left. The holes should have a size of at least 2-3 mm.


Wear a mask to protect yourself from plastic fumes.


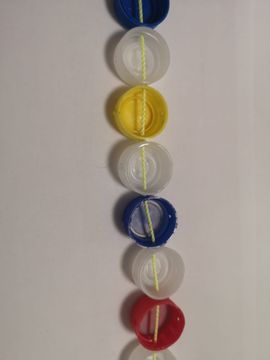
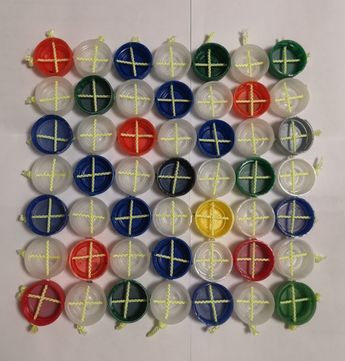
Warm up the end of a 30cm long cord with a candle. Cut off the heated part and tie a knot at the newly cut end. Then, thread the cord through seven bottle caps to create the first row. To keep the caps in place, tie another tight knot at the end of the row. If the cord doesn’t go through the holes easily, heat the beginning of the cord with the candle flame. This will make it smoother to pull the cord through. Just be careful when using the candle!

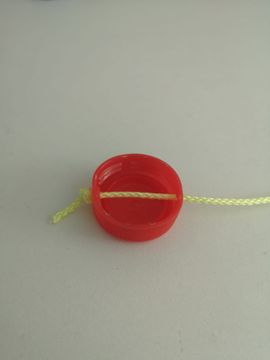
This is how the beginning and ending of each row should look like.

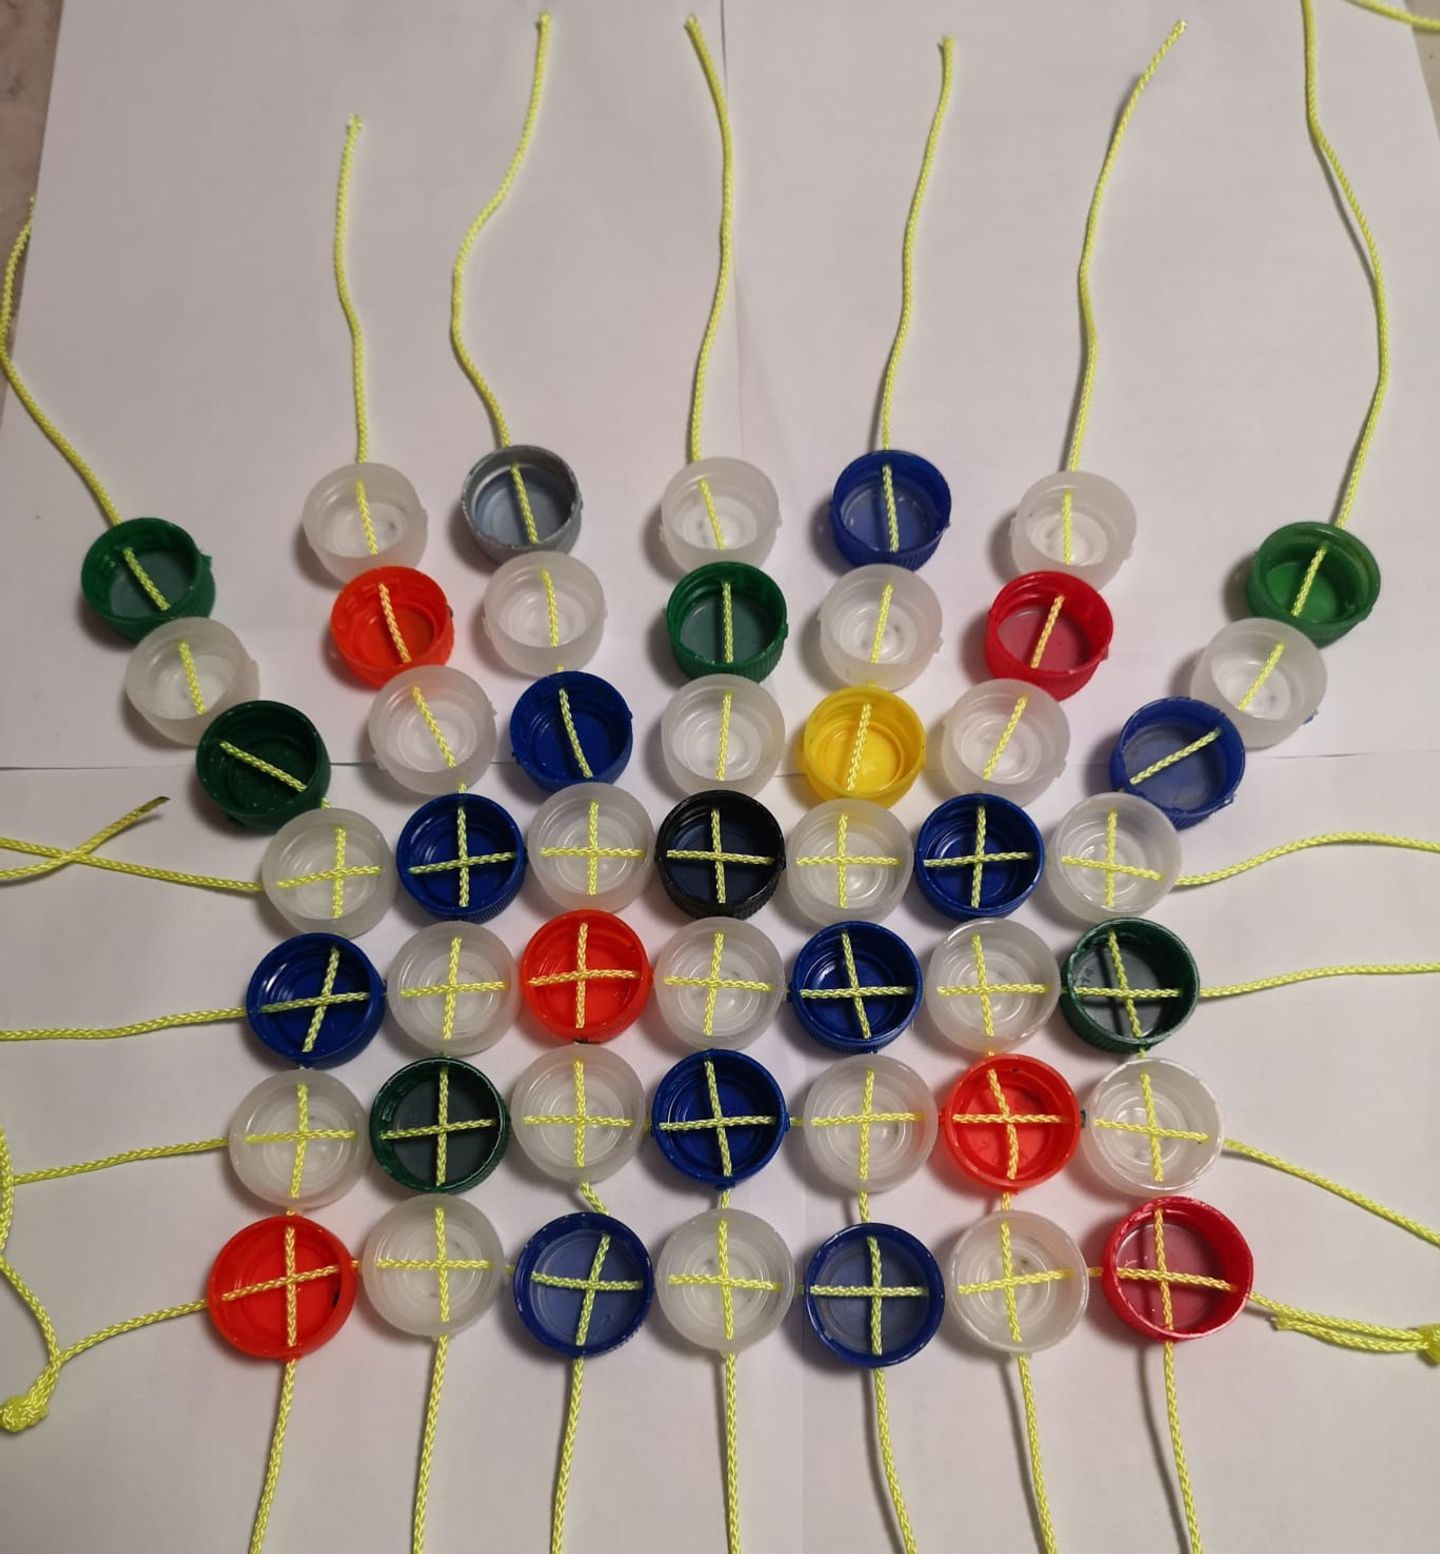


Repeat the previous step until you have as many modules as you need for your home. Straighten the sand surface in your home before placing the modules on the ground. Lay them close together and press them into the sand.
Build your own pop-up shower cabin for your home with just a few simple steps.
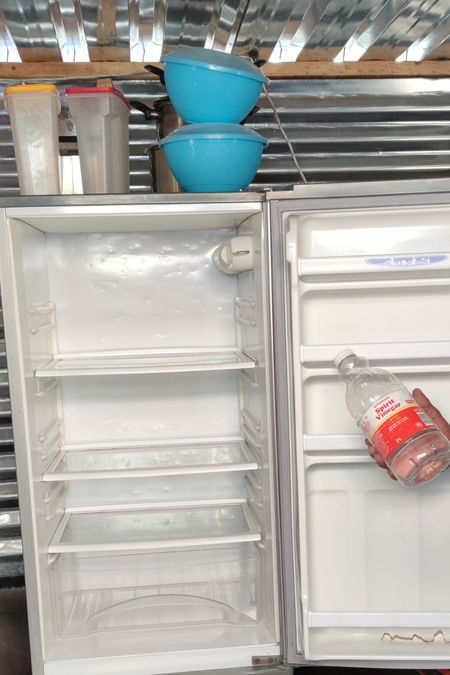
Safe money and the environment
Vinegar and bicarb are really great products for cleaning. They are...
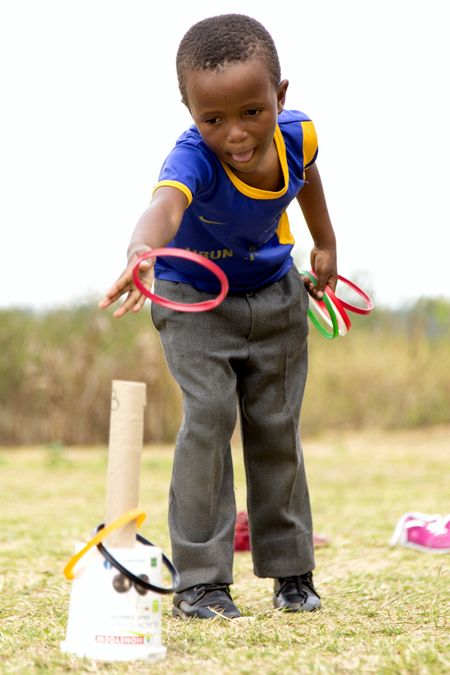
A fun educational toy for your kids
A ring toss is not only a really fun game for your children or learners.
Easy recipe, saving 30 min. of gas/electricity
Utilize your smart cooker box , smart cooker from blankets, or wonderbag for...
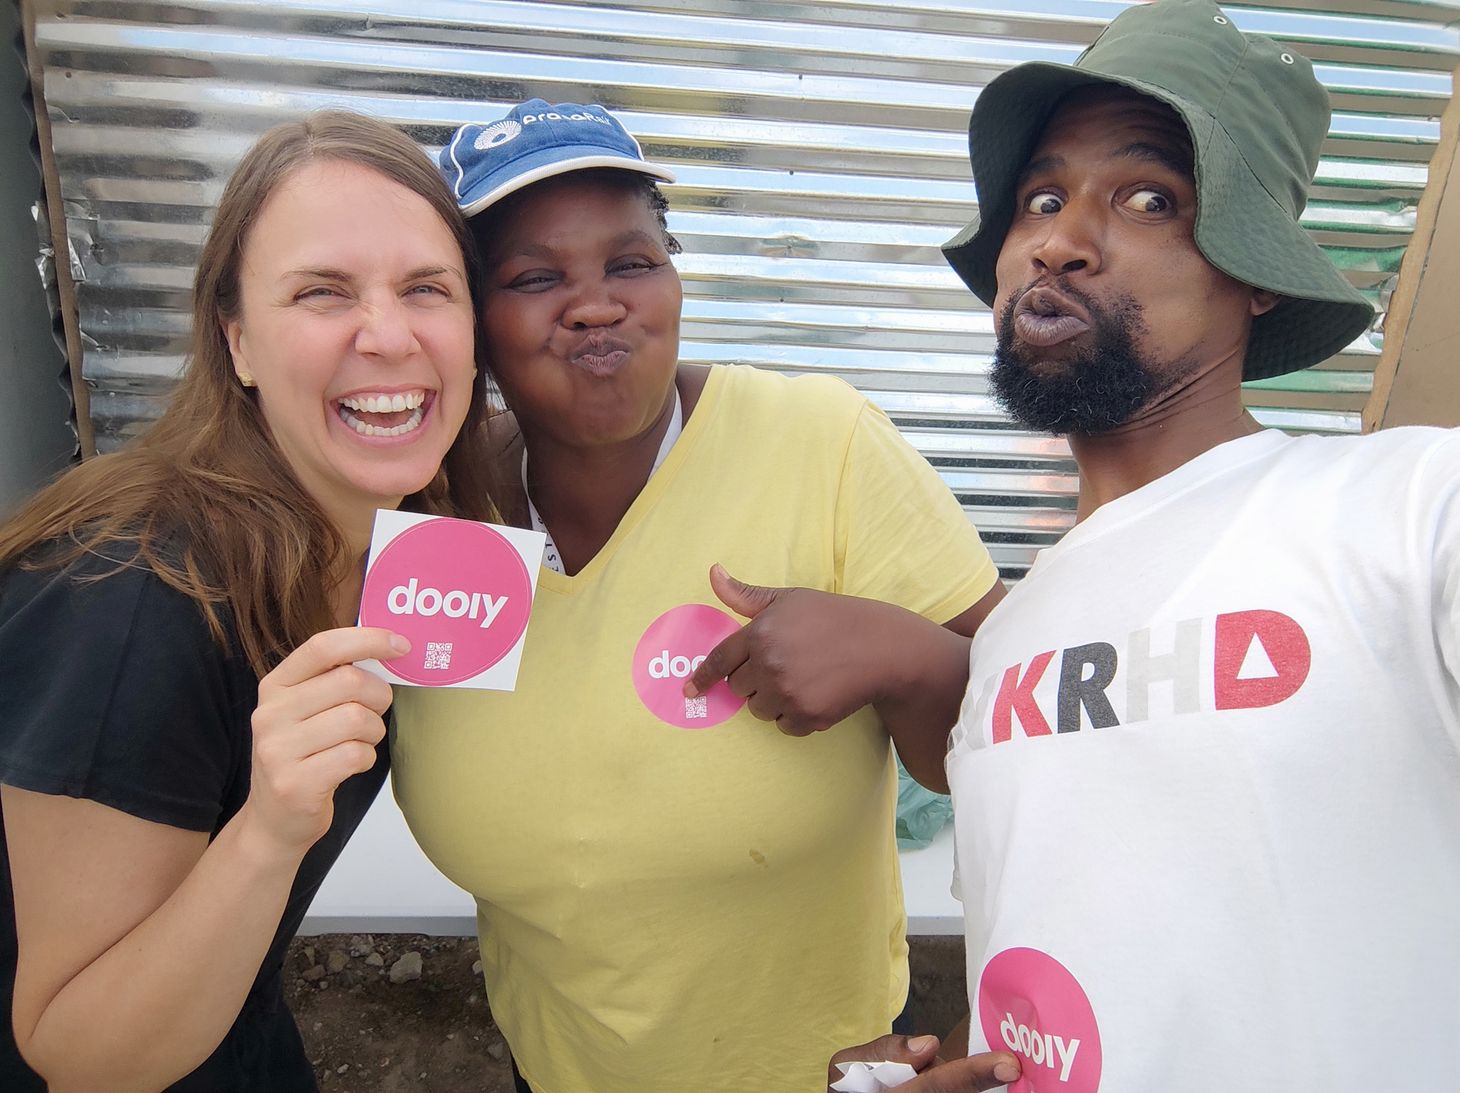
On dooiy you find fun and easy hacks that make life easier. Just follow our simple step-by-step guides and create something for your home or community with little materials and tools. Want to start a business? dooiy might be the perfect starting point for you.

from dooiy
You don‘ t have to be an expert to start making with dooiy. Just choose an easy hack and get going. After you made a few, I am sure that you will come up with your own ideas.
dooiy is being developed by passionate people in Germany and South Africa.
To fulfil our vision, we are looking for partners, volunteers, donors and people who spread the word.
Learn moreand become a partner