Guide by Industrial Design | HTW Berlin
Nighttoilet Chair
Chair during the day, toilet during the night.
Create a comfortable chair that can additionally be used either as a night...


Gain more living space in your home
| Done in | 120mins |
|---|---|
| Skill level | medium |
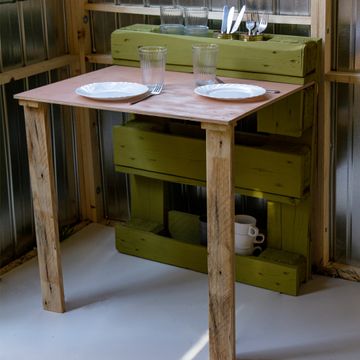
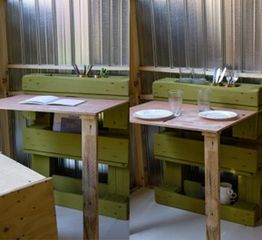
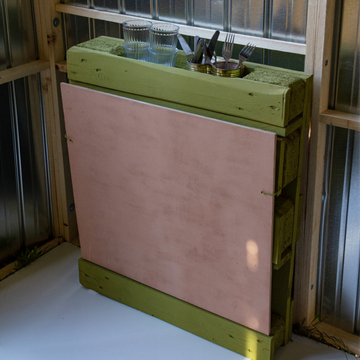
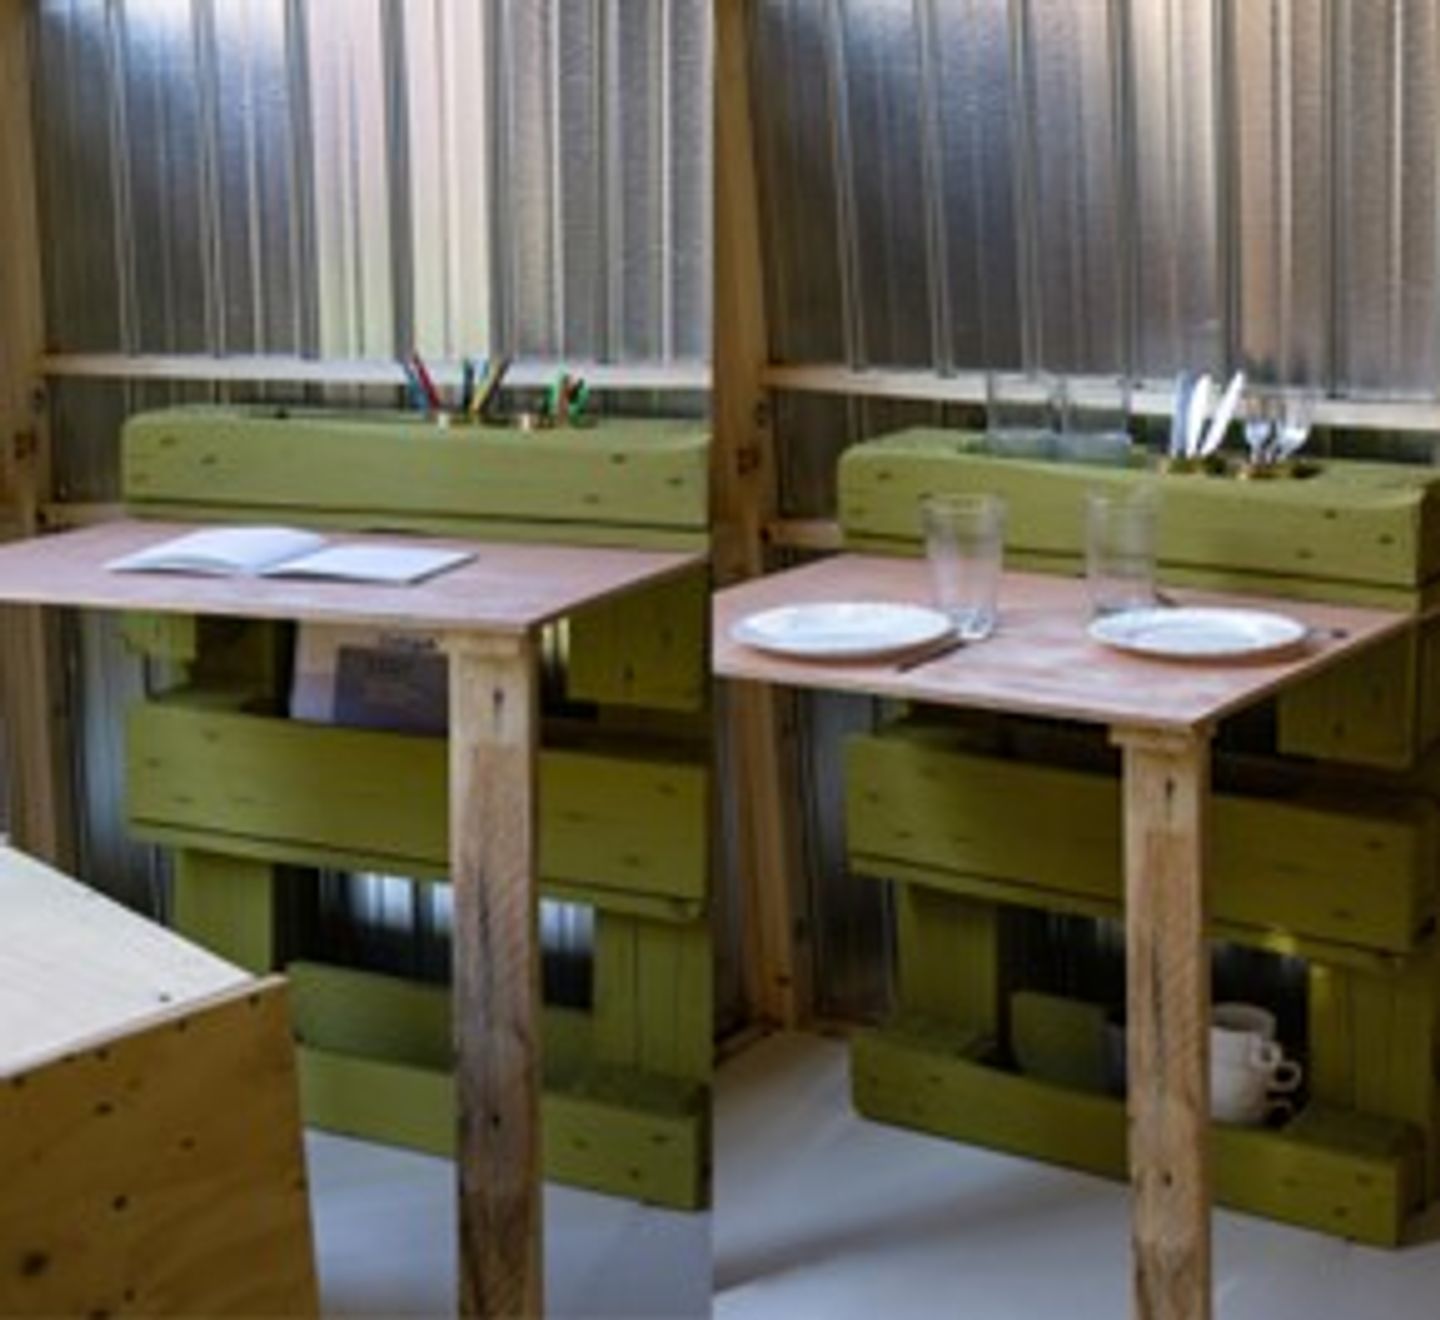
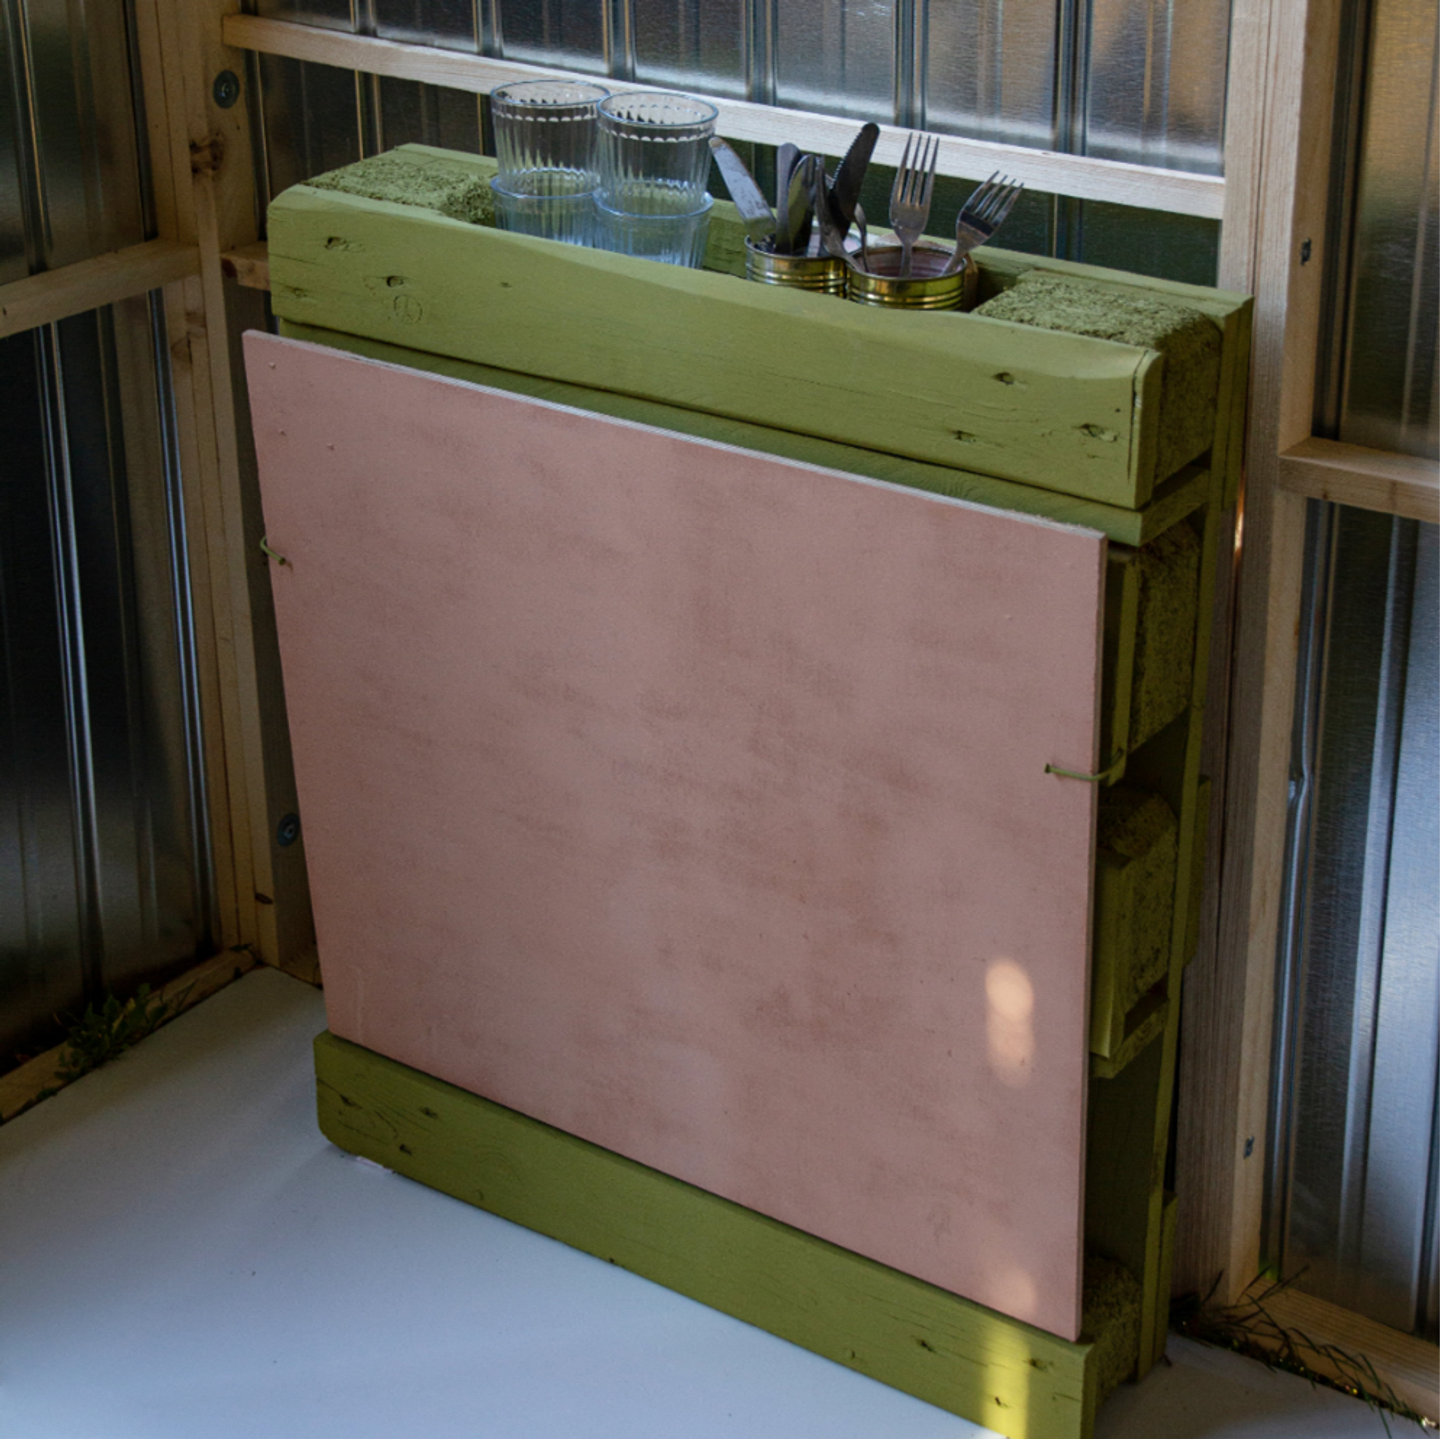
„FOLT“ combines a stylish table for working, eating or studying with a practical shelf for the most necessary things. The tabletop is very easy to assemble and disassemble to make room for other activities when not in use. When unfolded, the compartments of the shelf are easily accessible and thus enable concentrated work. The easy-to-install legs give the table the necessary stability for any work. When folded down, two of the three compartments are concealed, so that there is always order in your own four walls.


Published under CC:BY-SA by
Industrial Design | HTW Berlin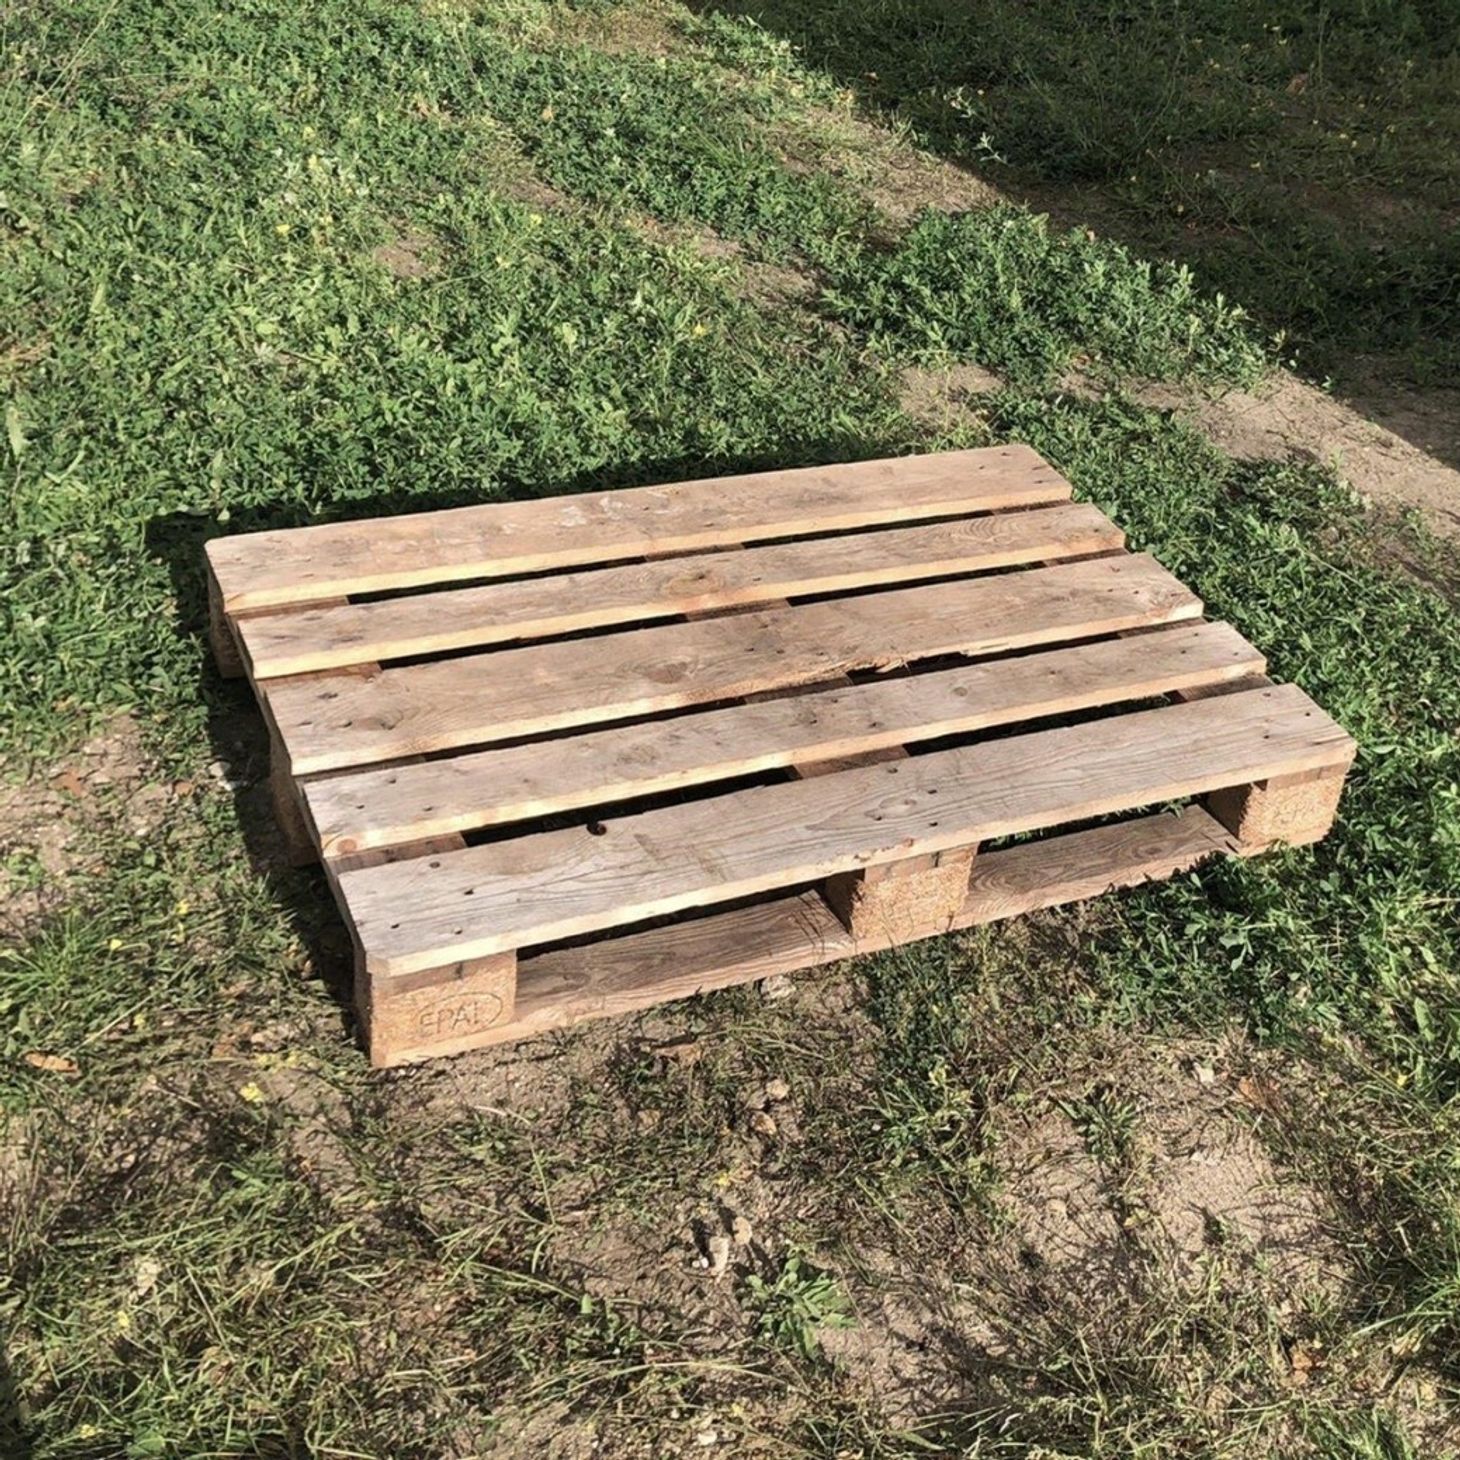

To build this table you need to be able to use a handsaw and a hammer (optionally pliers to remove nails). Ask your neighbours if they have any of those, or for help in case you are not comfortable with them.
Get your tools and materials ready and let’s get started!


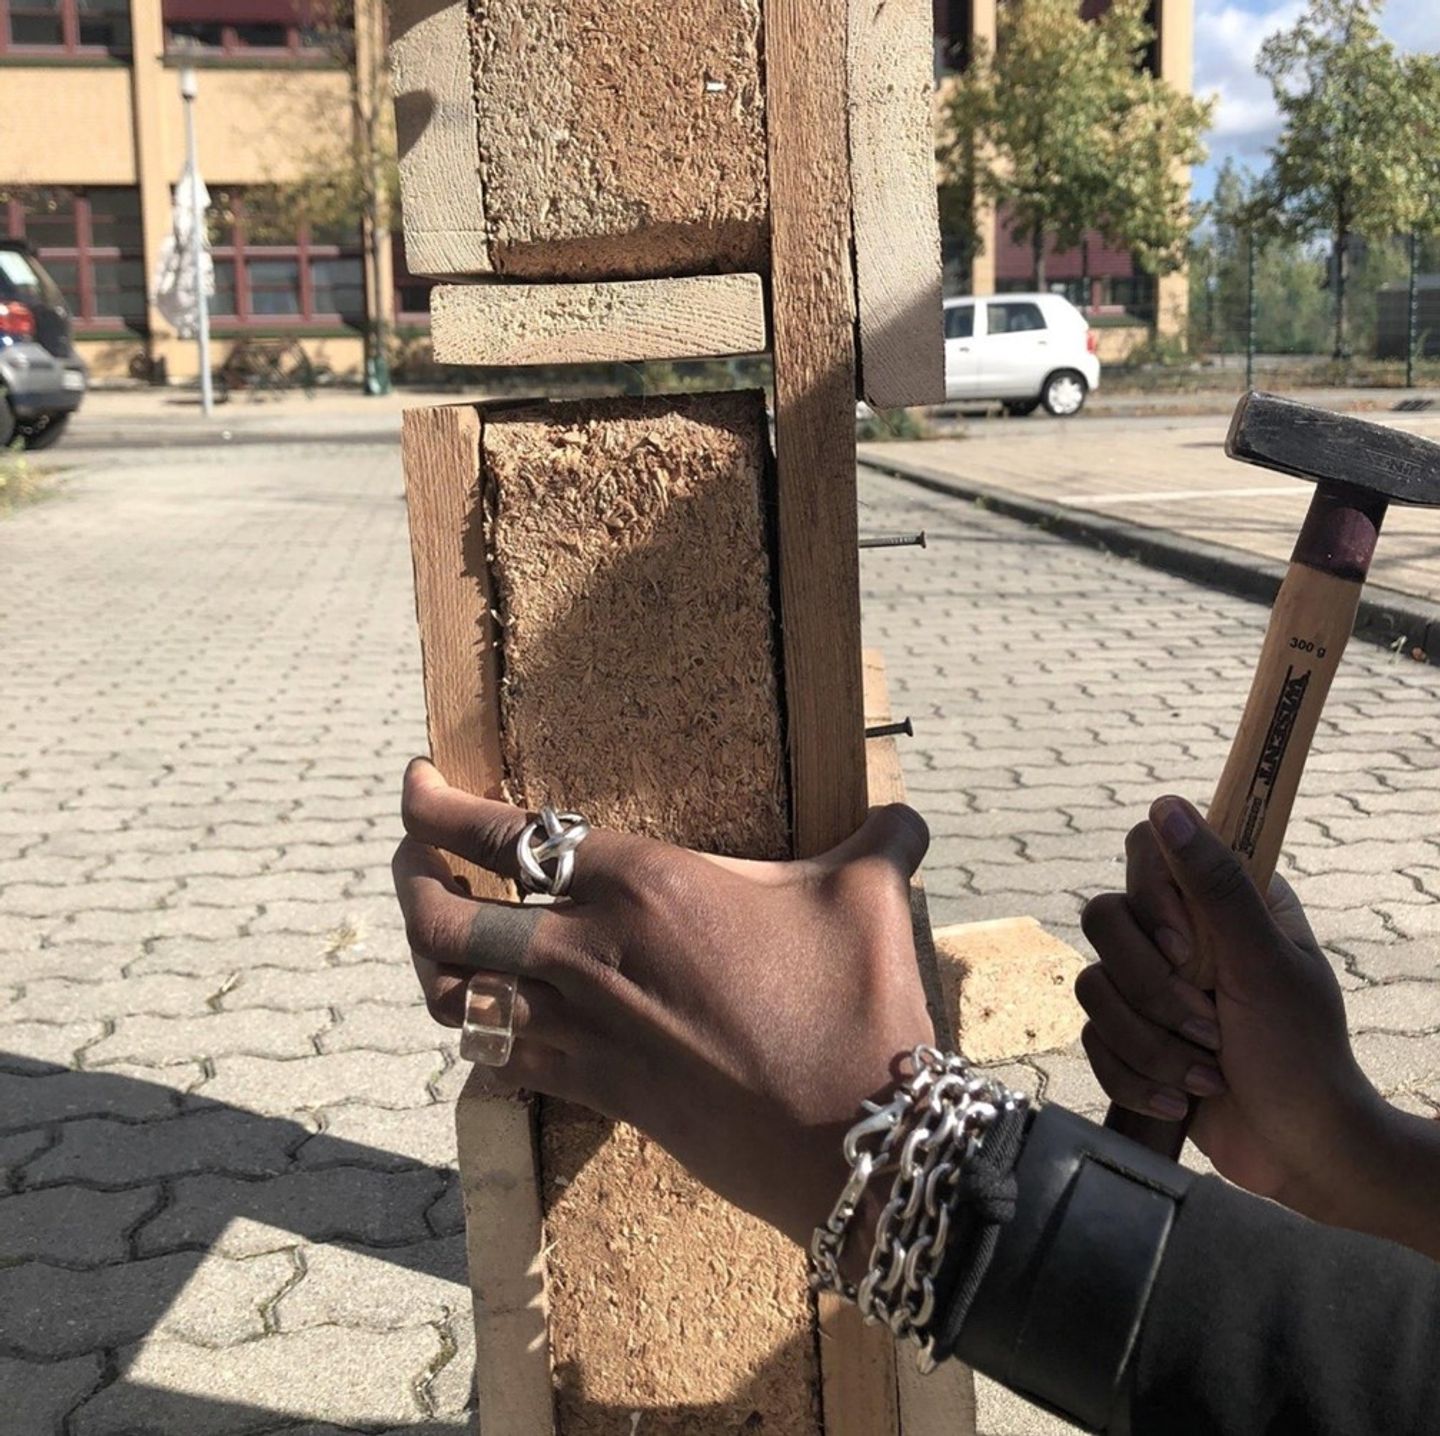
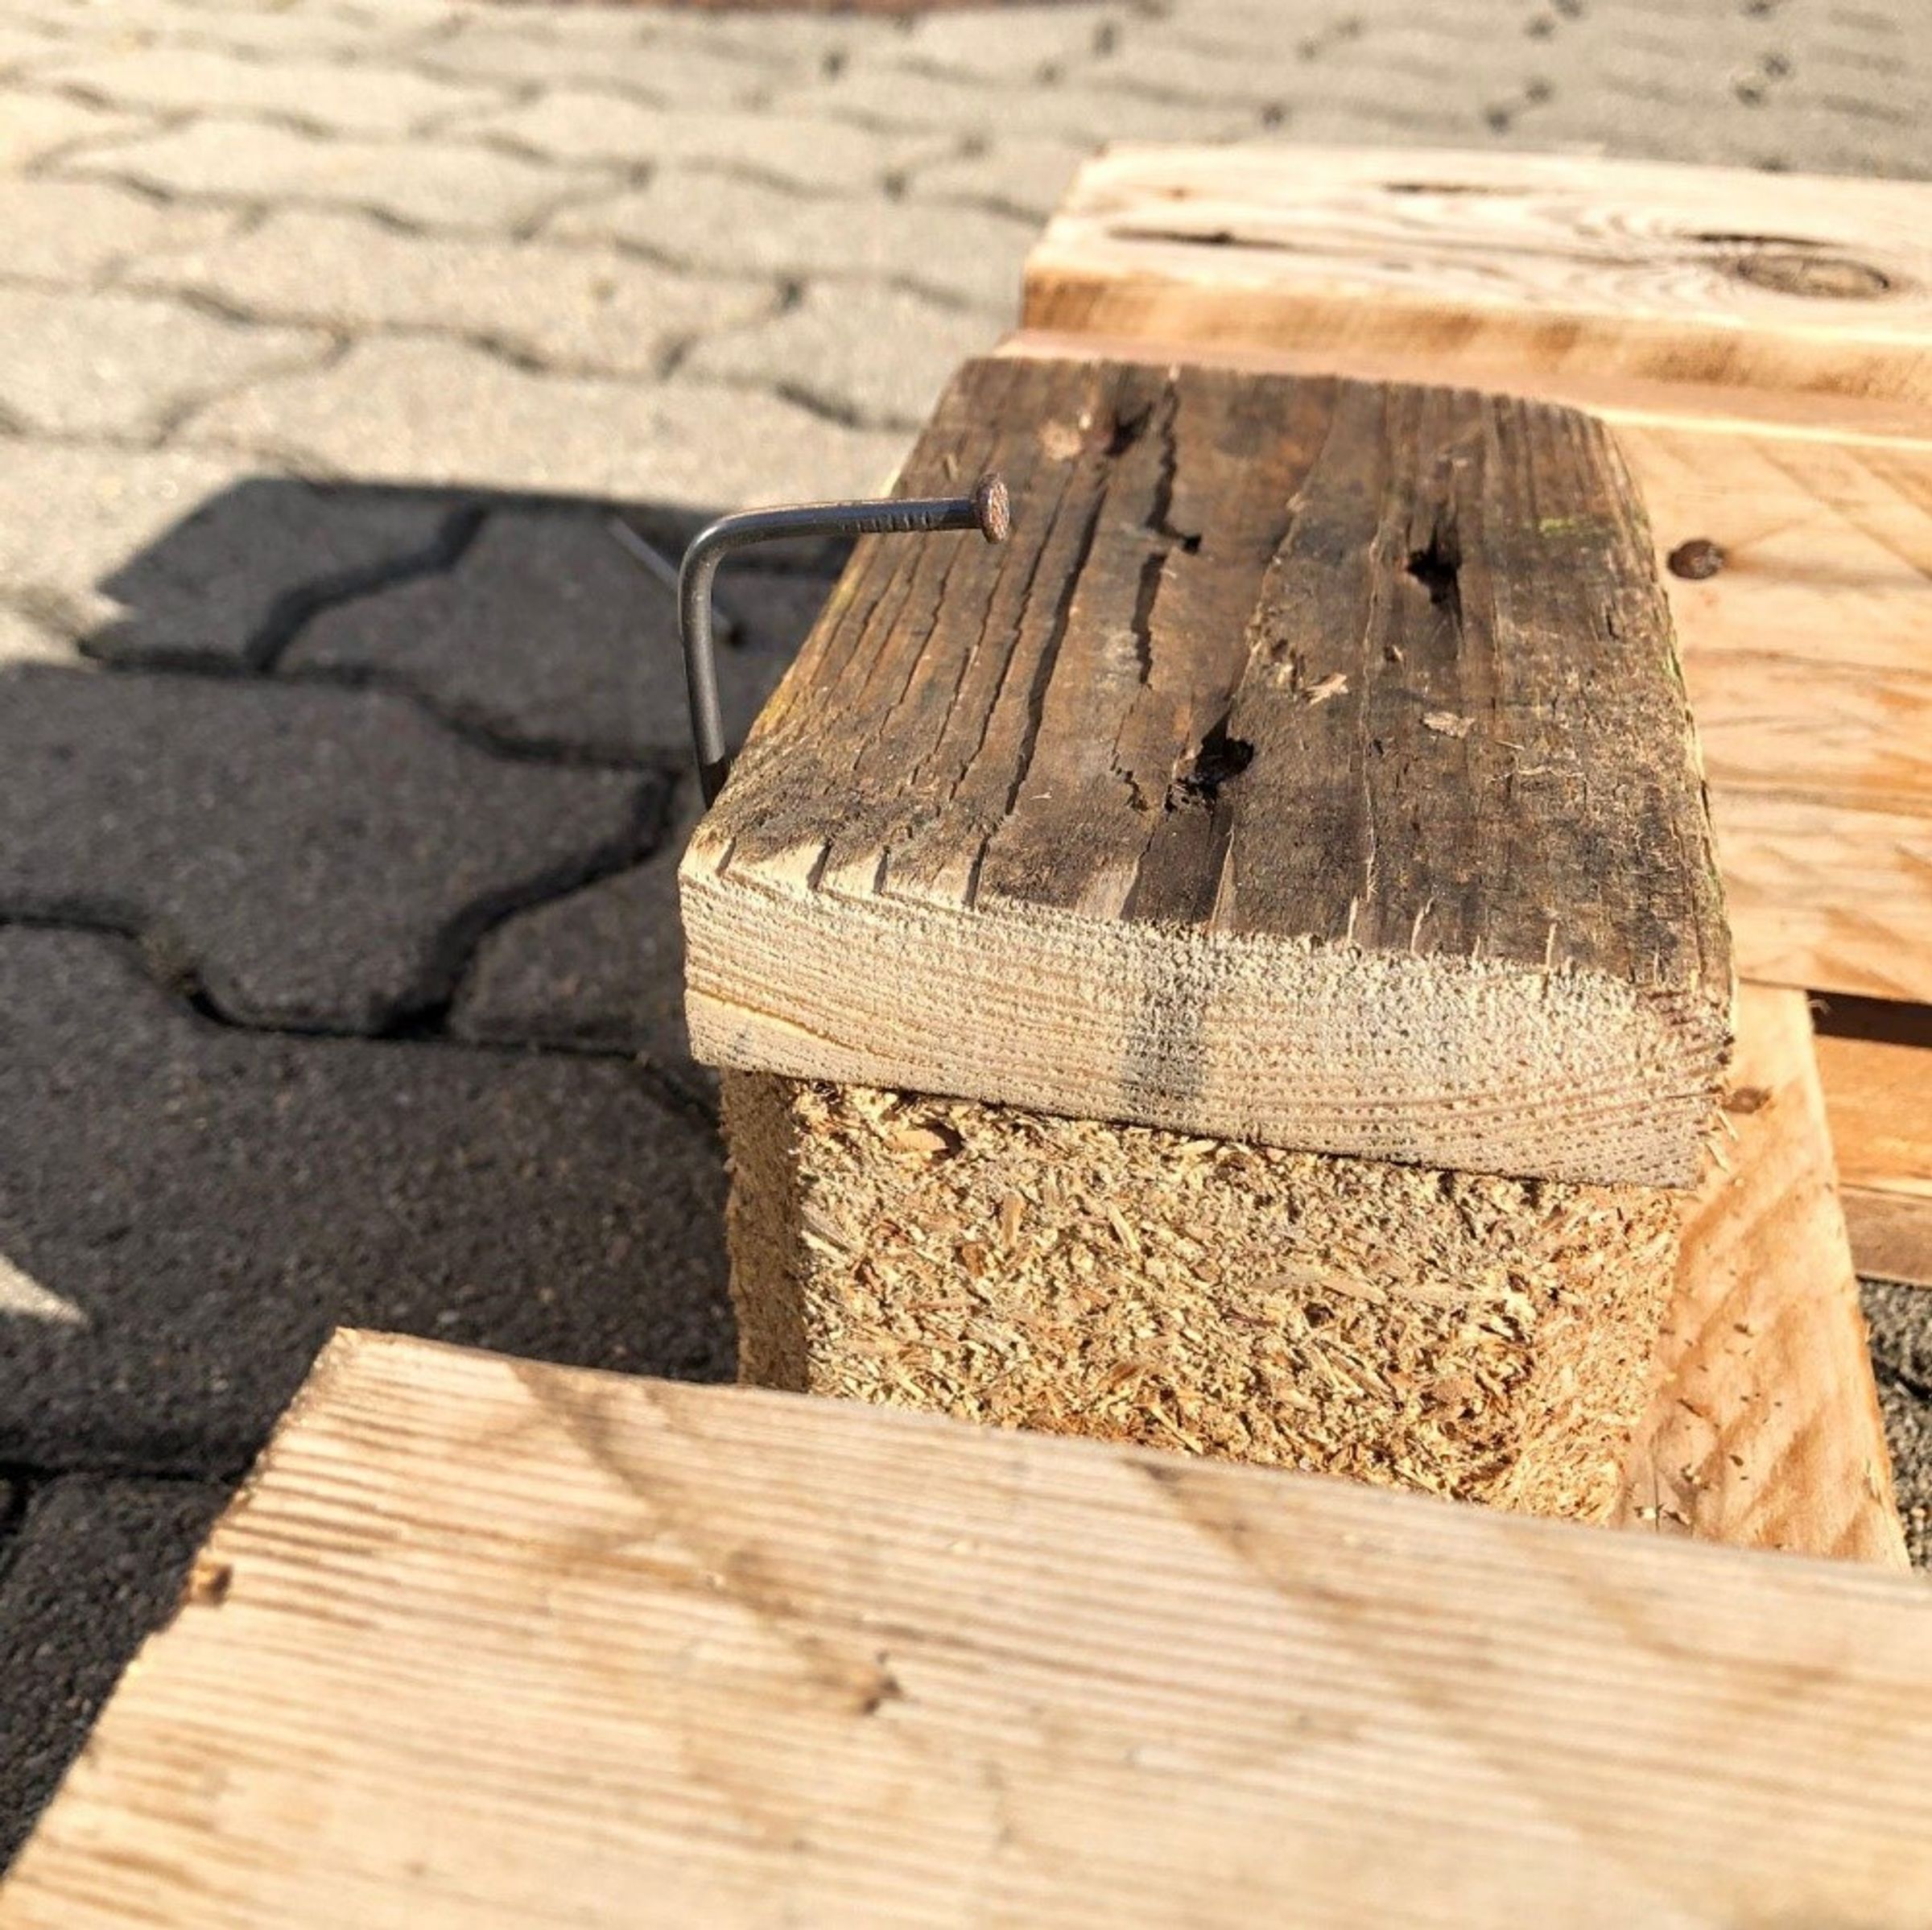
Now take out the nails from the boards you just removed. Hit the pointy tip of each nail with the hammer.
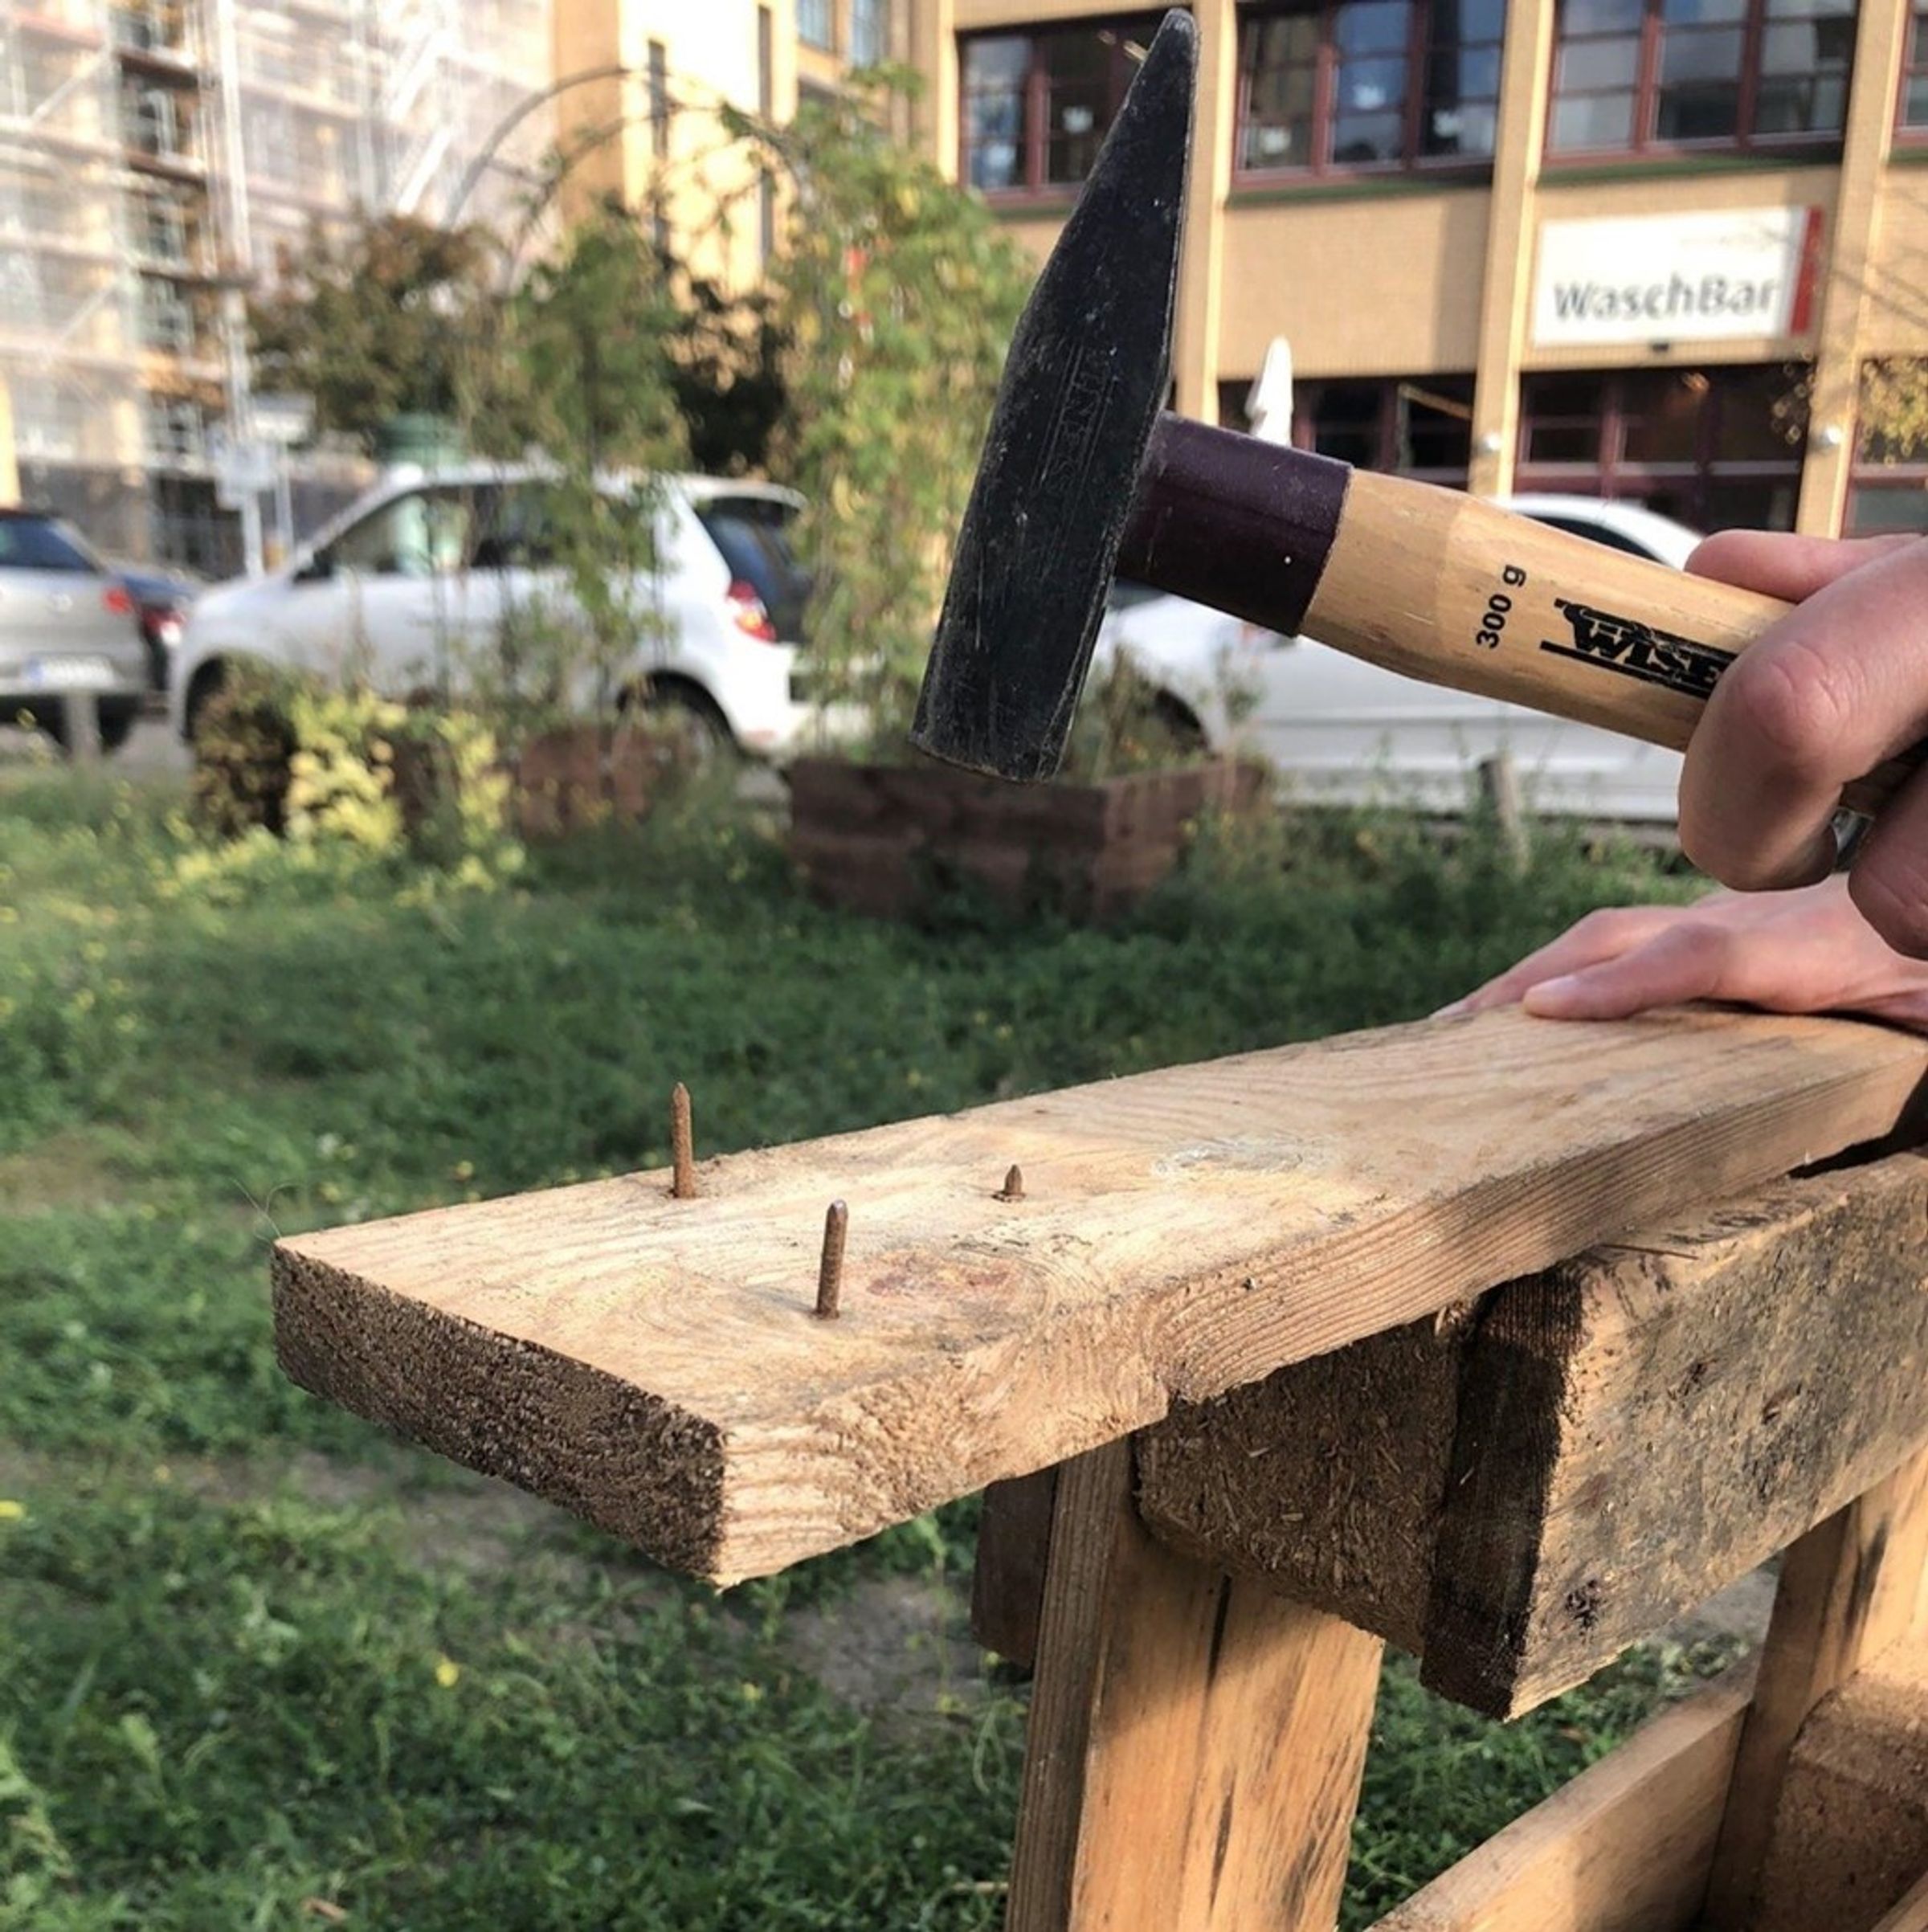

After that you can pull out the nails from the other side. If they do not come out easily, use pliers. We will reuse those nails for our project, don’t throw them away.


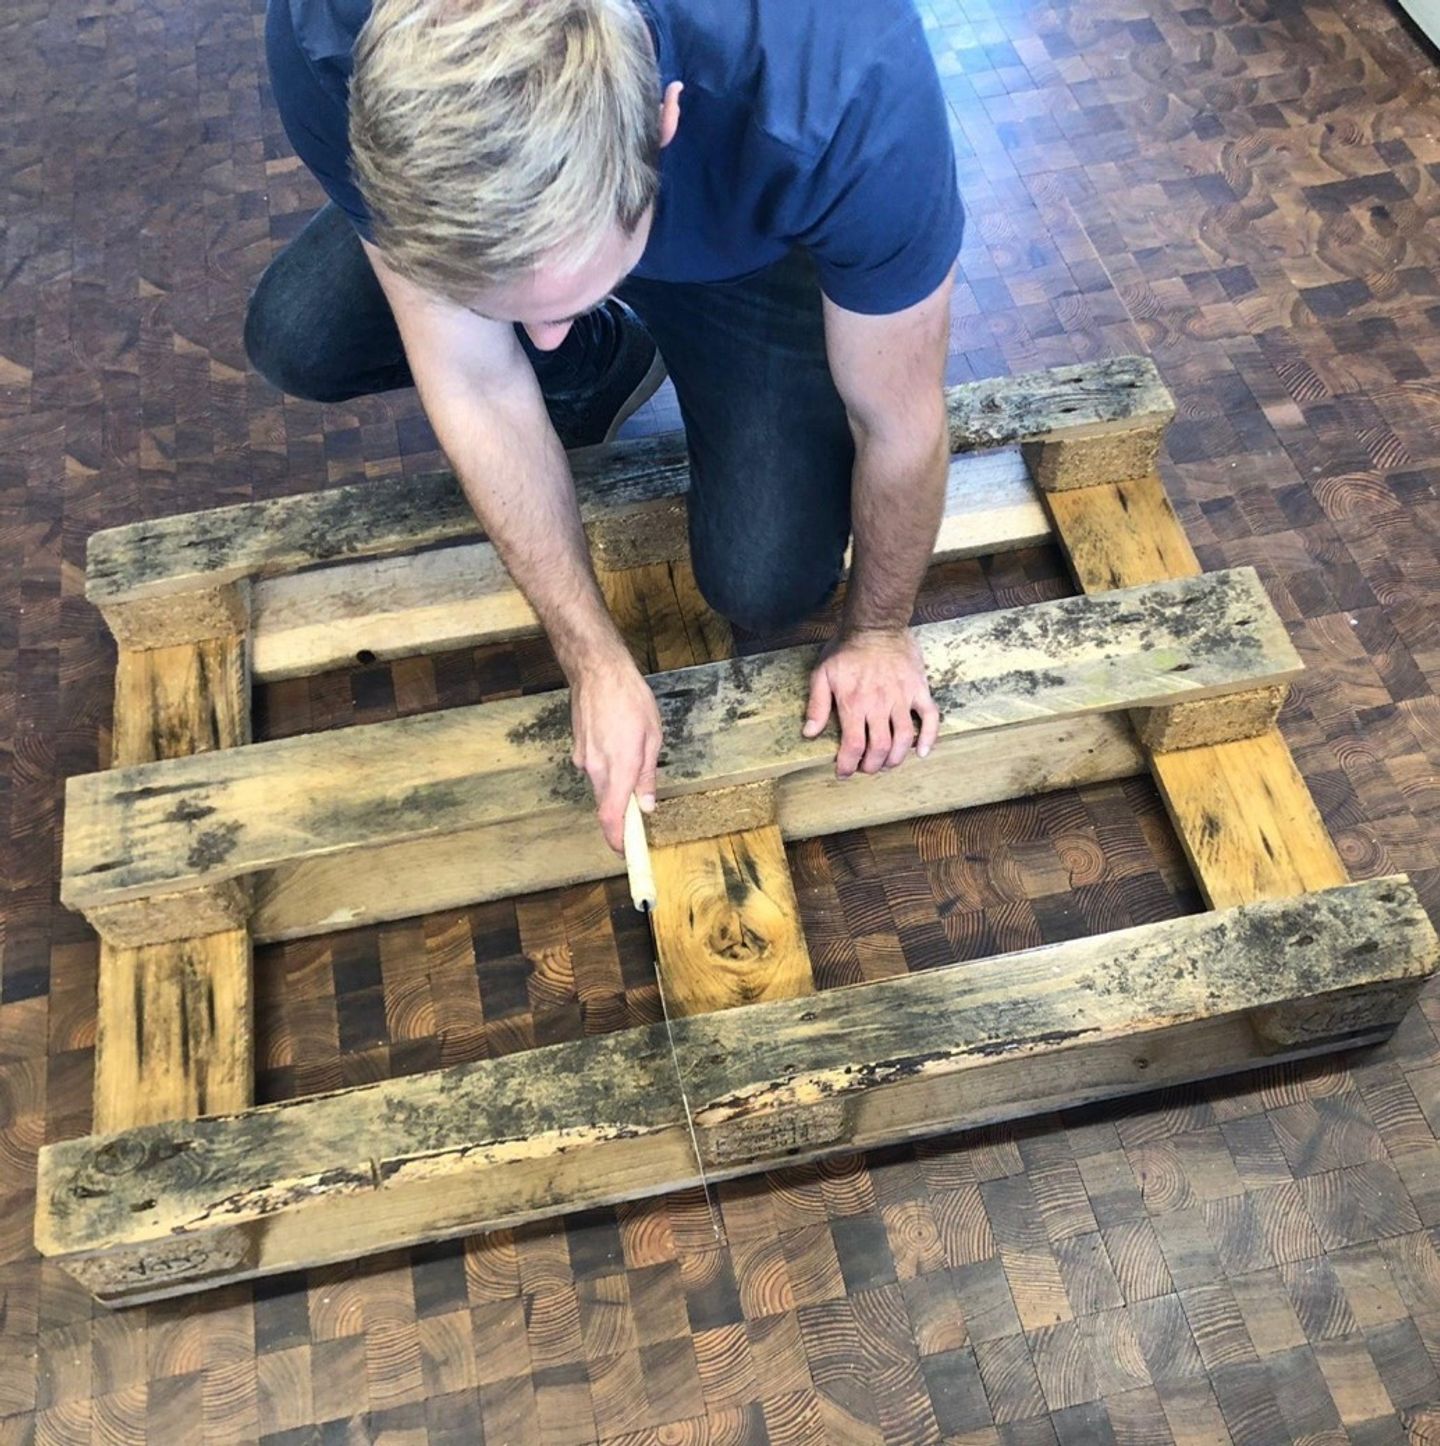


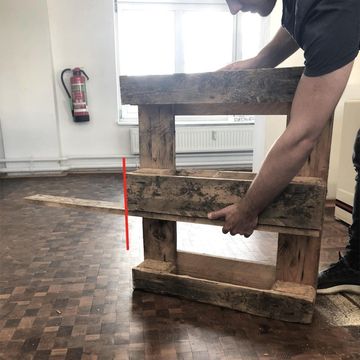
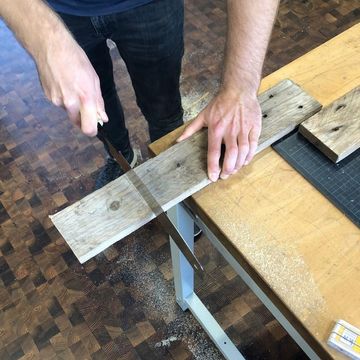
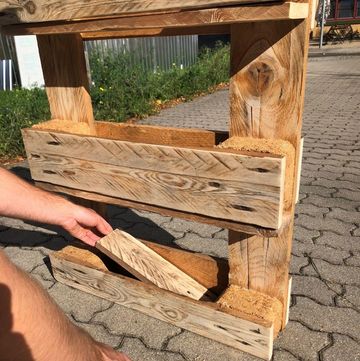
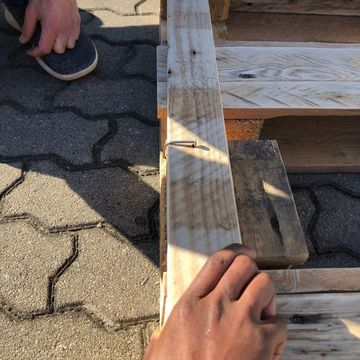
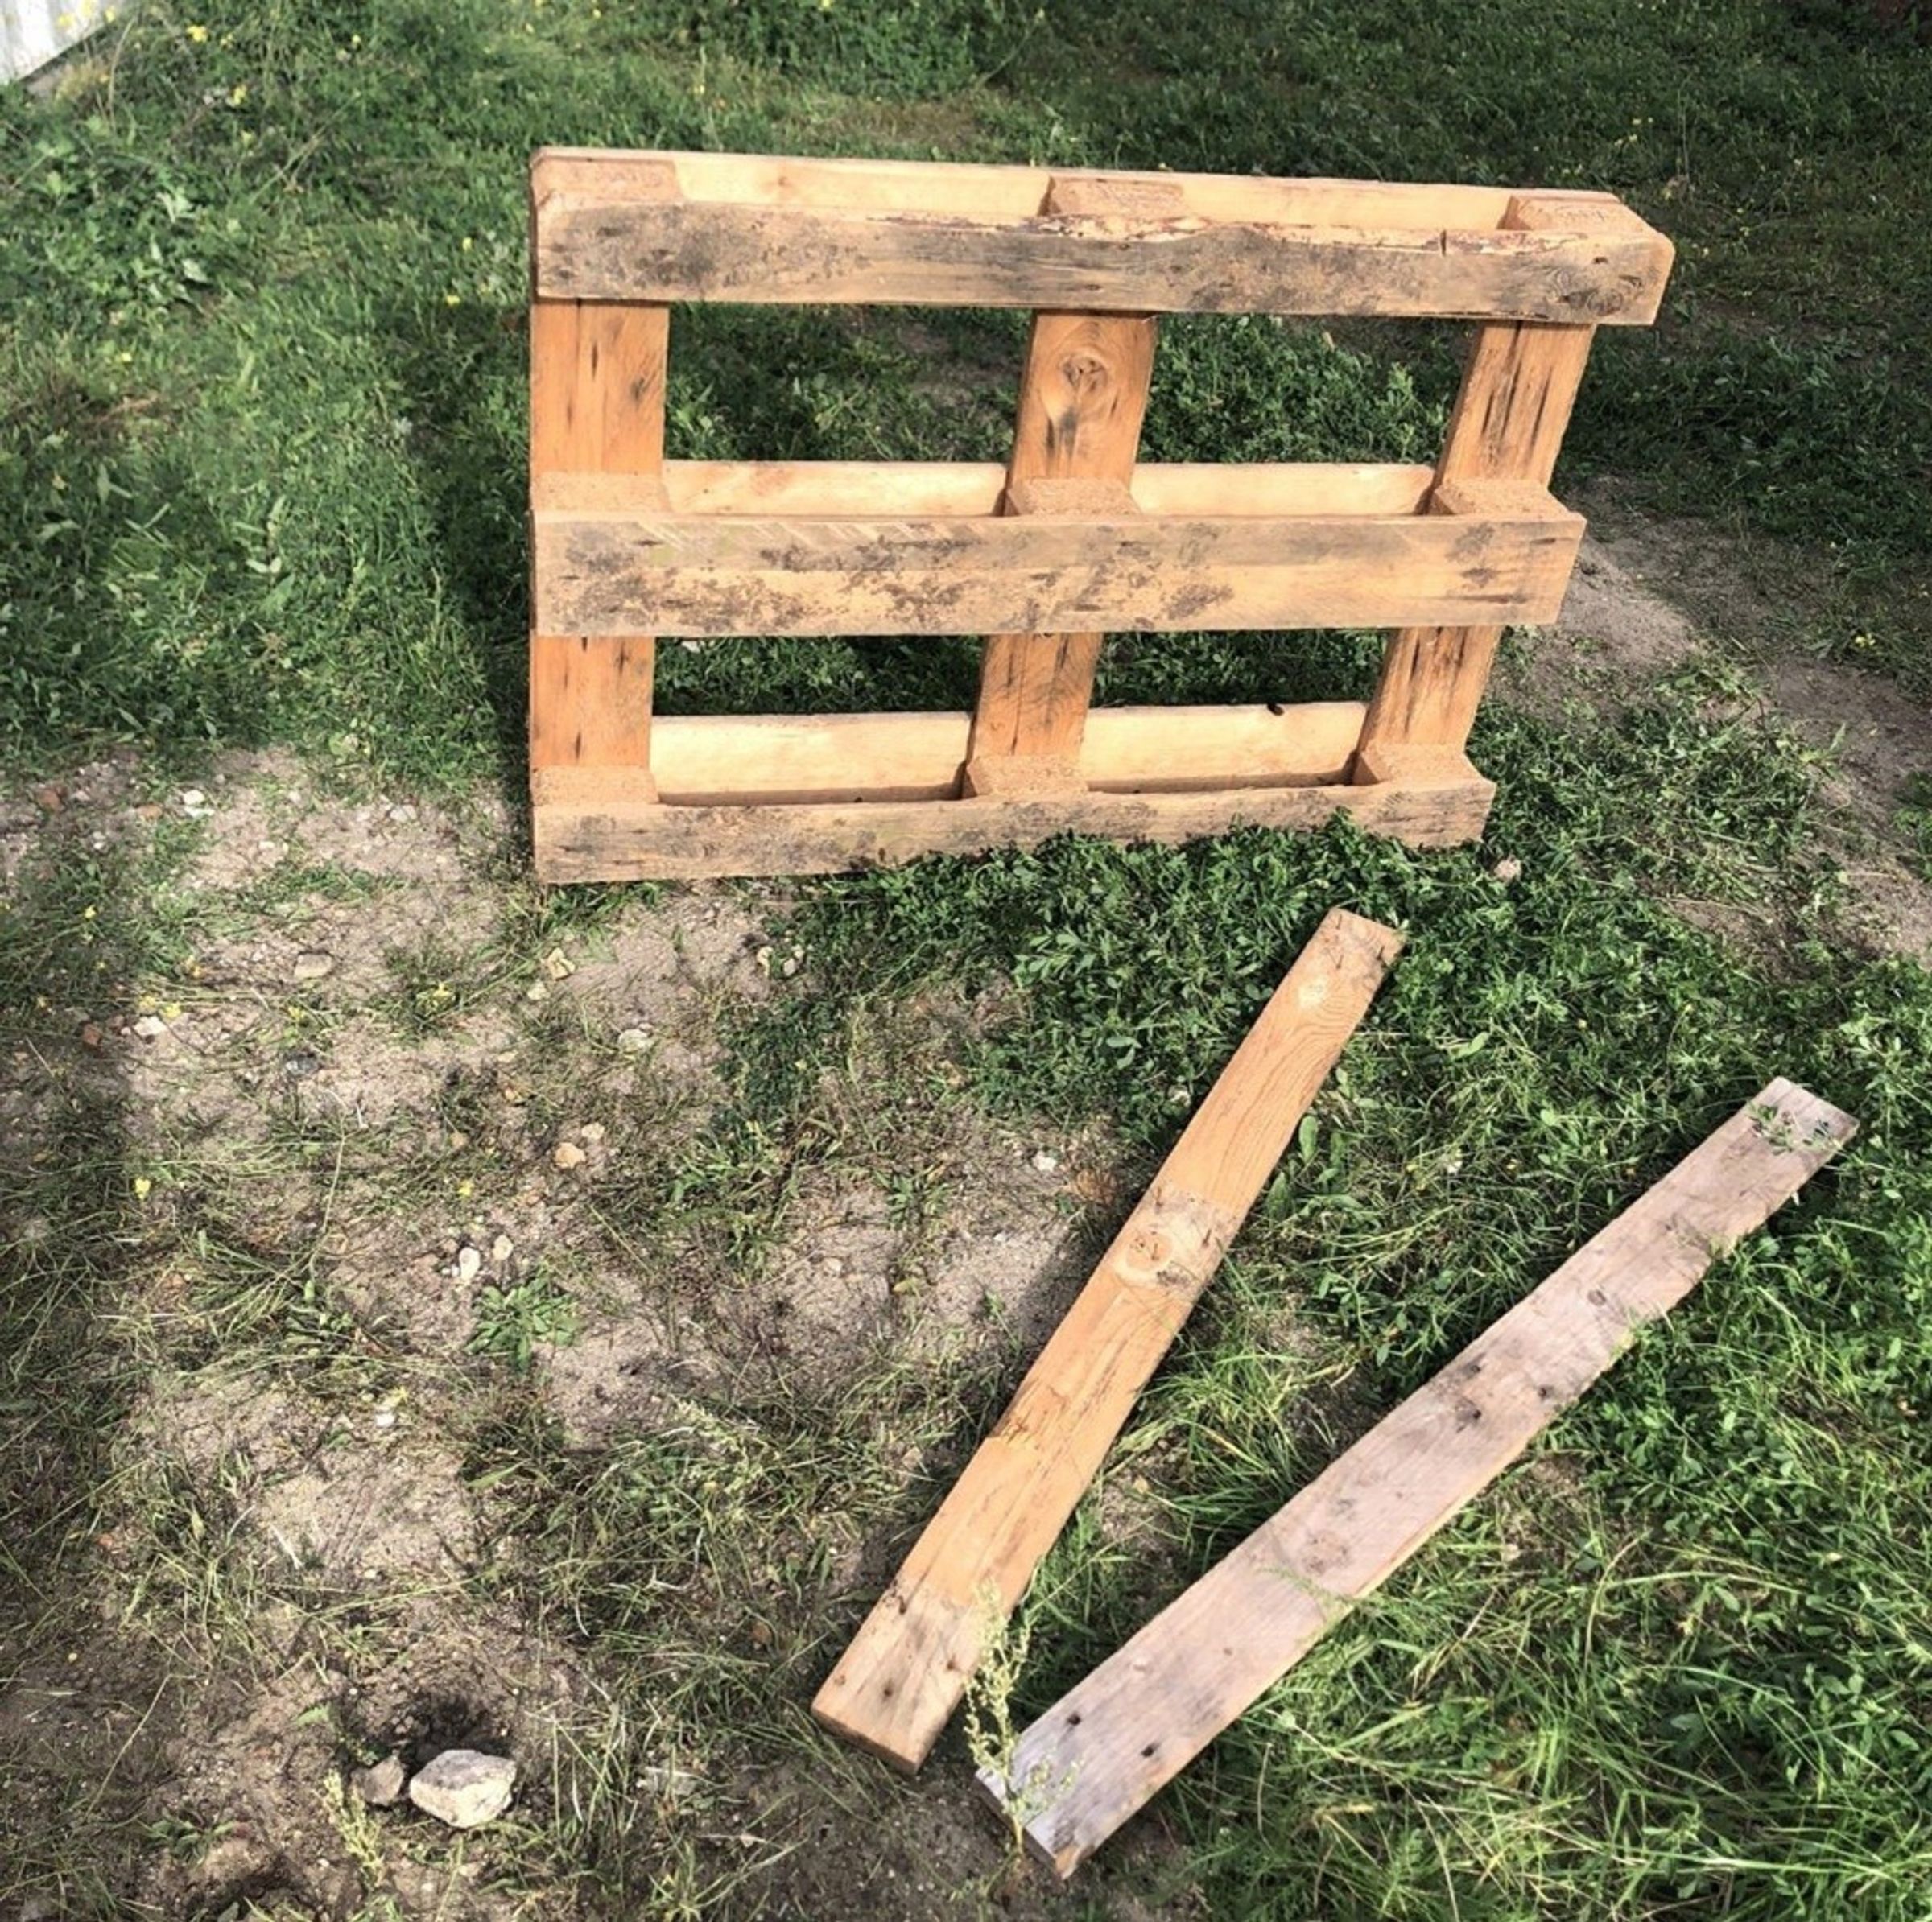
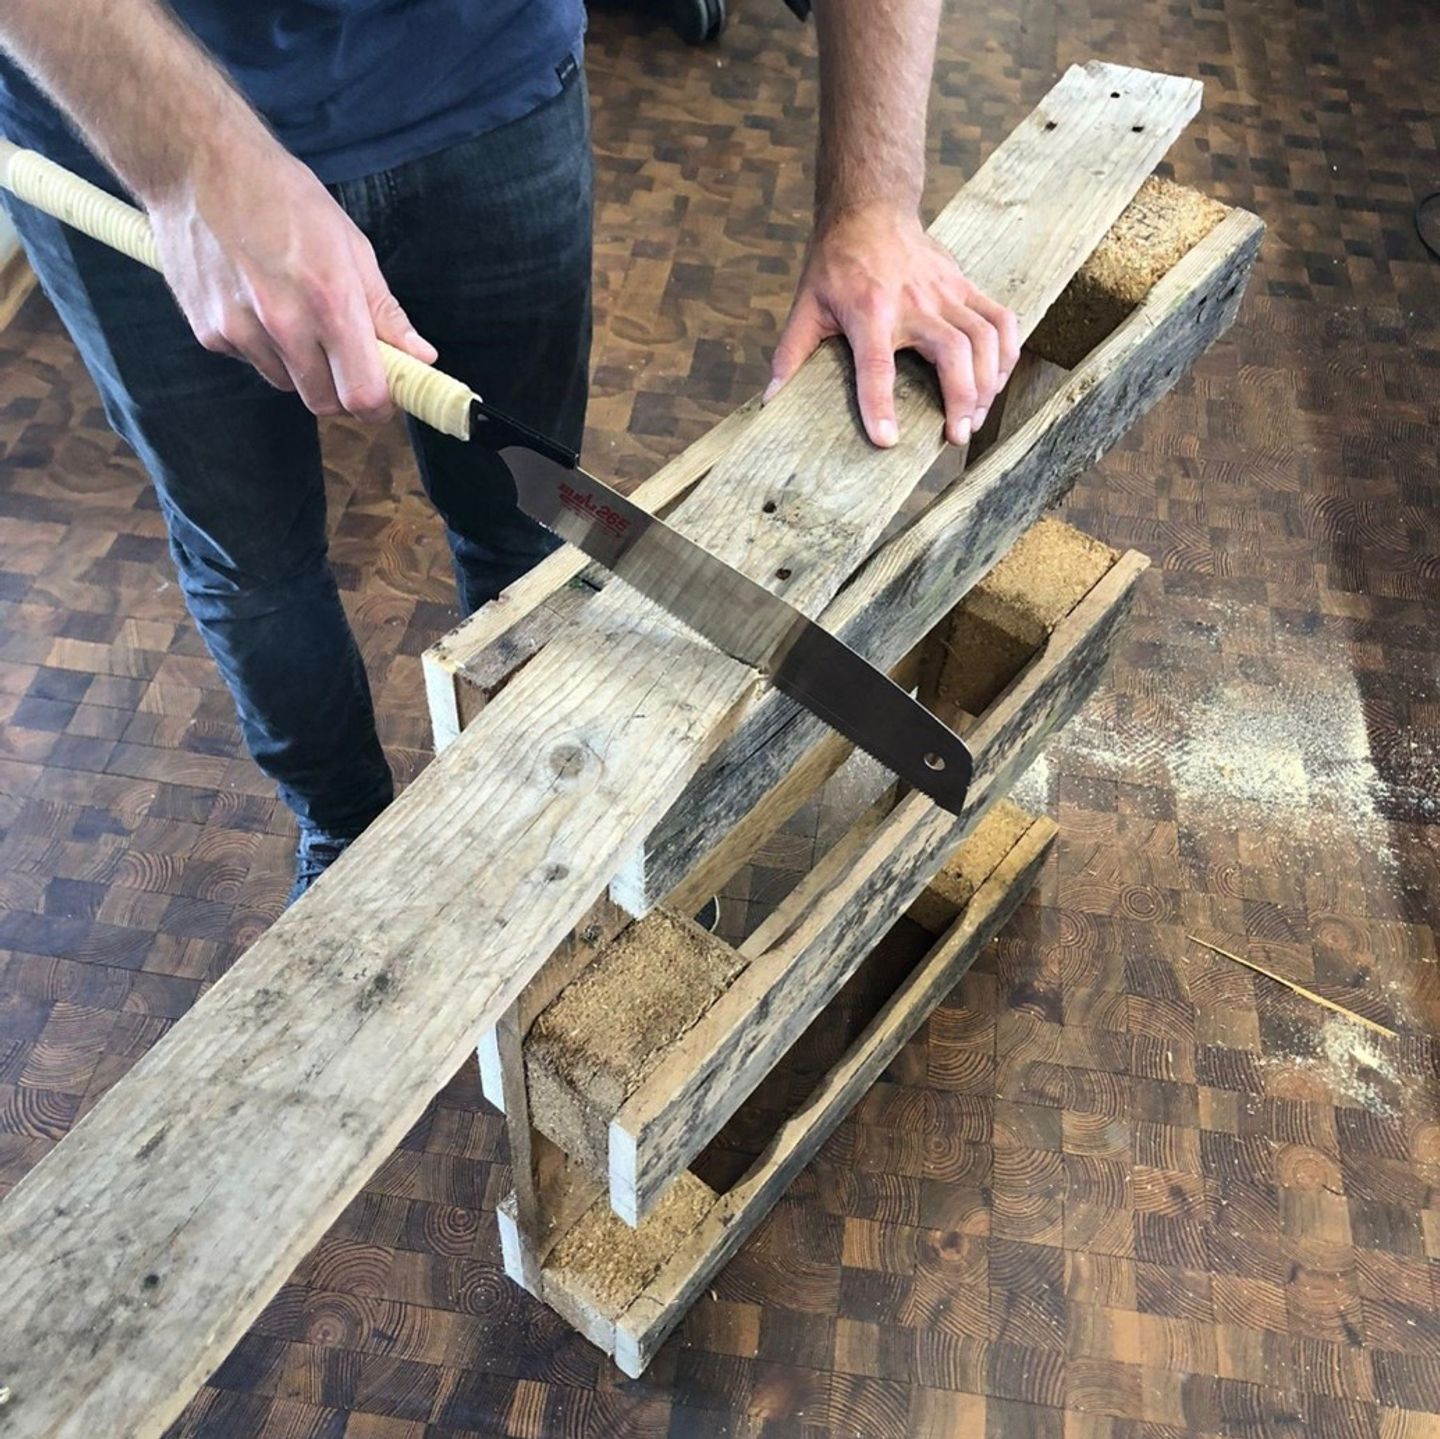
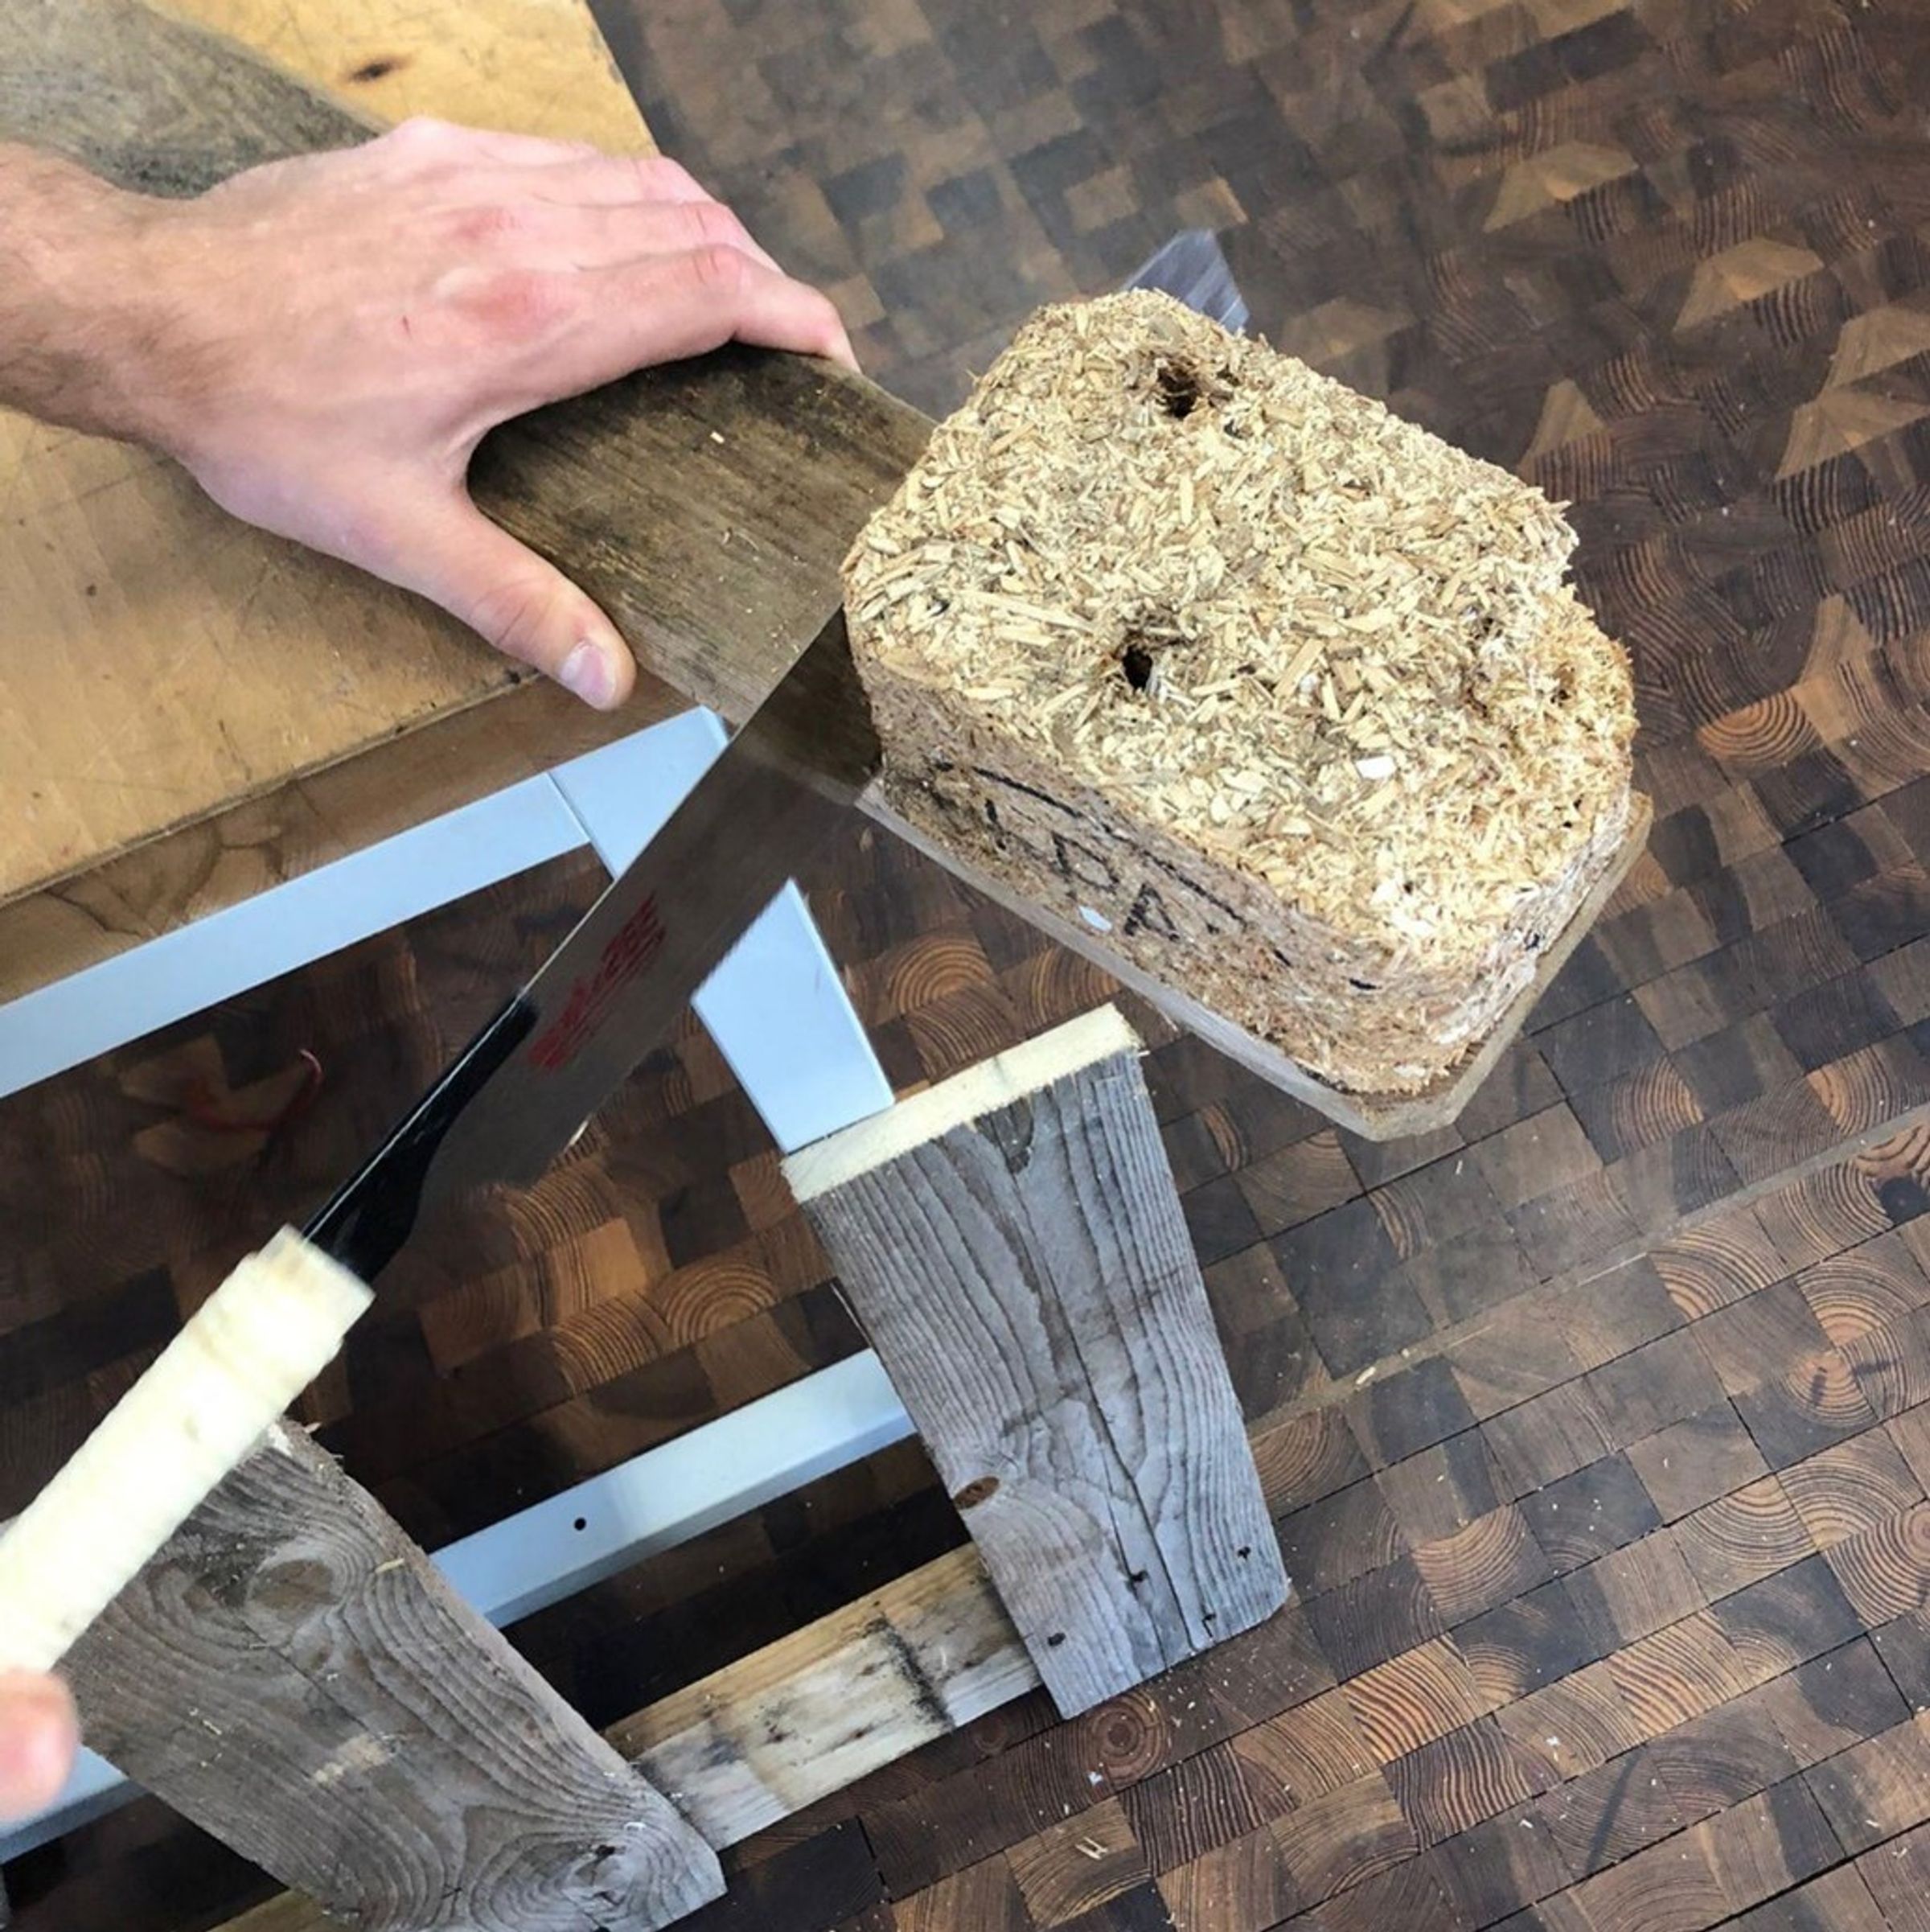
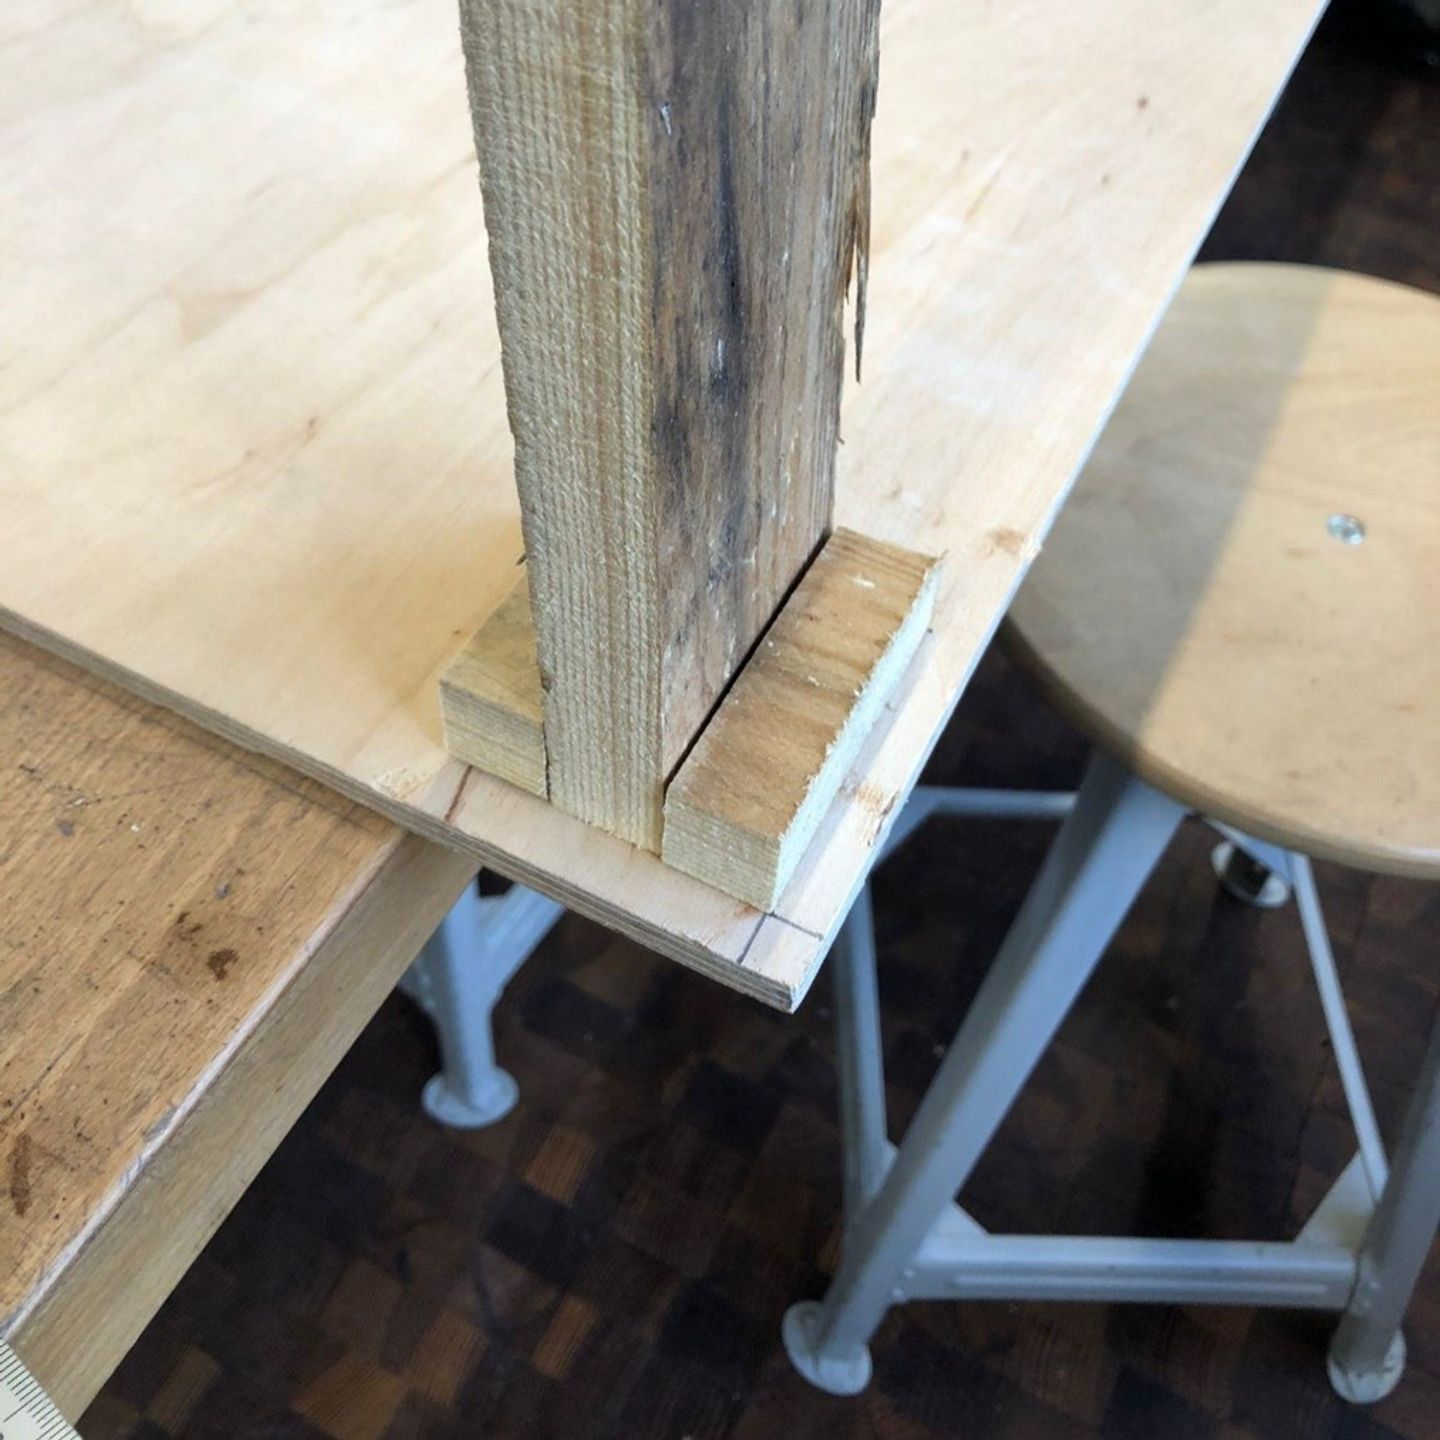
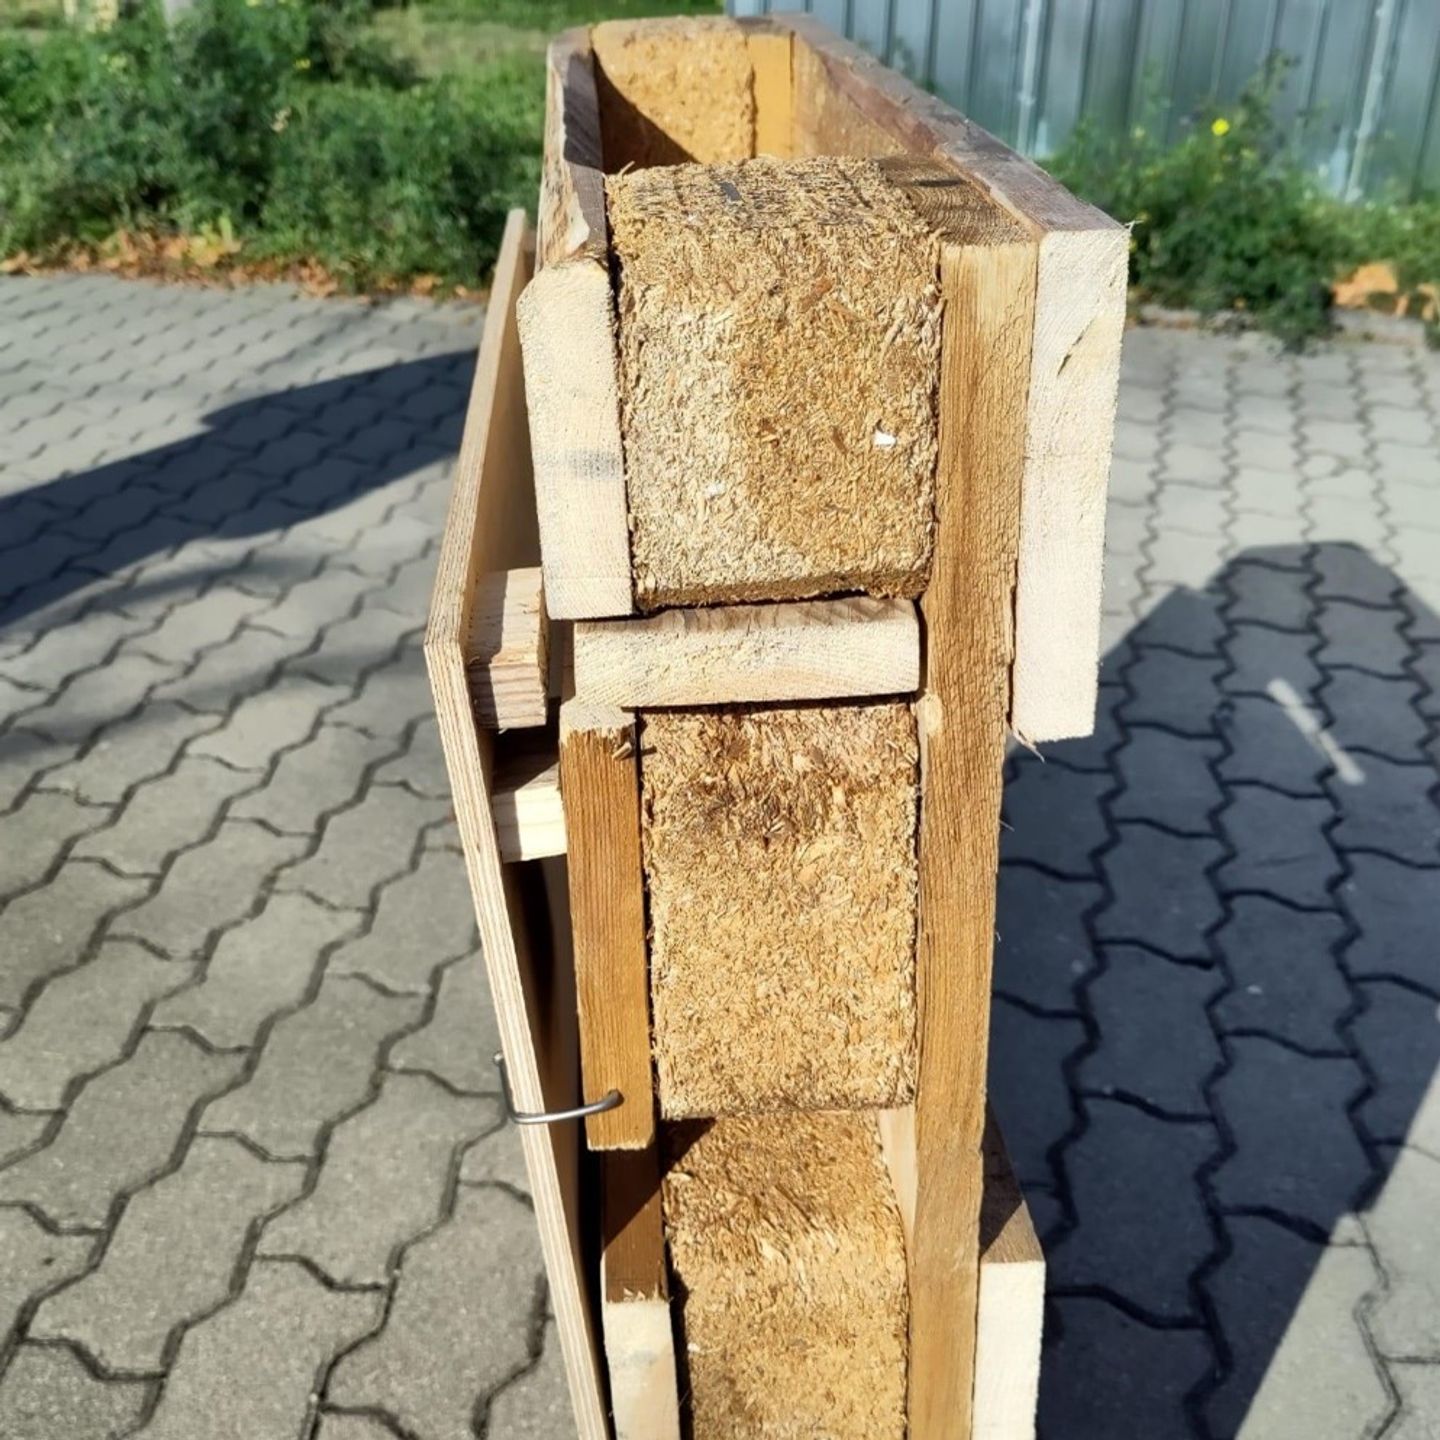
Take the two long boards you removed from the pallet in the 1st step. Put one of them along two blocks like on the top picture. Then cut the board along the red line. Repeat this with the second long board from the 1st step.


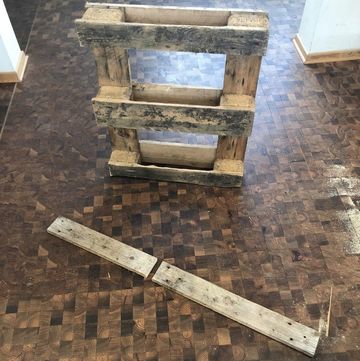
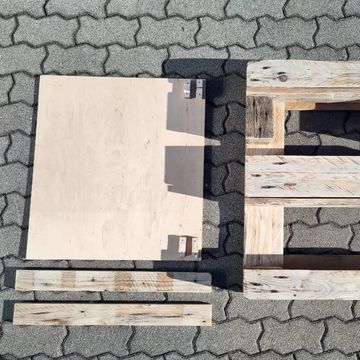
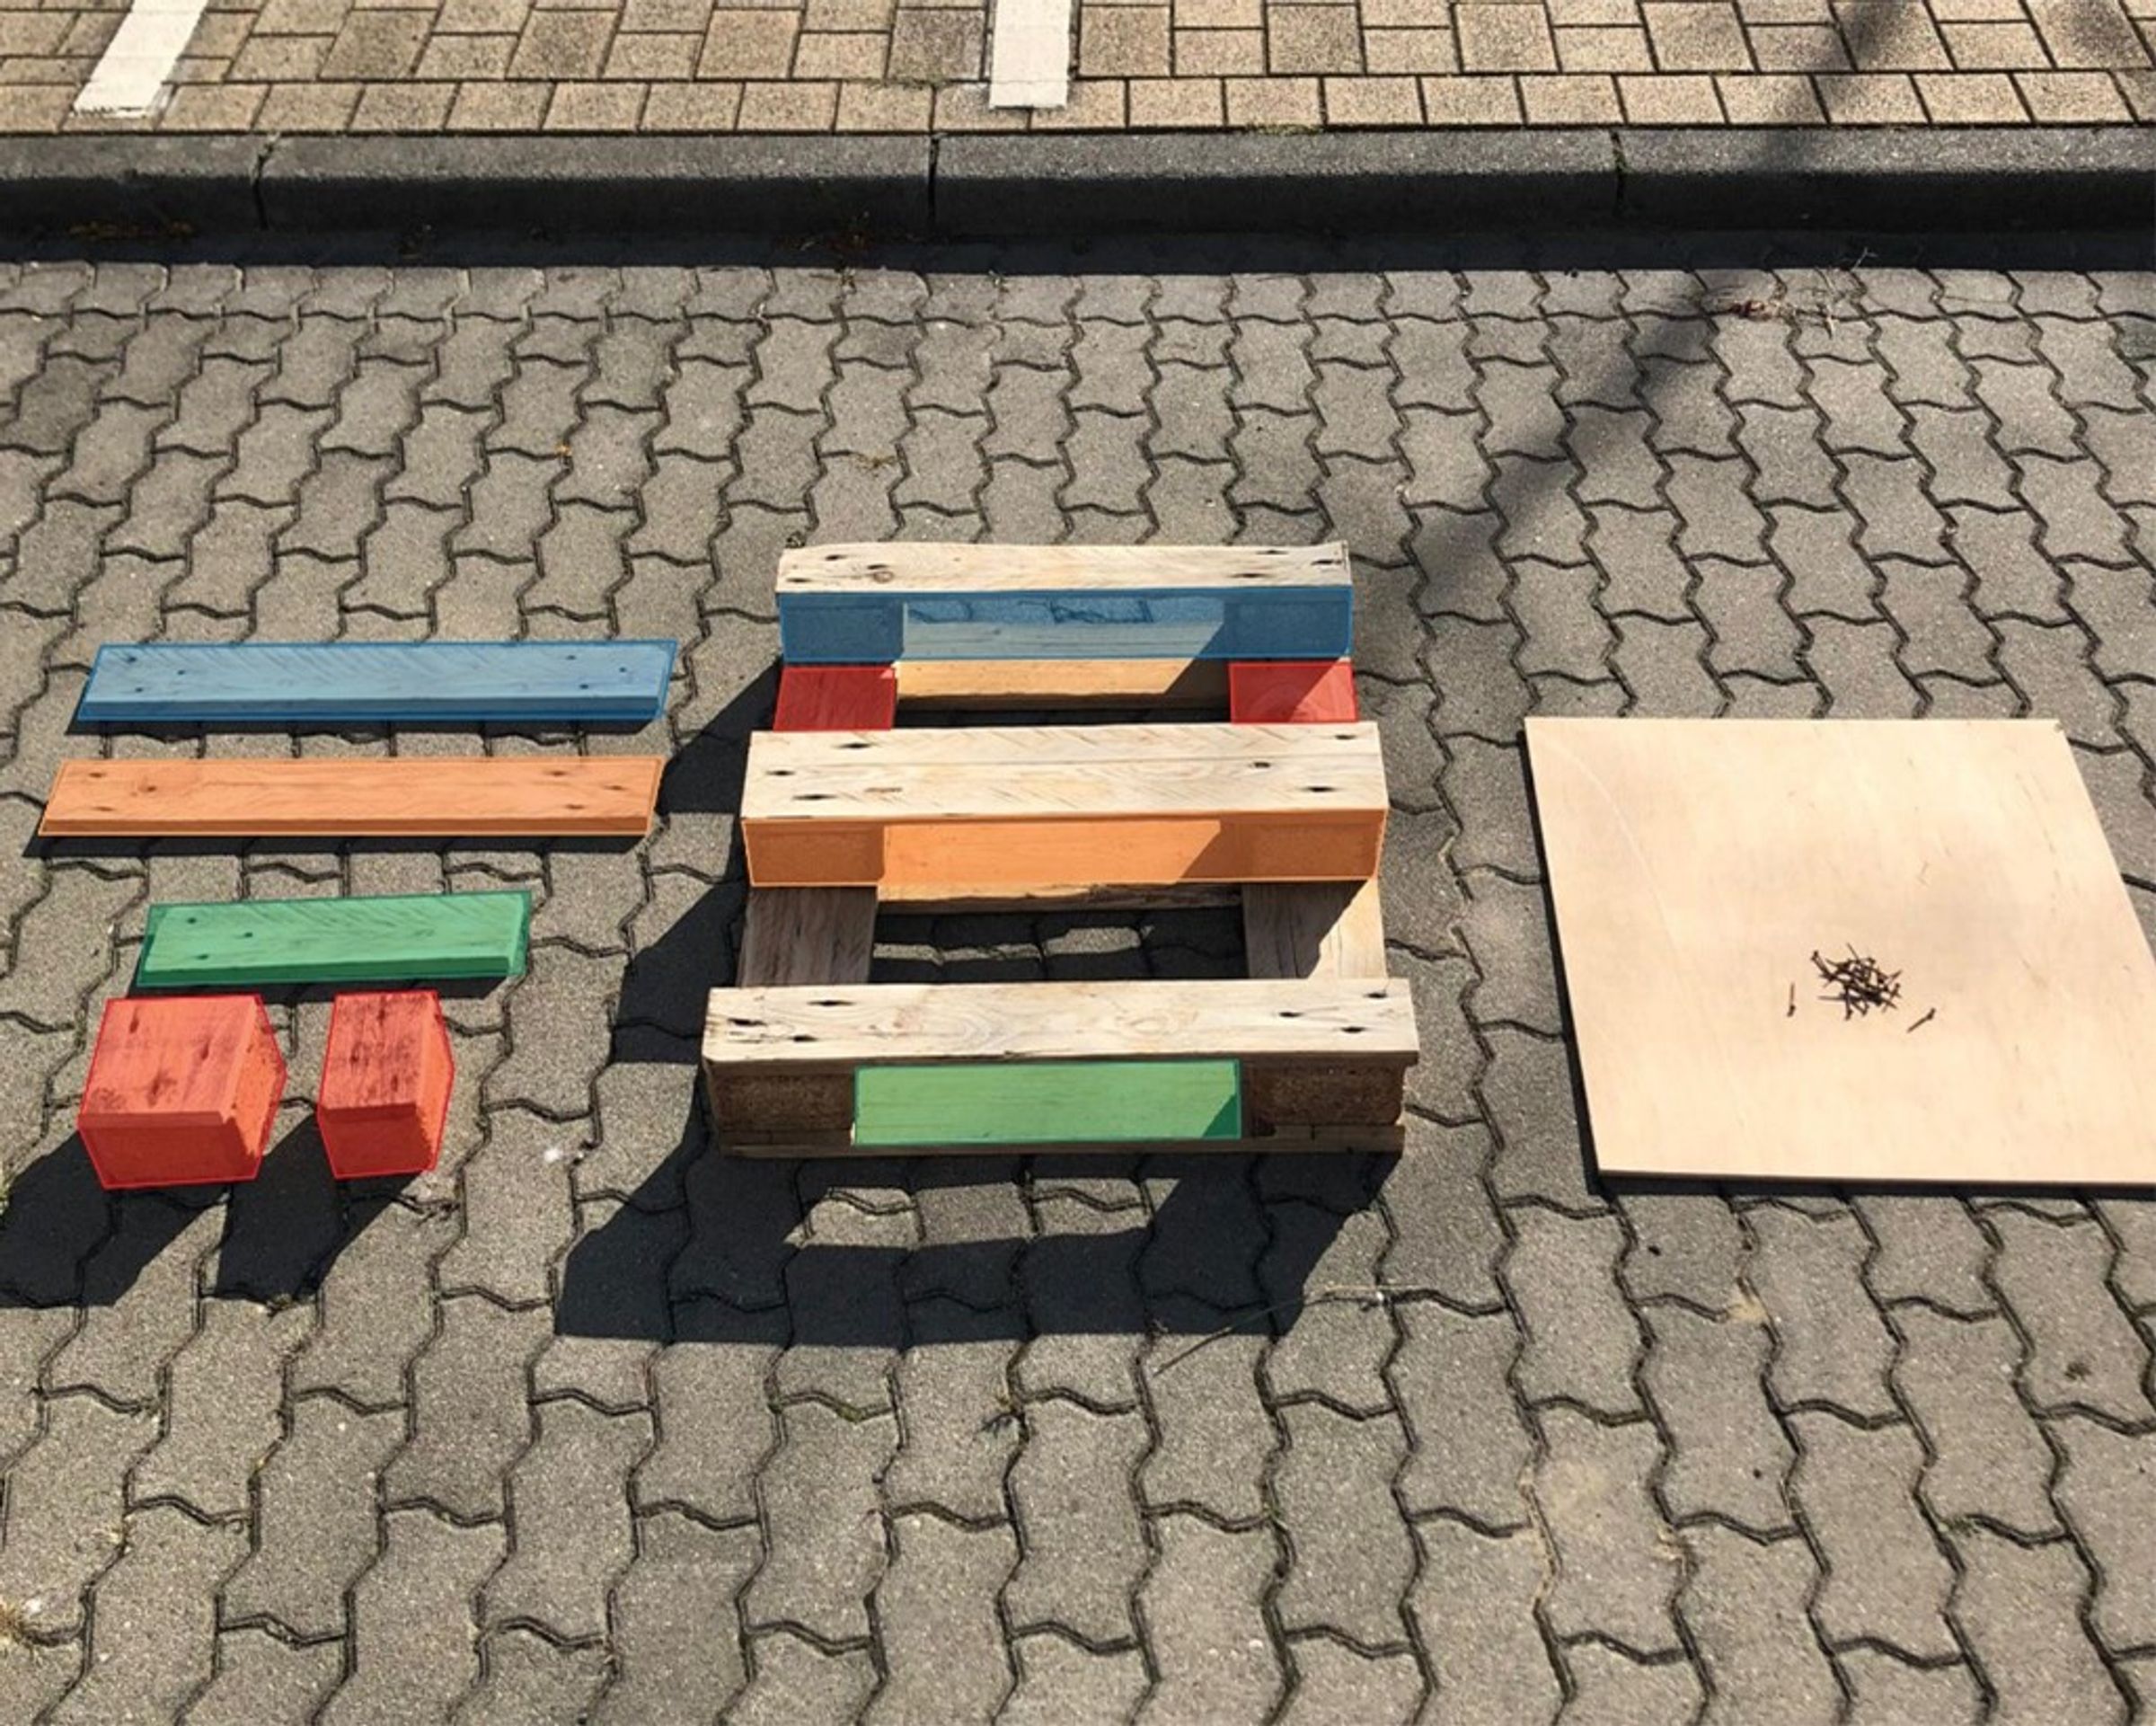
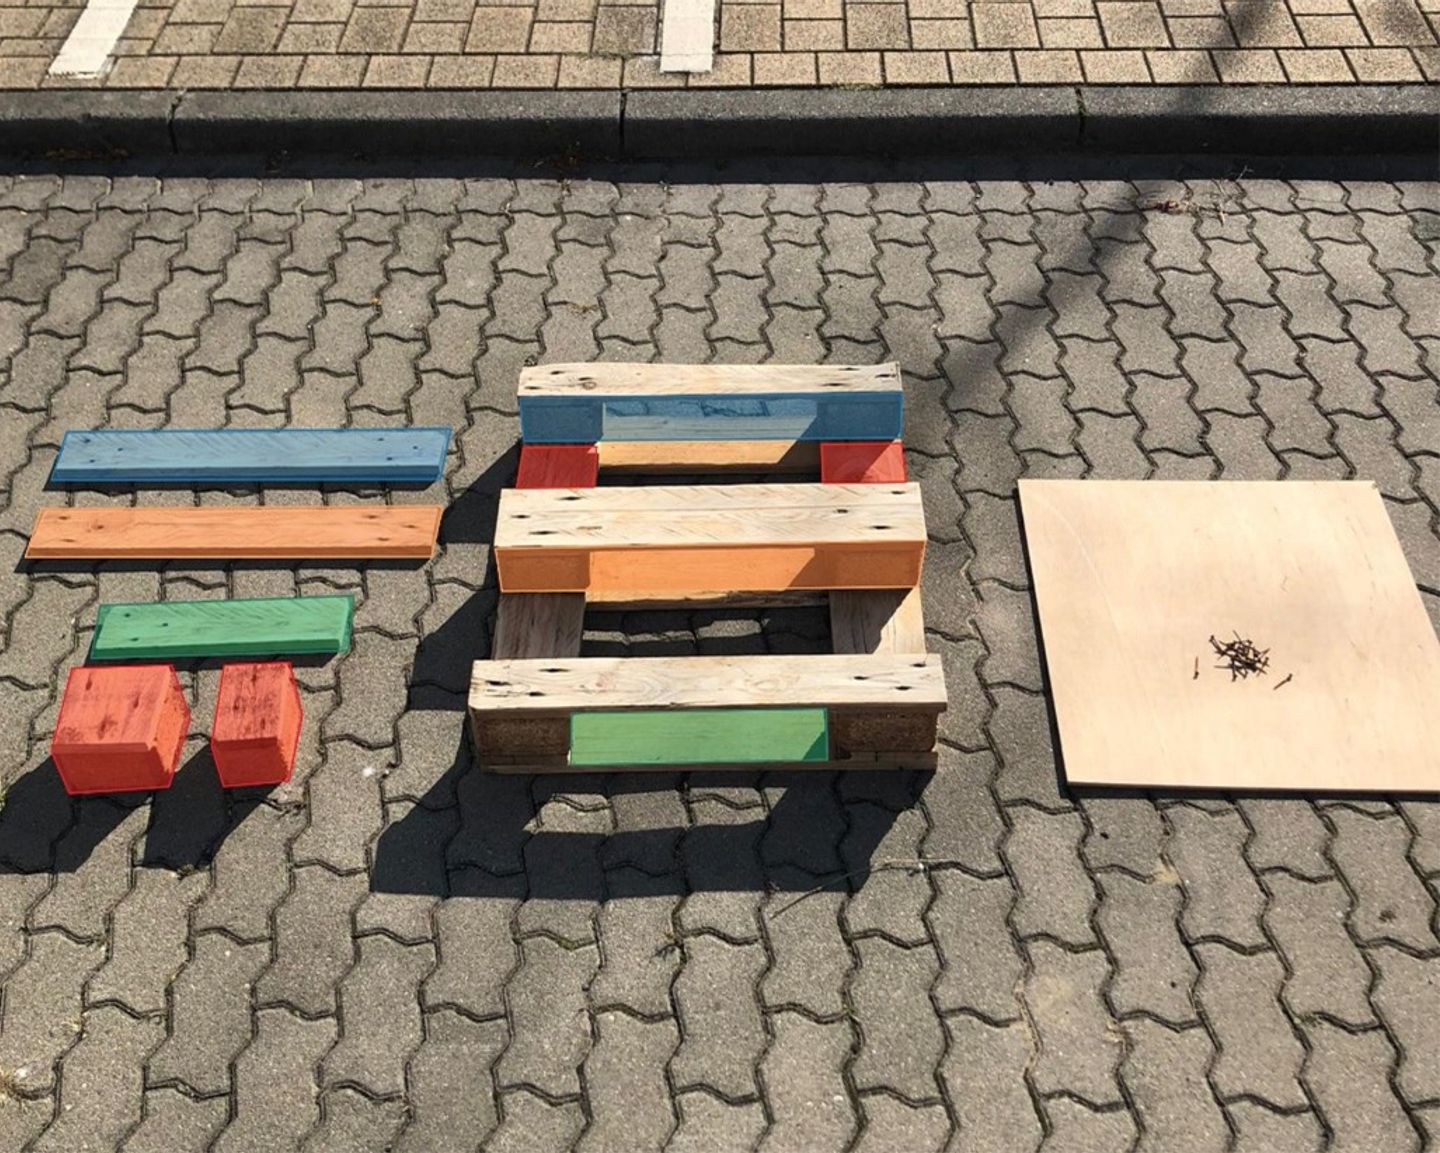
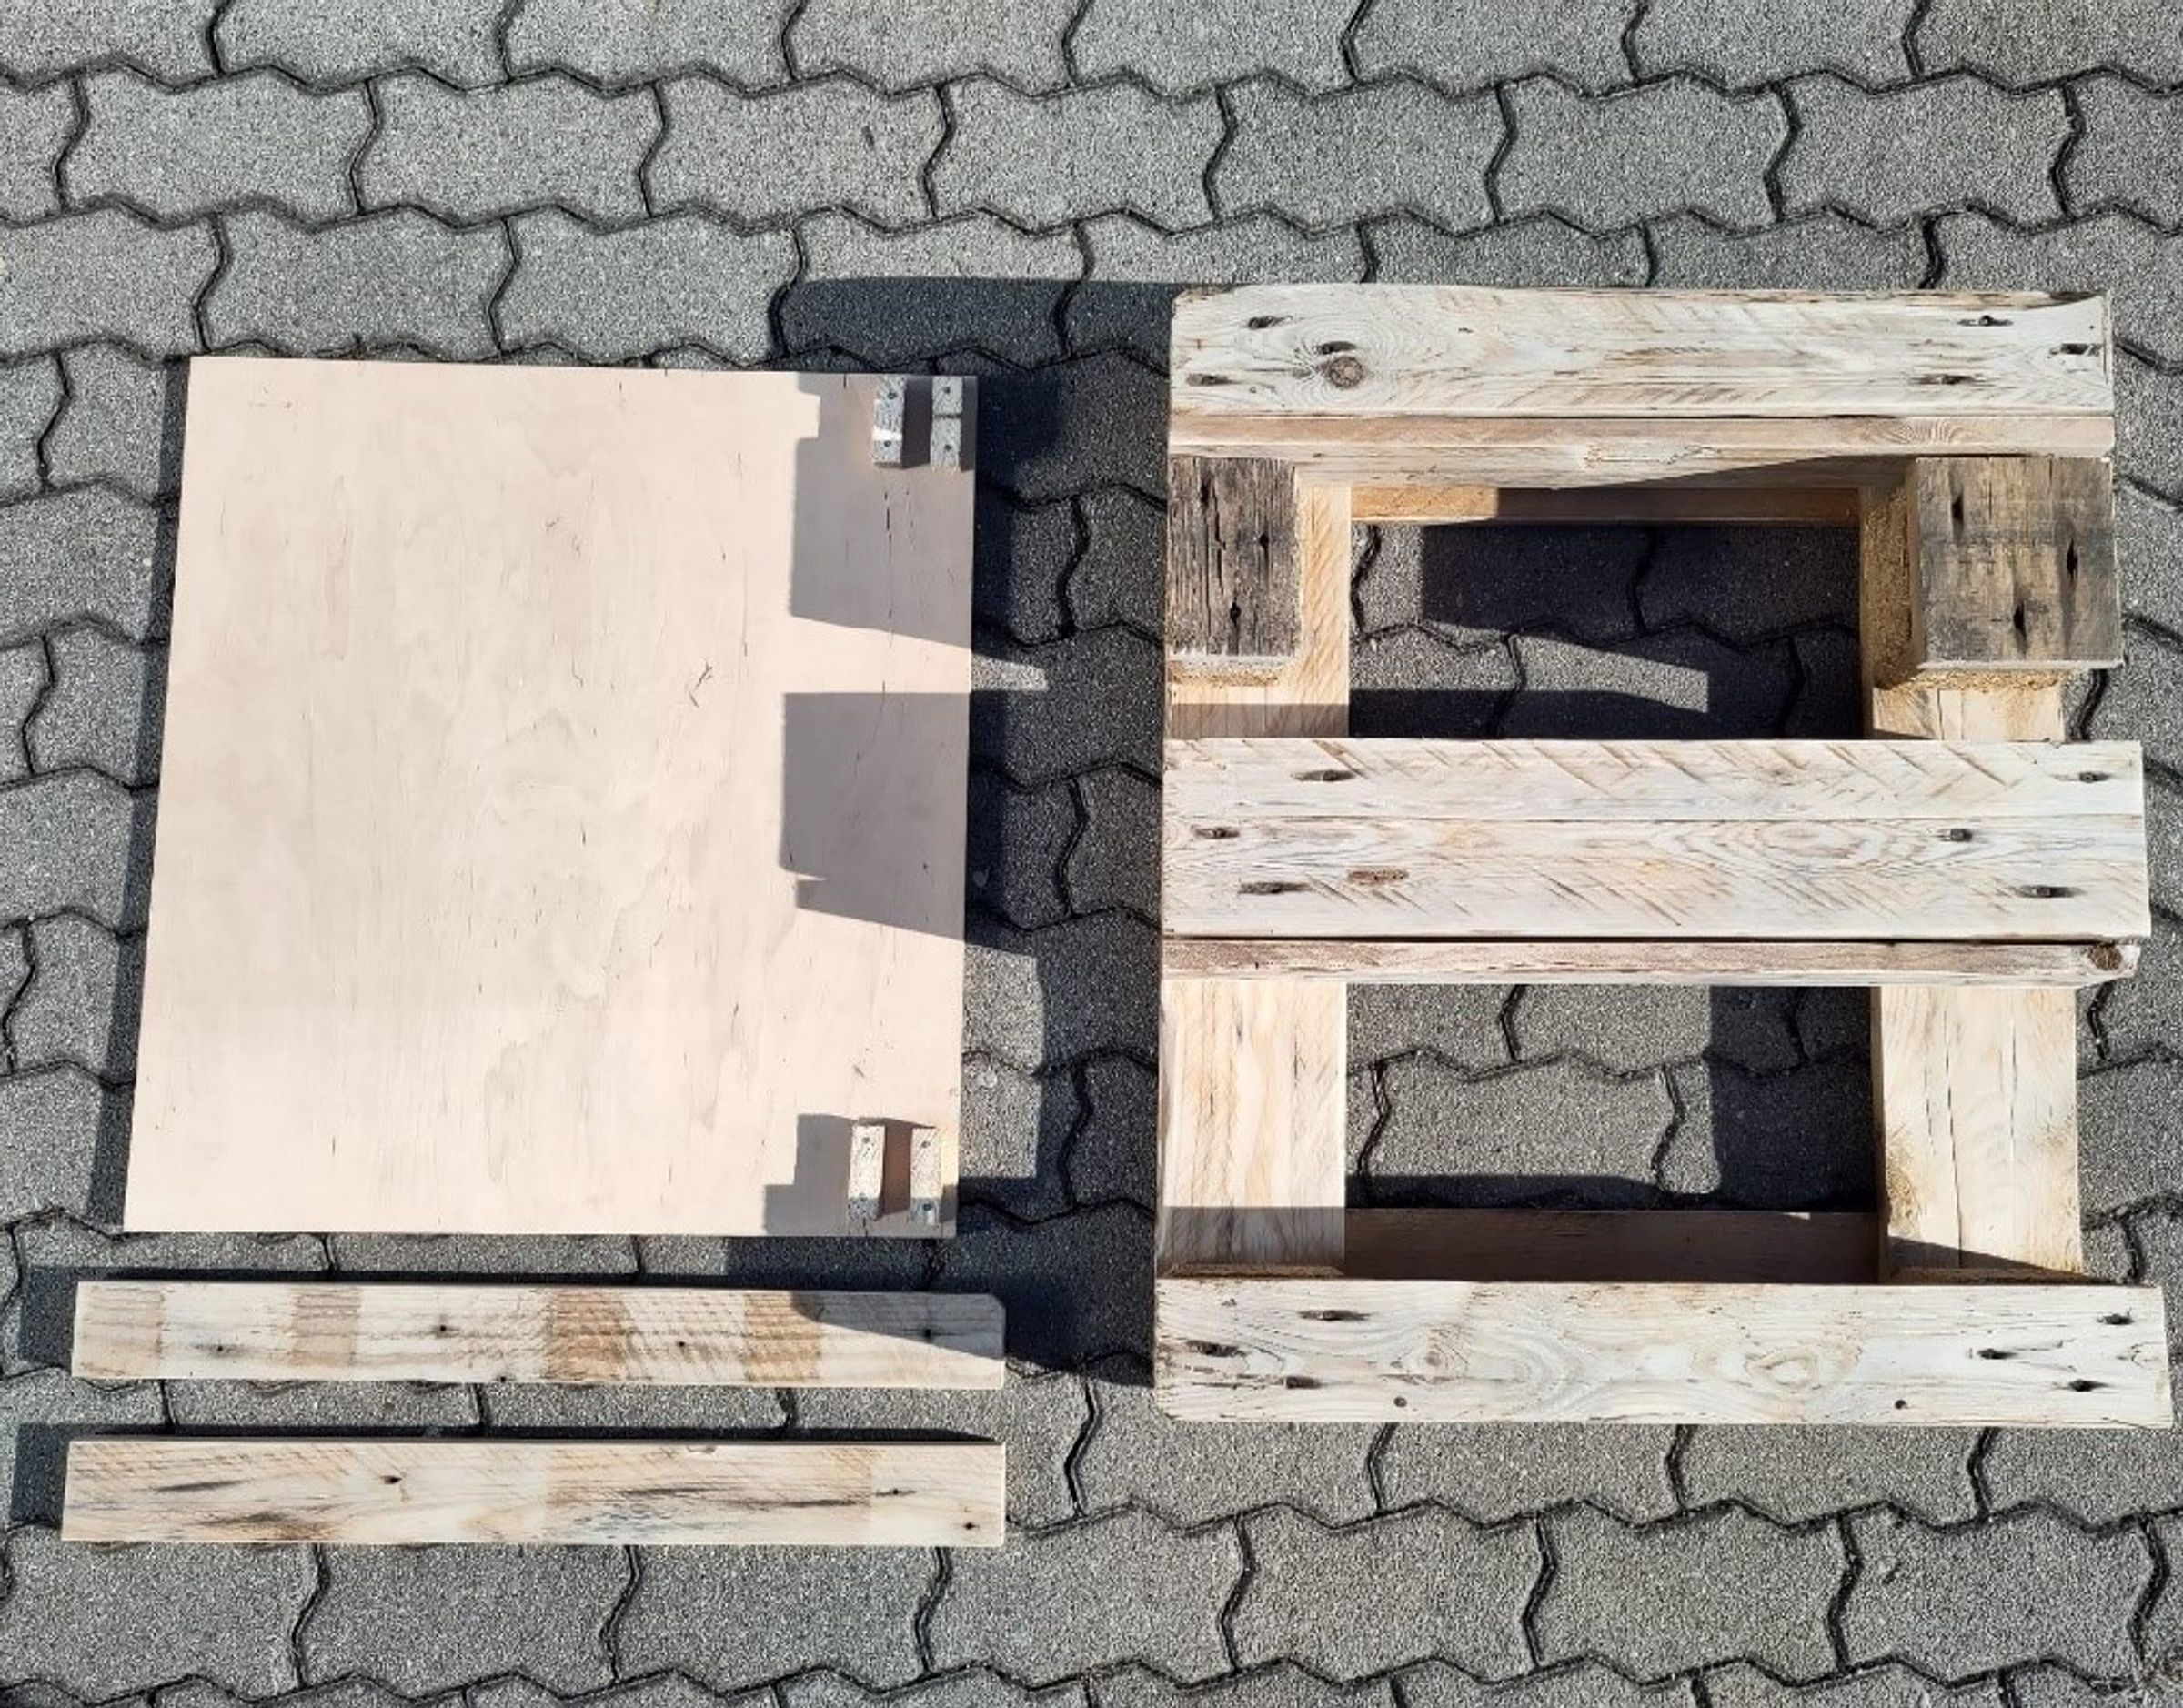
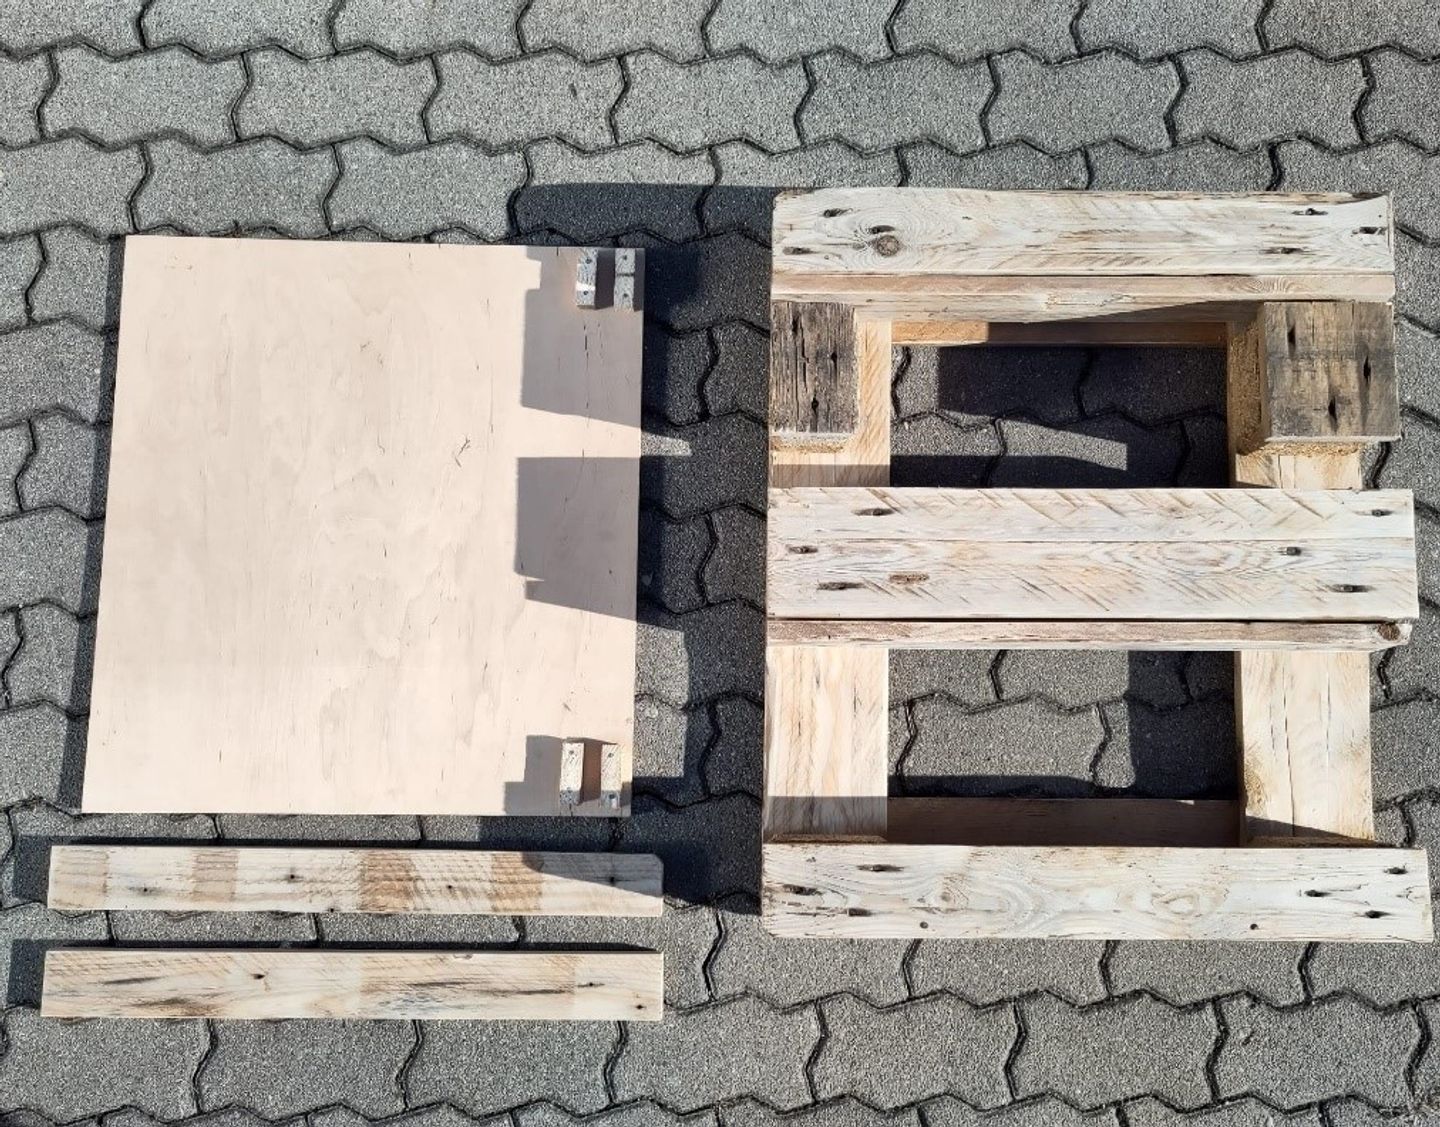
Now you should have all necessary parts.
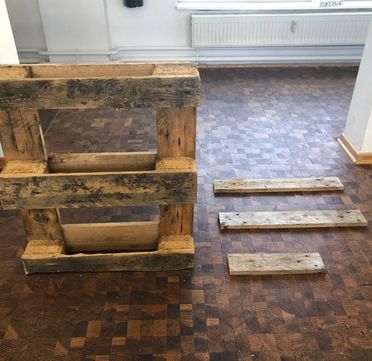
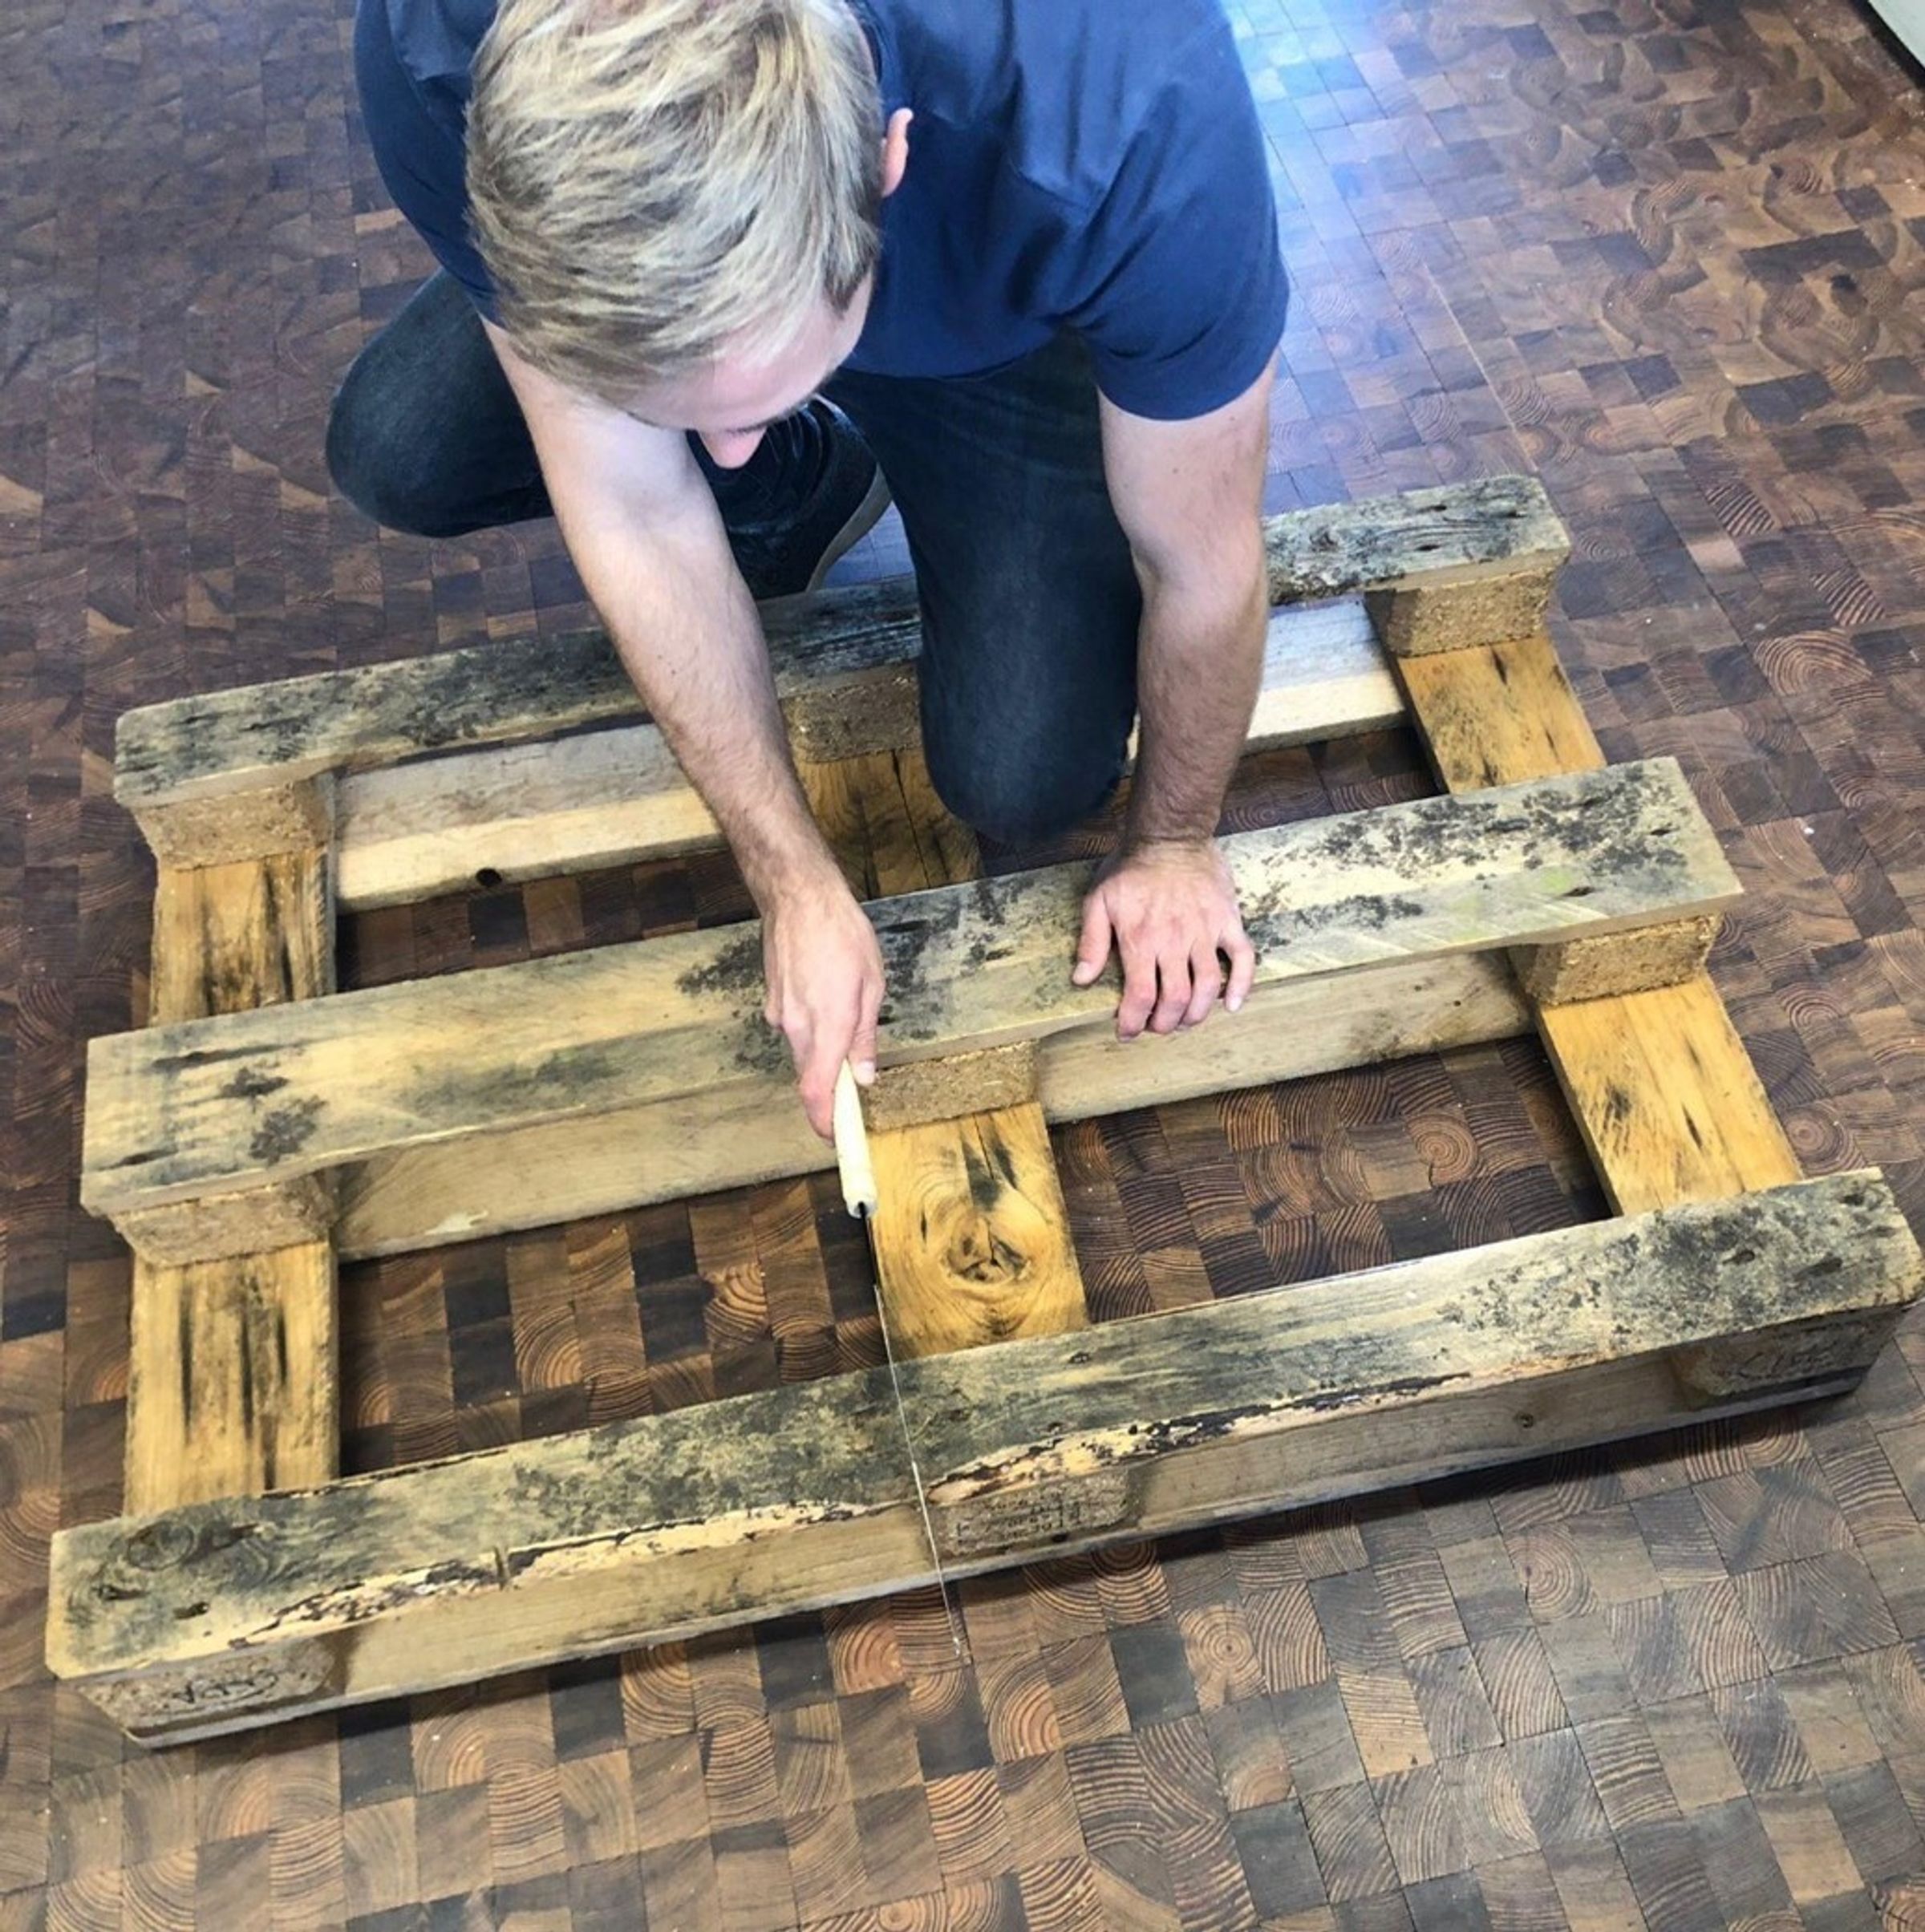
Get the other half of the pallet that’s left from the 3rd step. Disassemble it and remove the nails. Keep the nails to reuse them later.
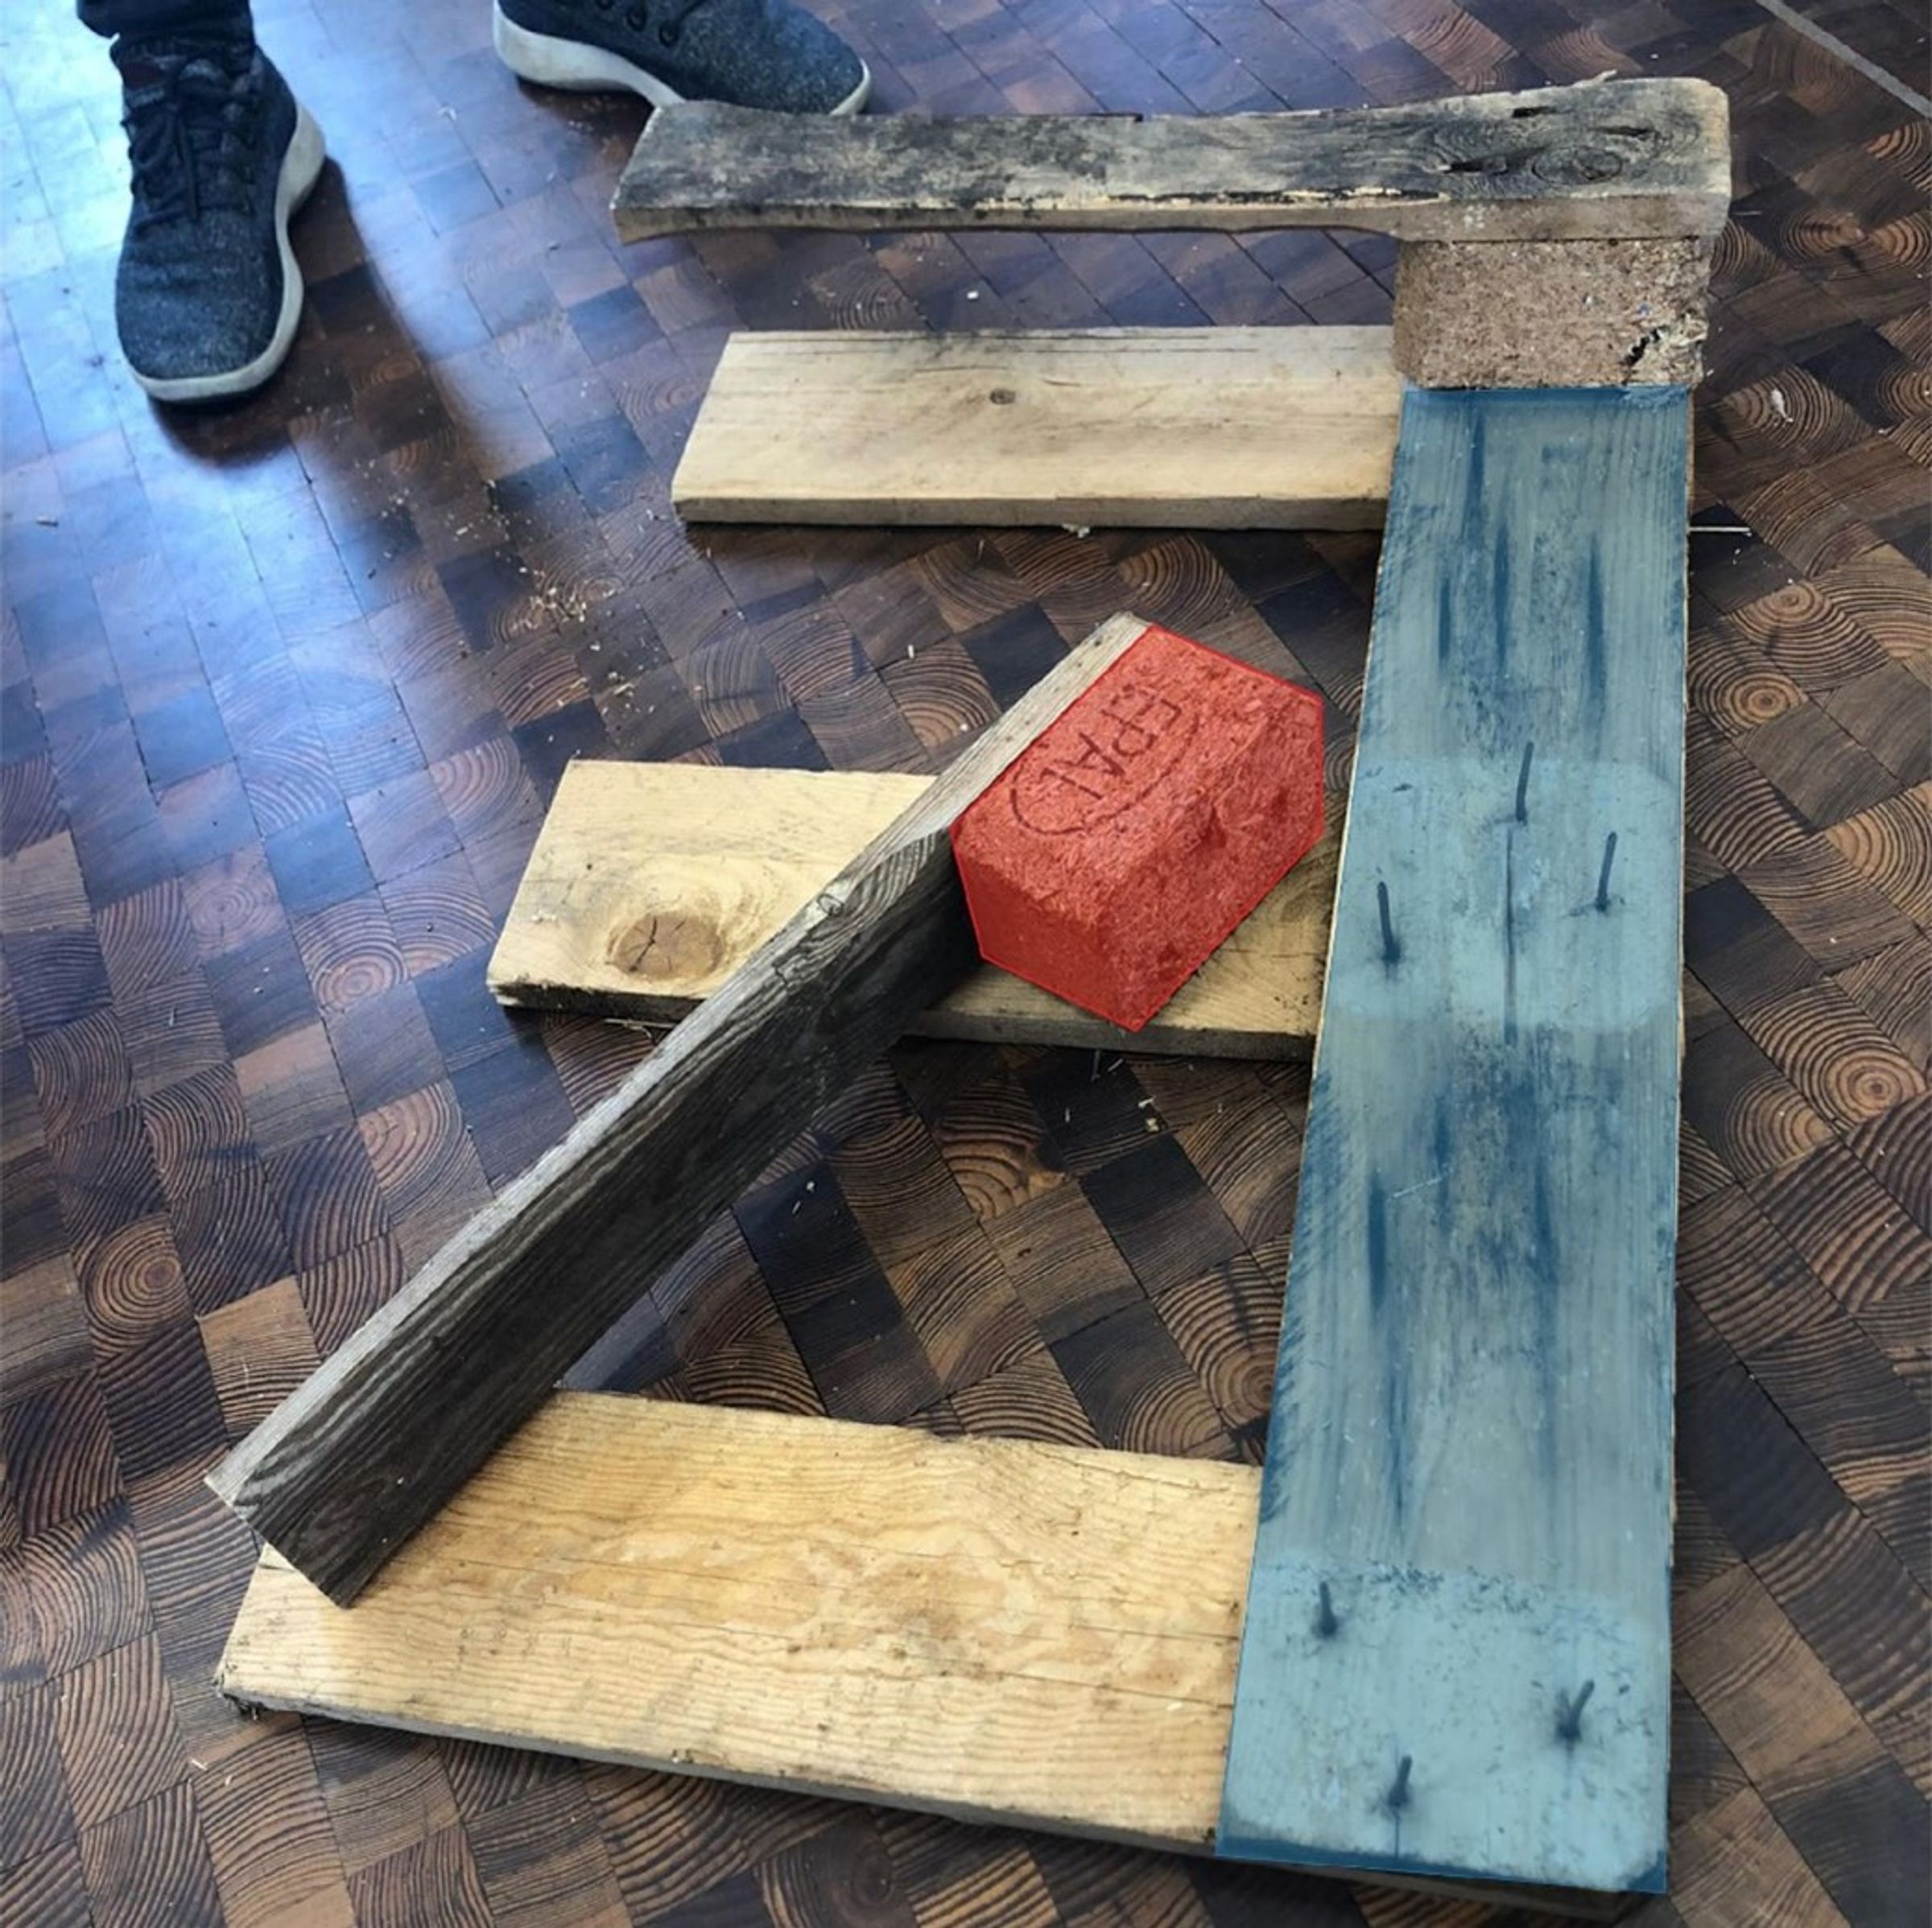
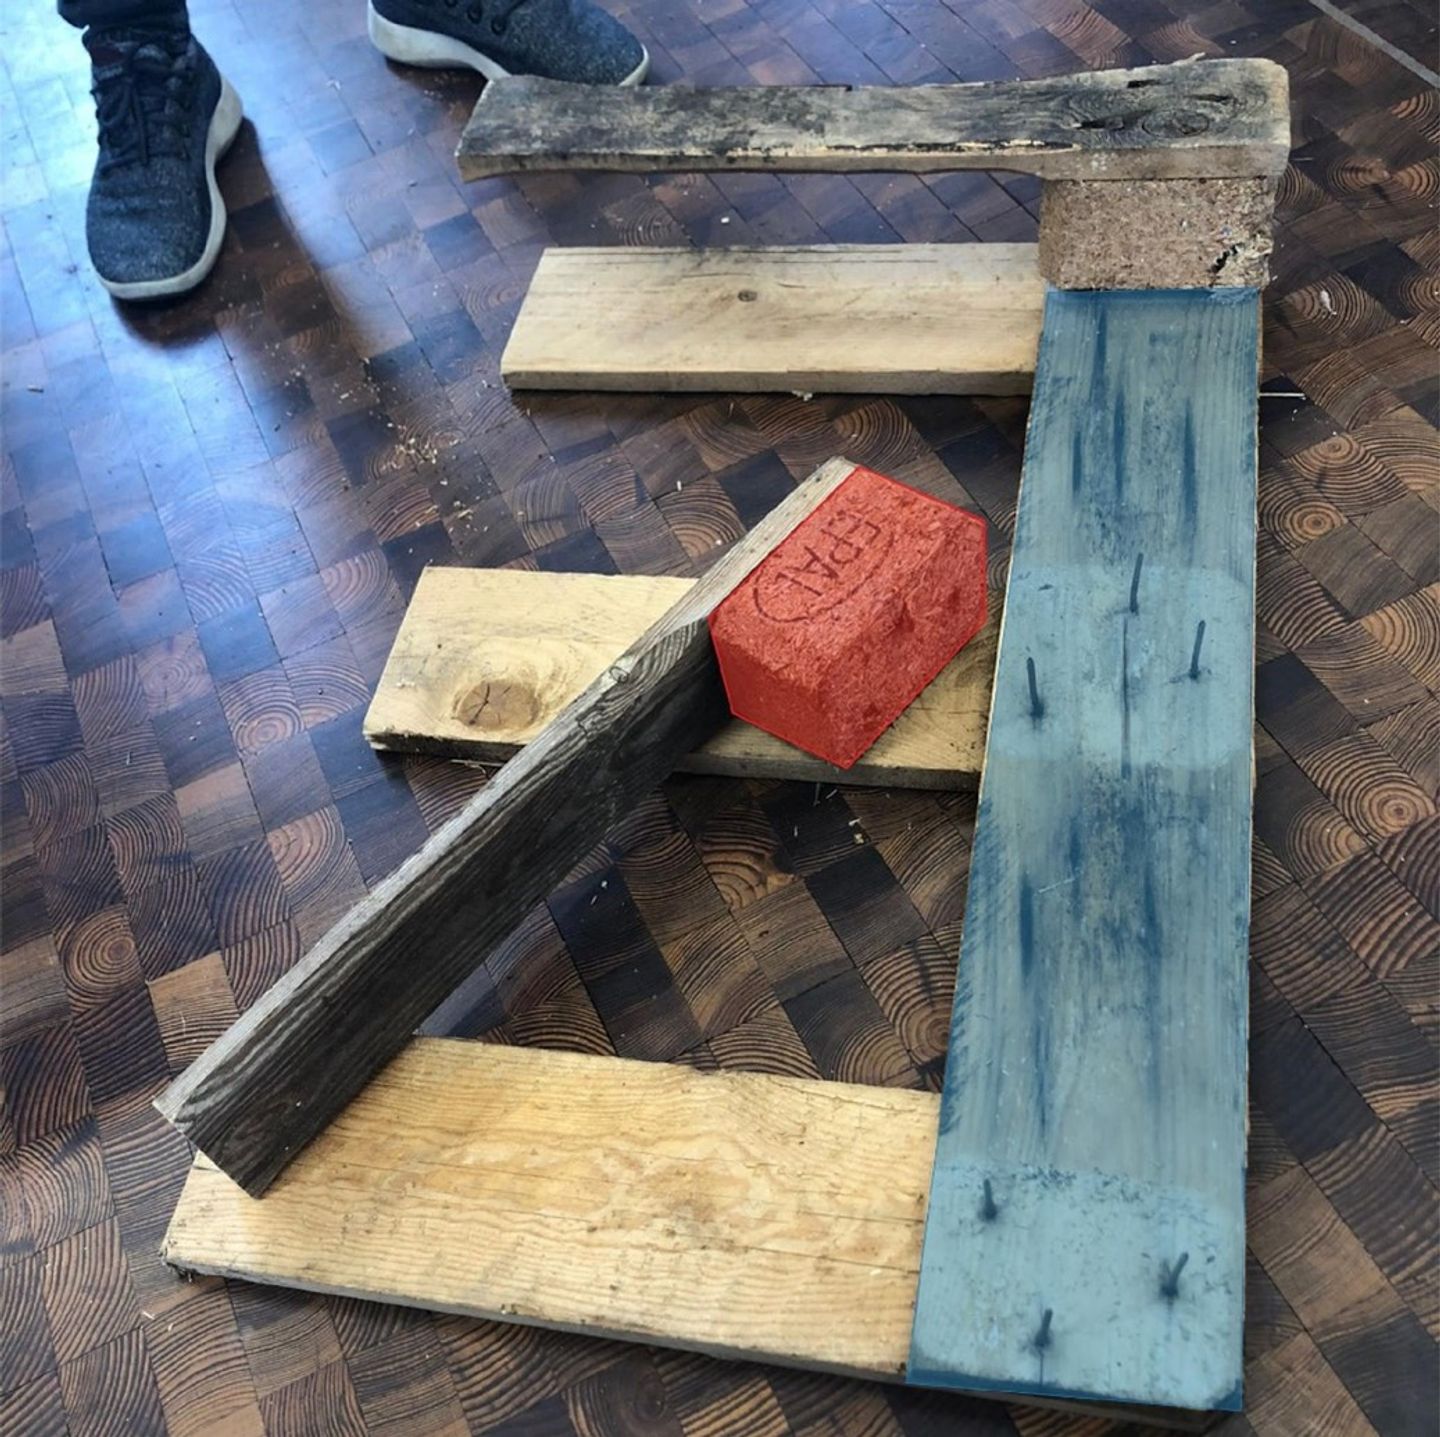
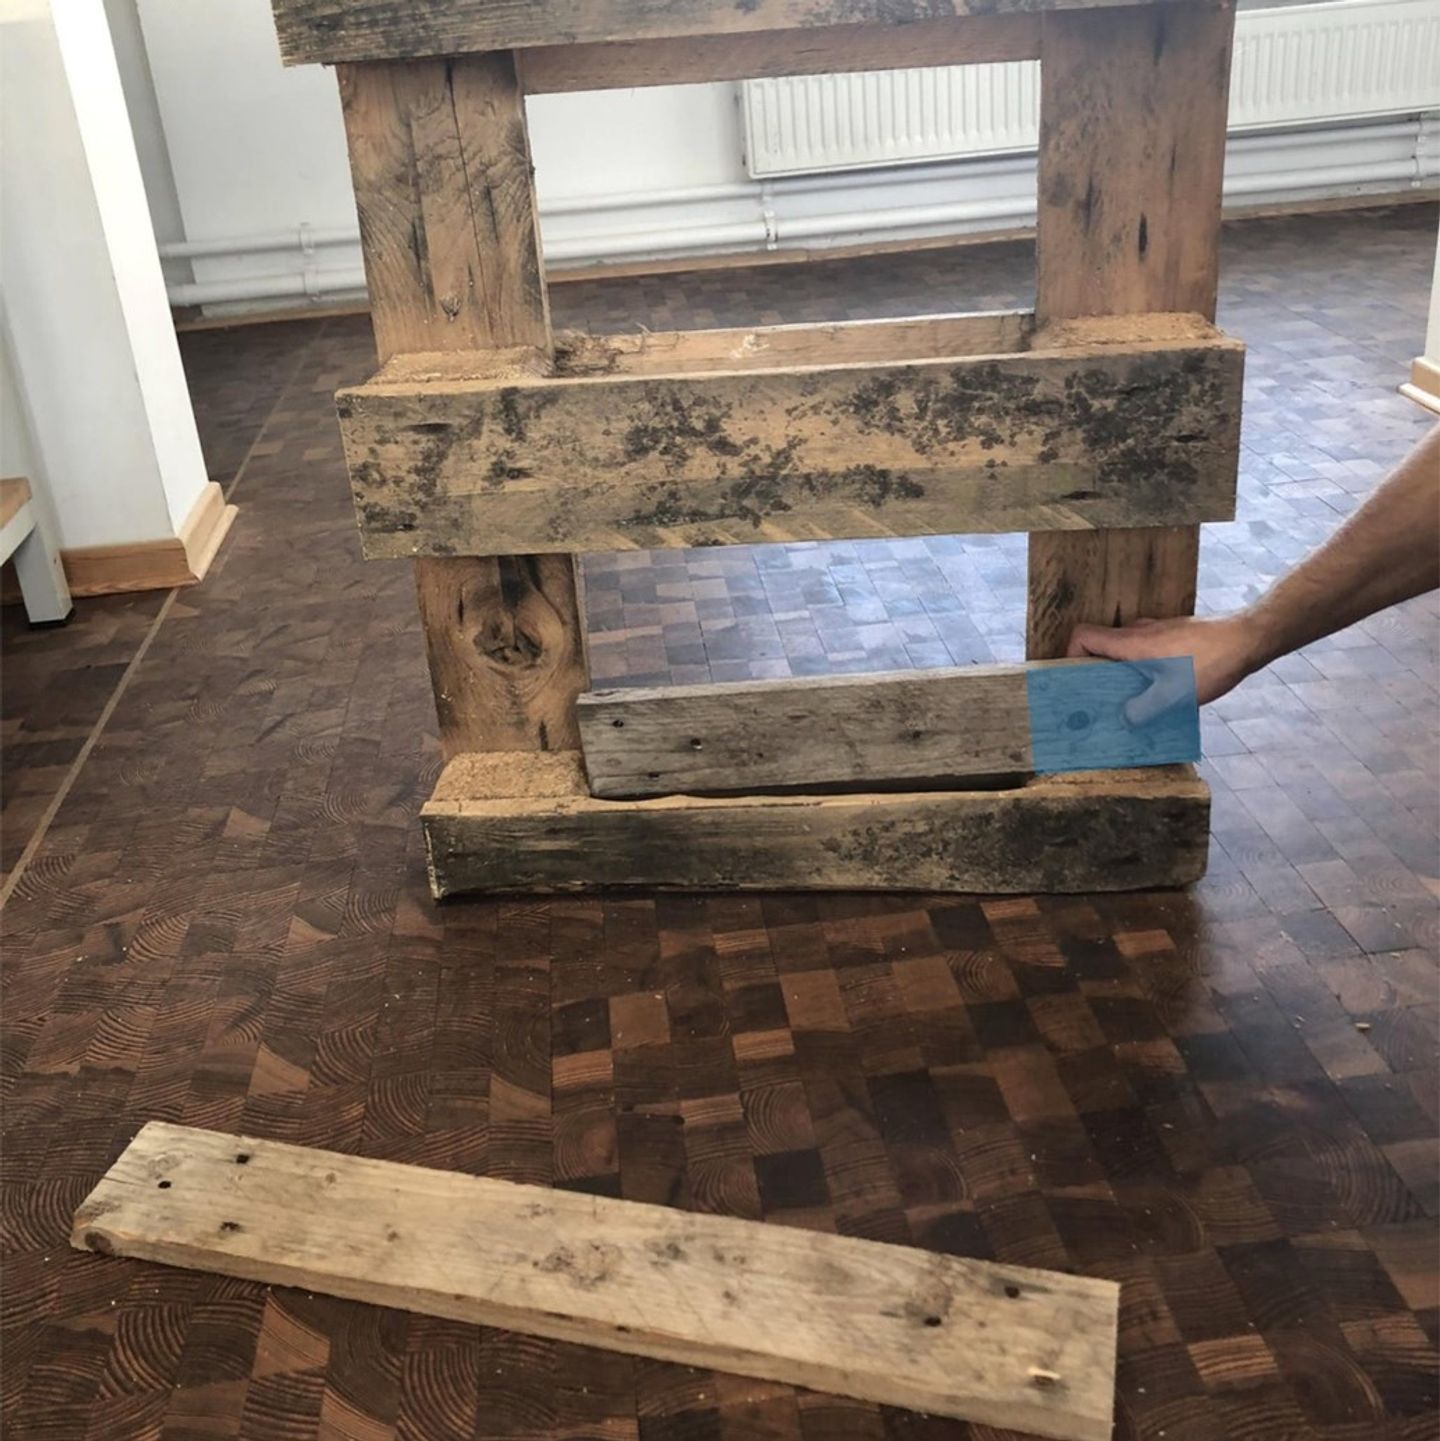
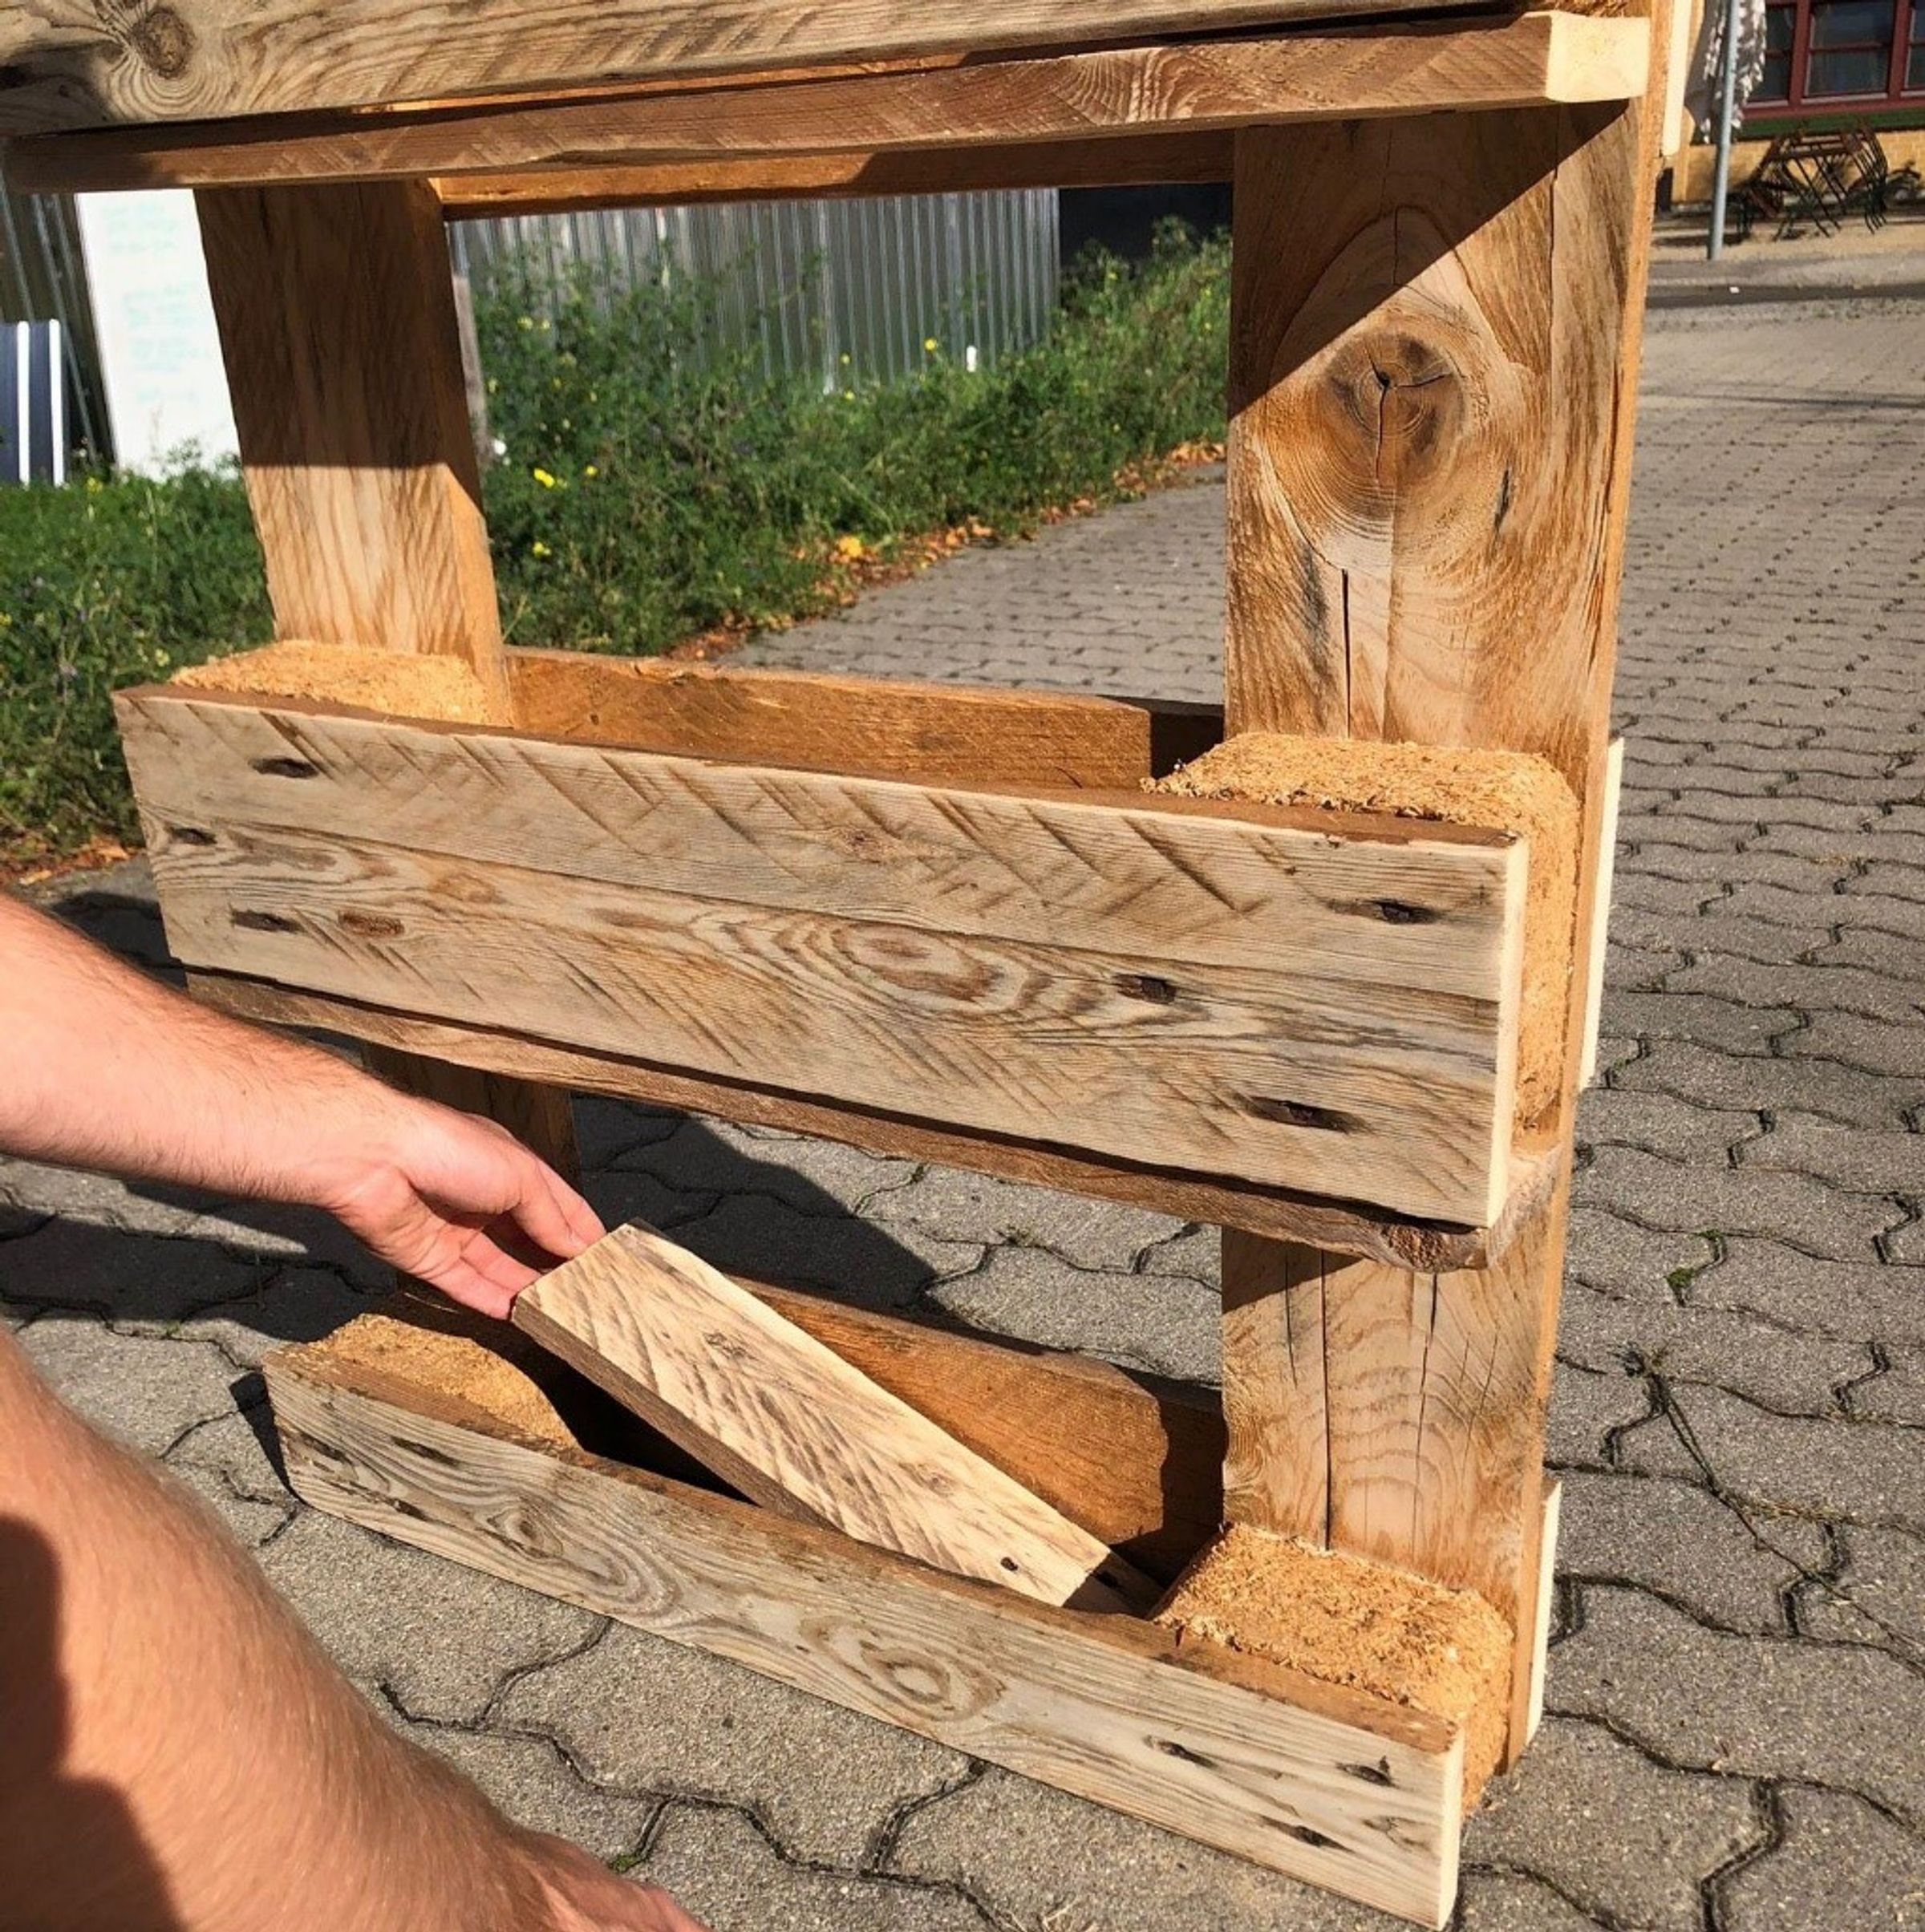
Now get the longest vertical board (marked blue in the picture above) and 2 of the small boards with blocks (marked red in the picture).
Cut the long board along the length in two equal parts that will be used to do the legs of the table. Put the cut legs aside for the moment.

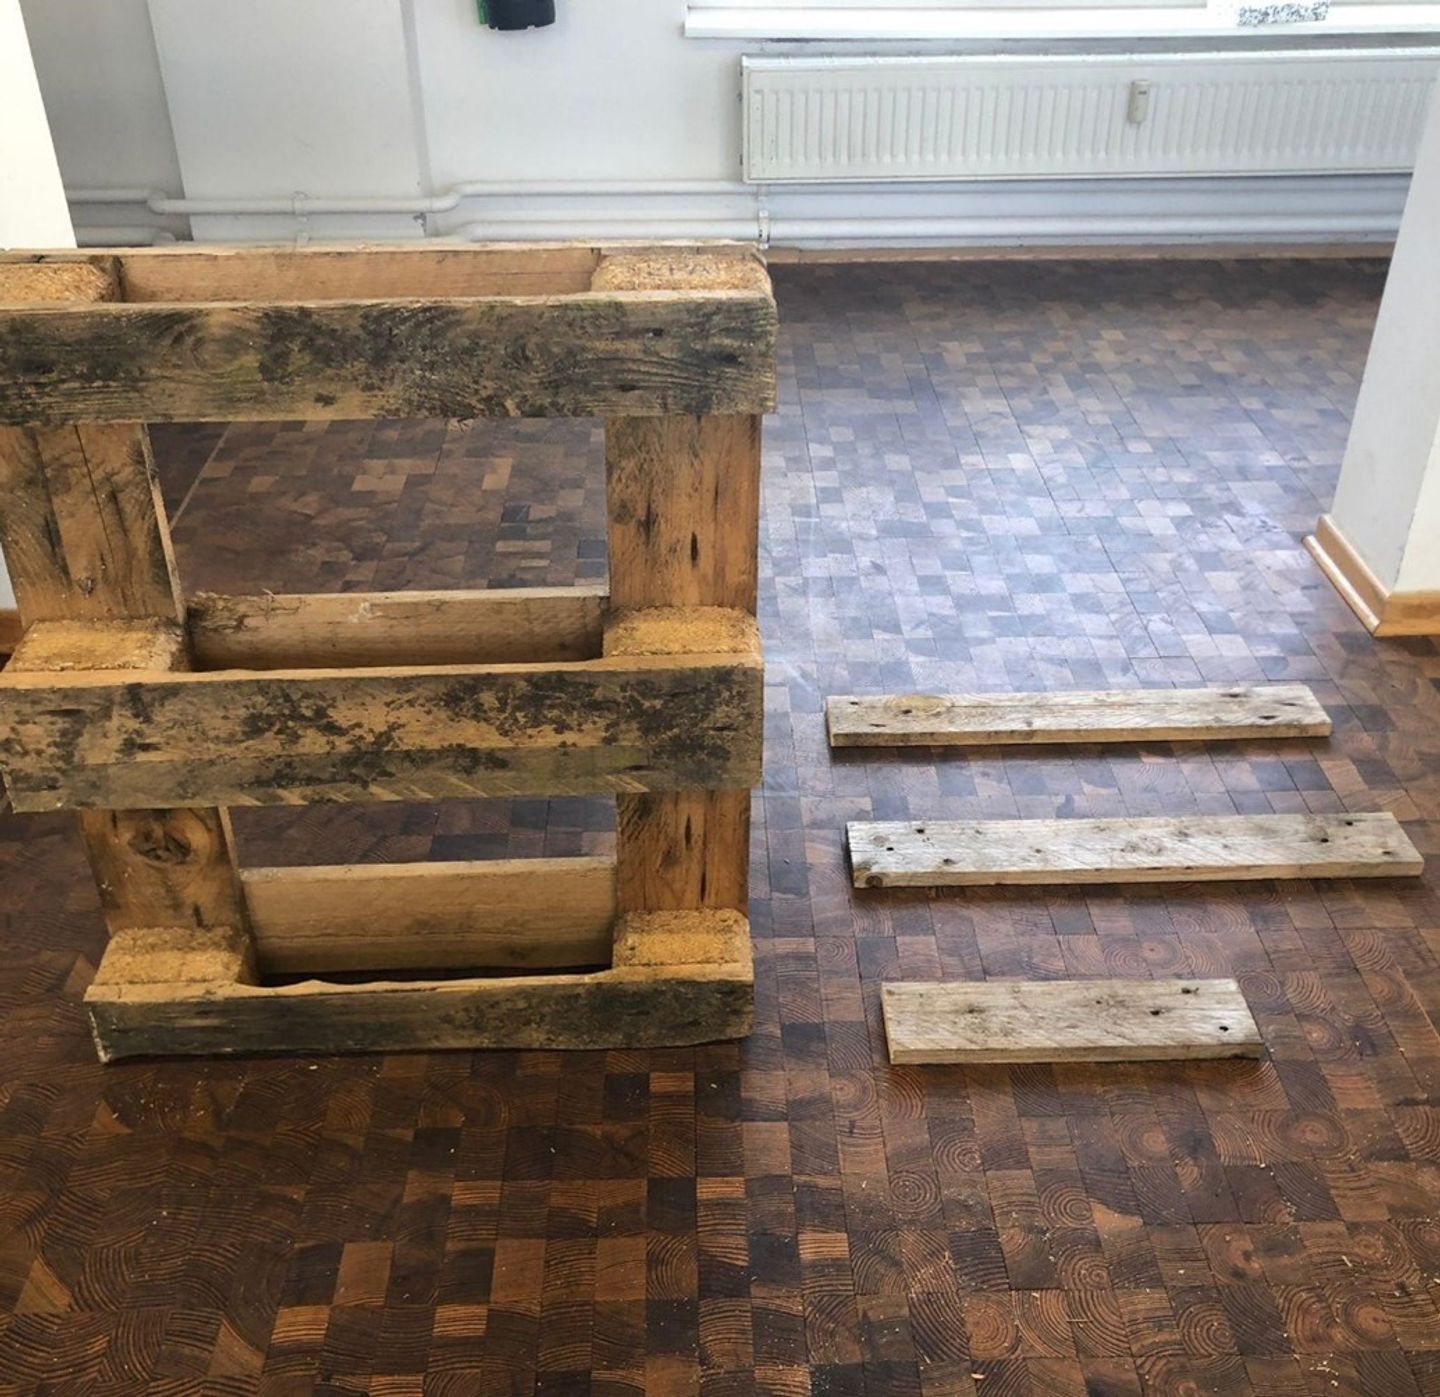
Now cut away the blocks from the small boards. We just need 2 of those blocks.
At this point you should have all the parts shown above and your tabletop ready. Also collect any nails that you have removed. The colours indicate where each part belongs.
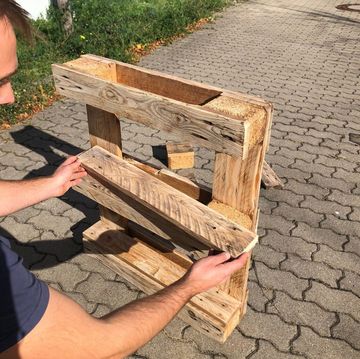
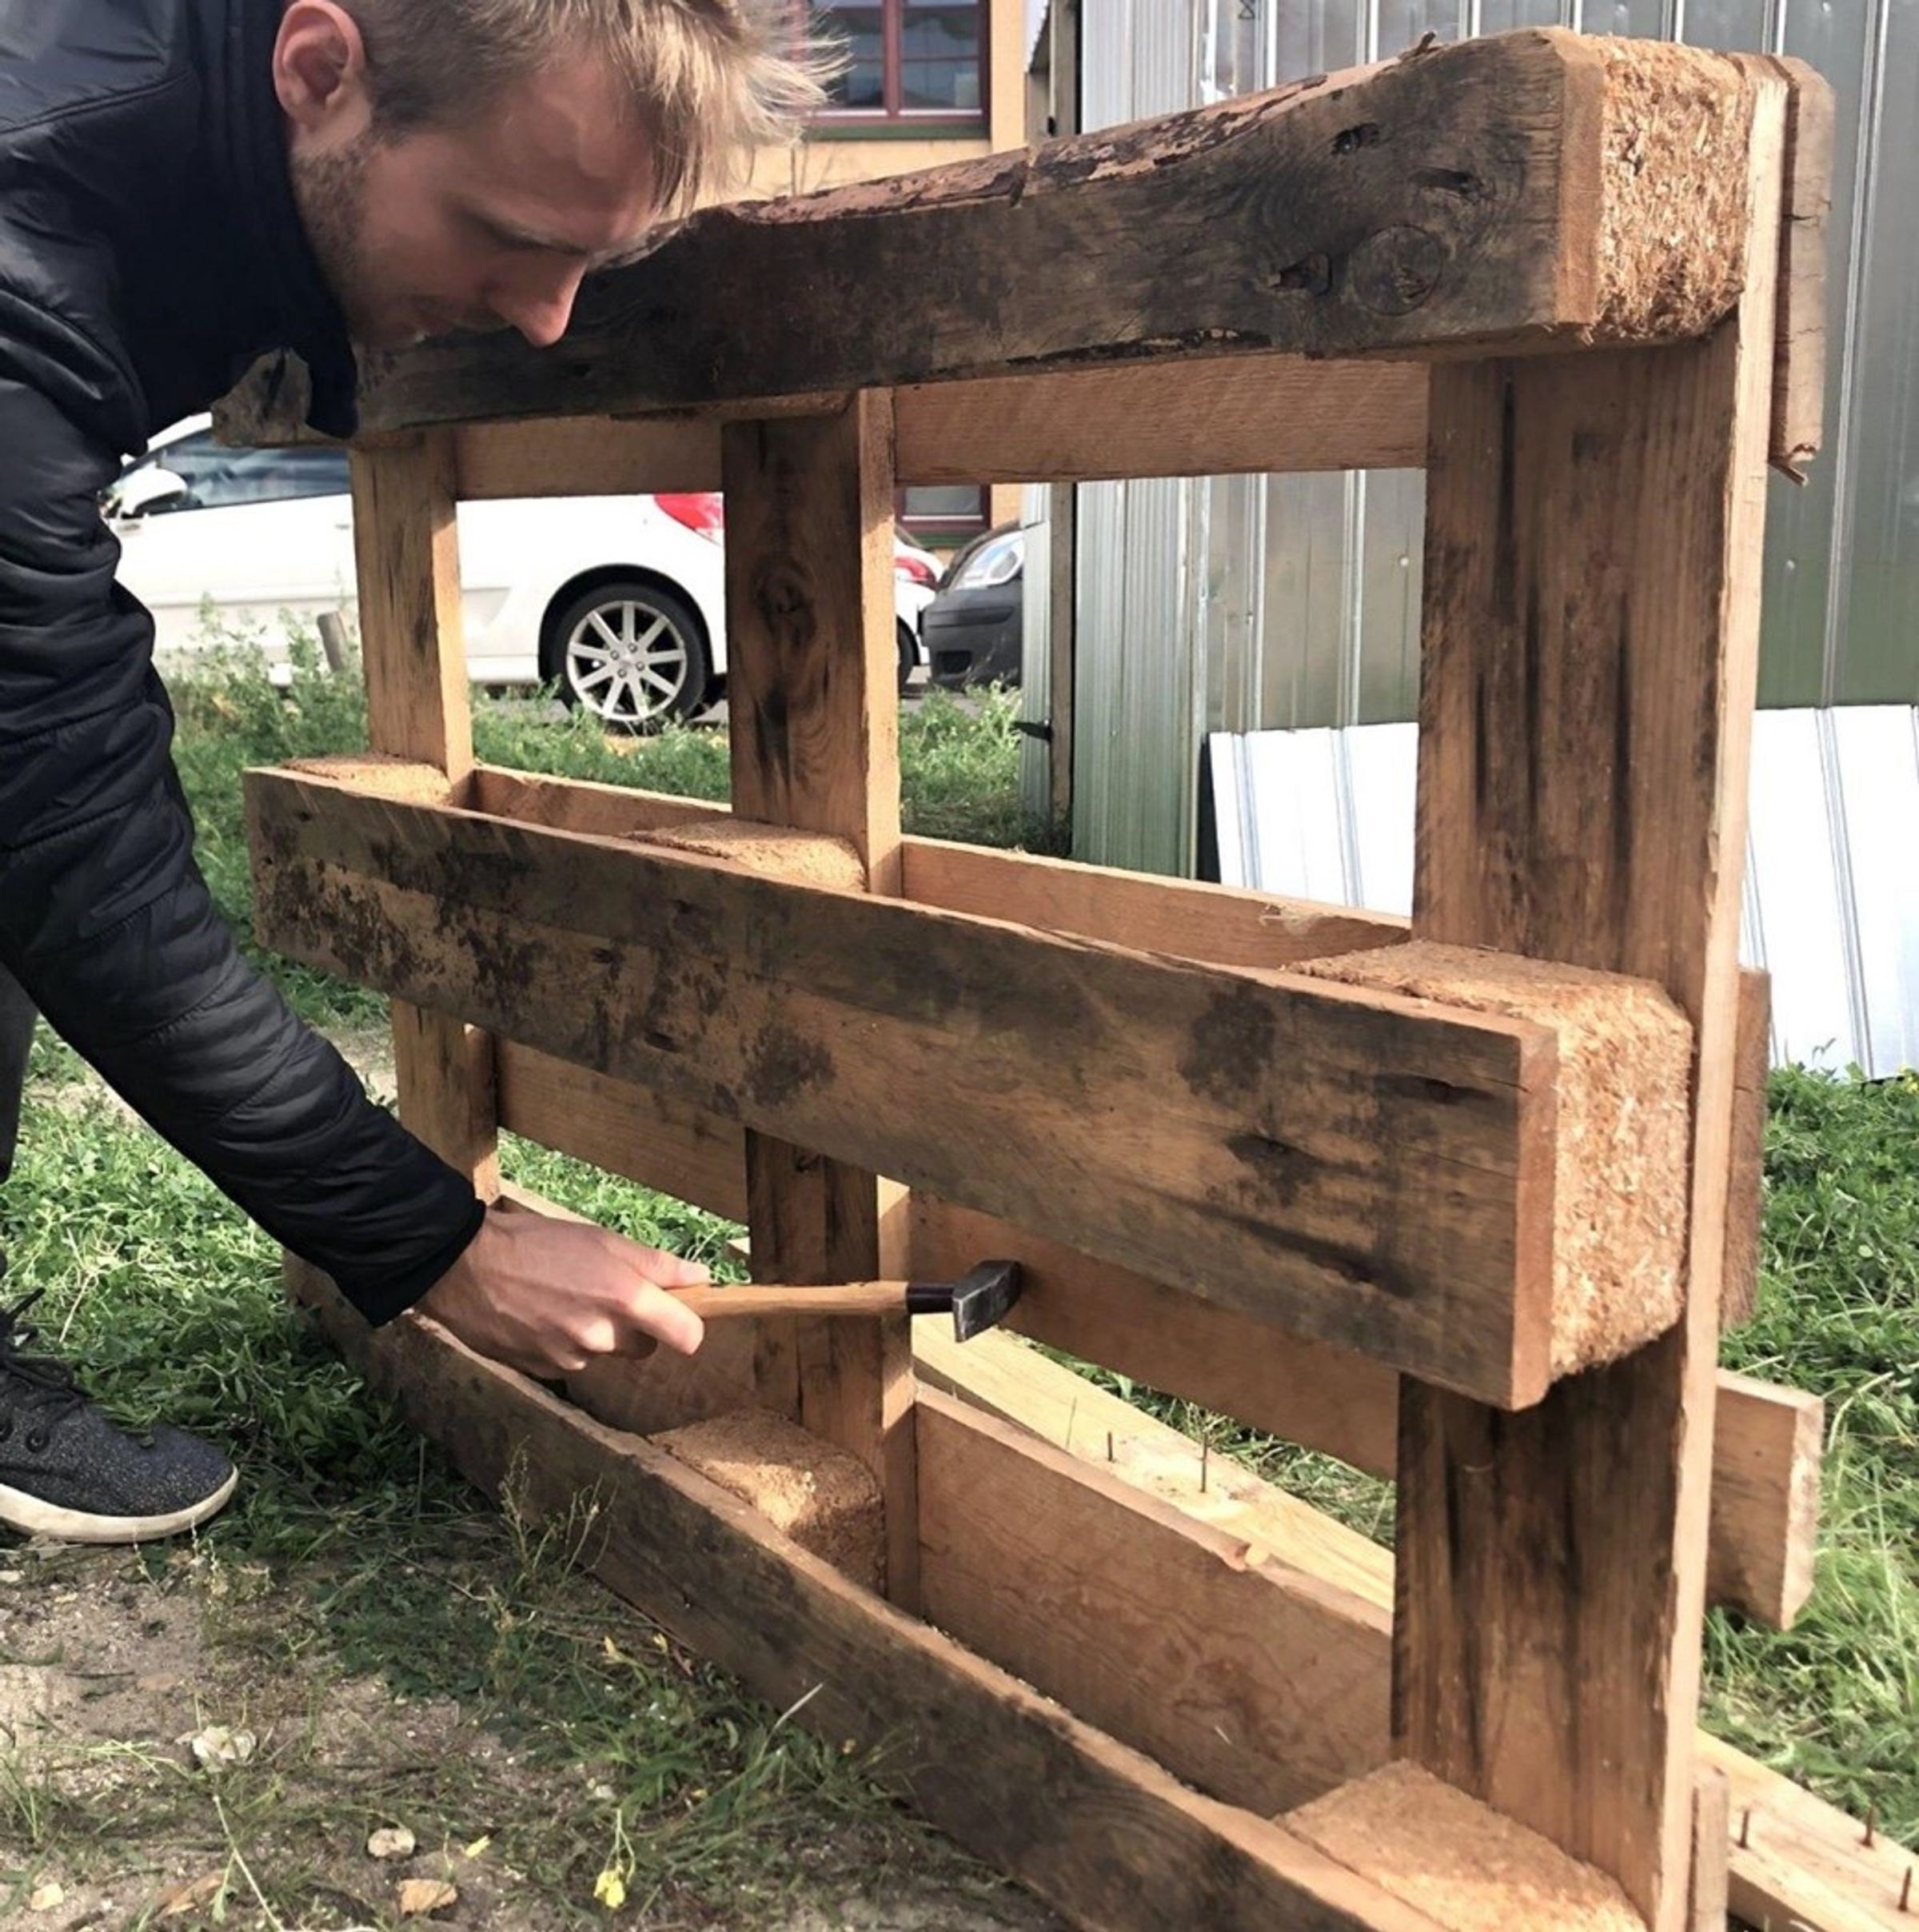
For the upper and middle compartments, turn the main structure upside down to fix it more easily.


For the lower compartment put the pallet back in normal position so that the board lies on the floor while you are nailing it.


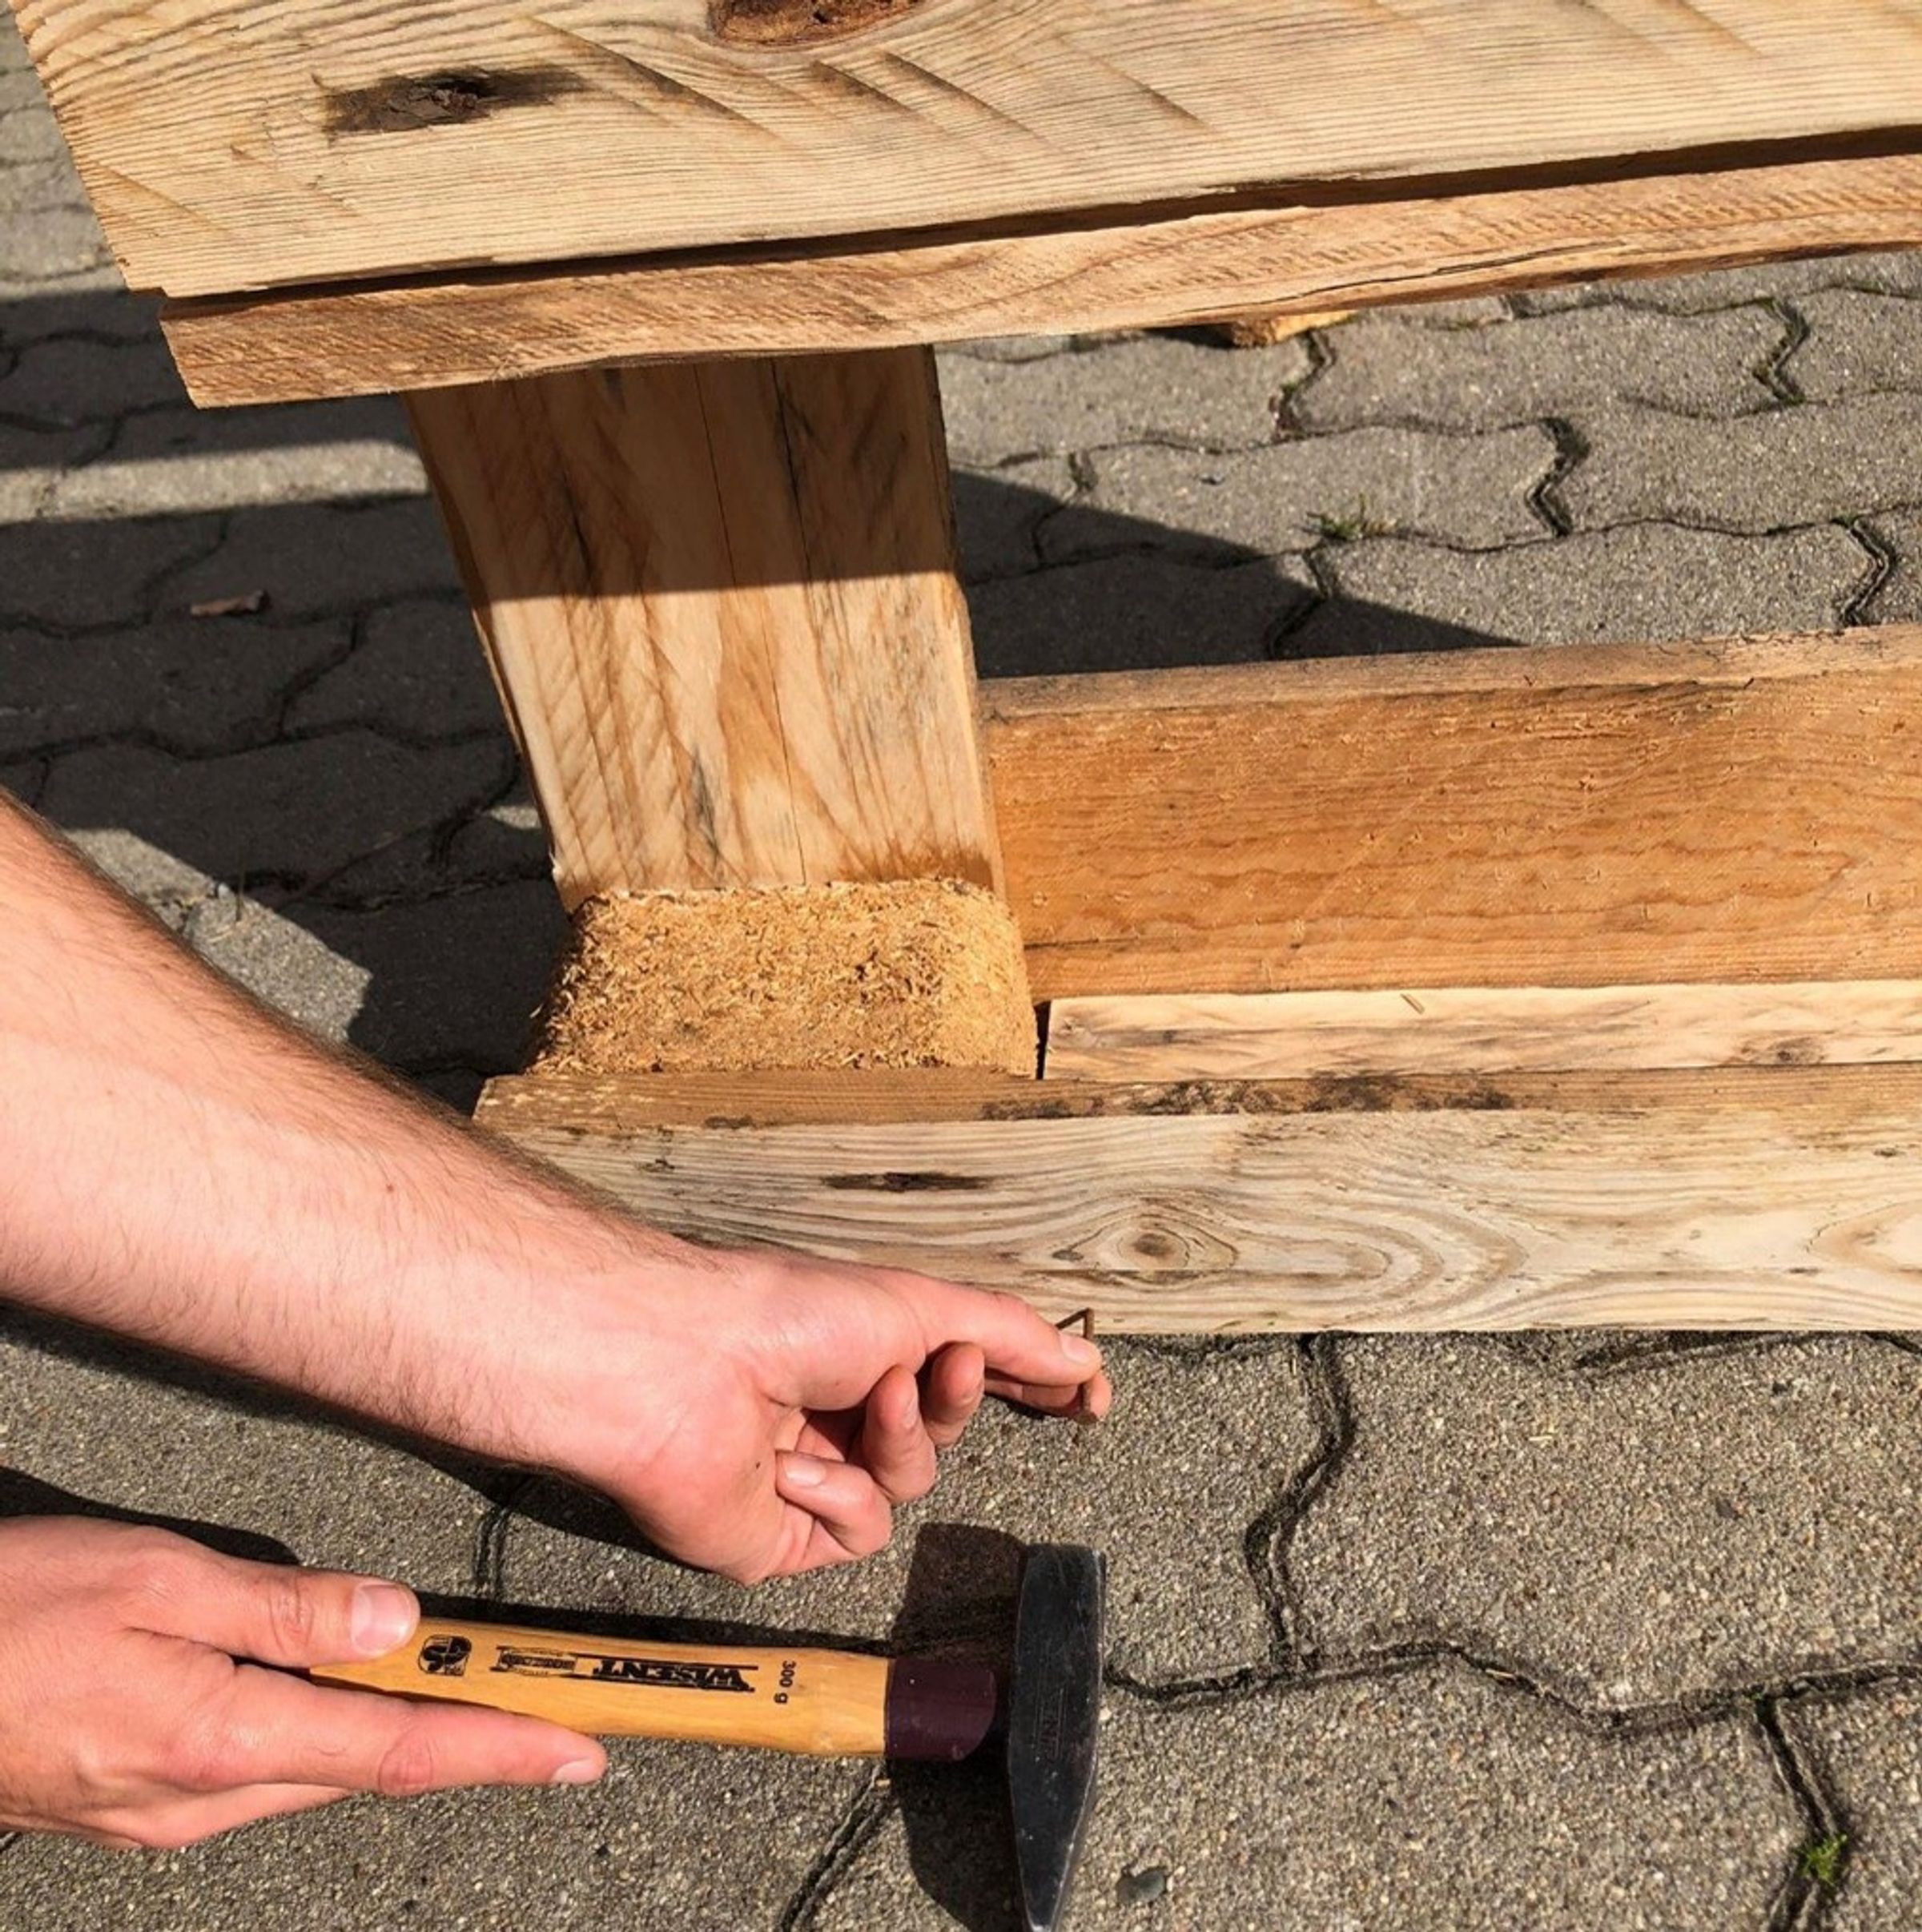

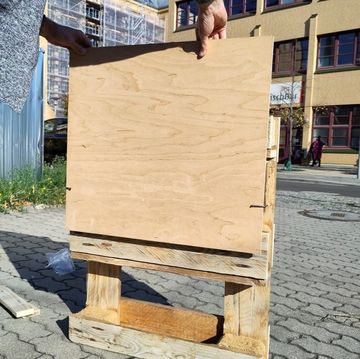
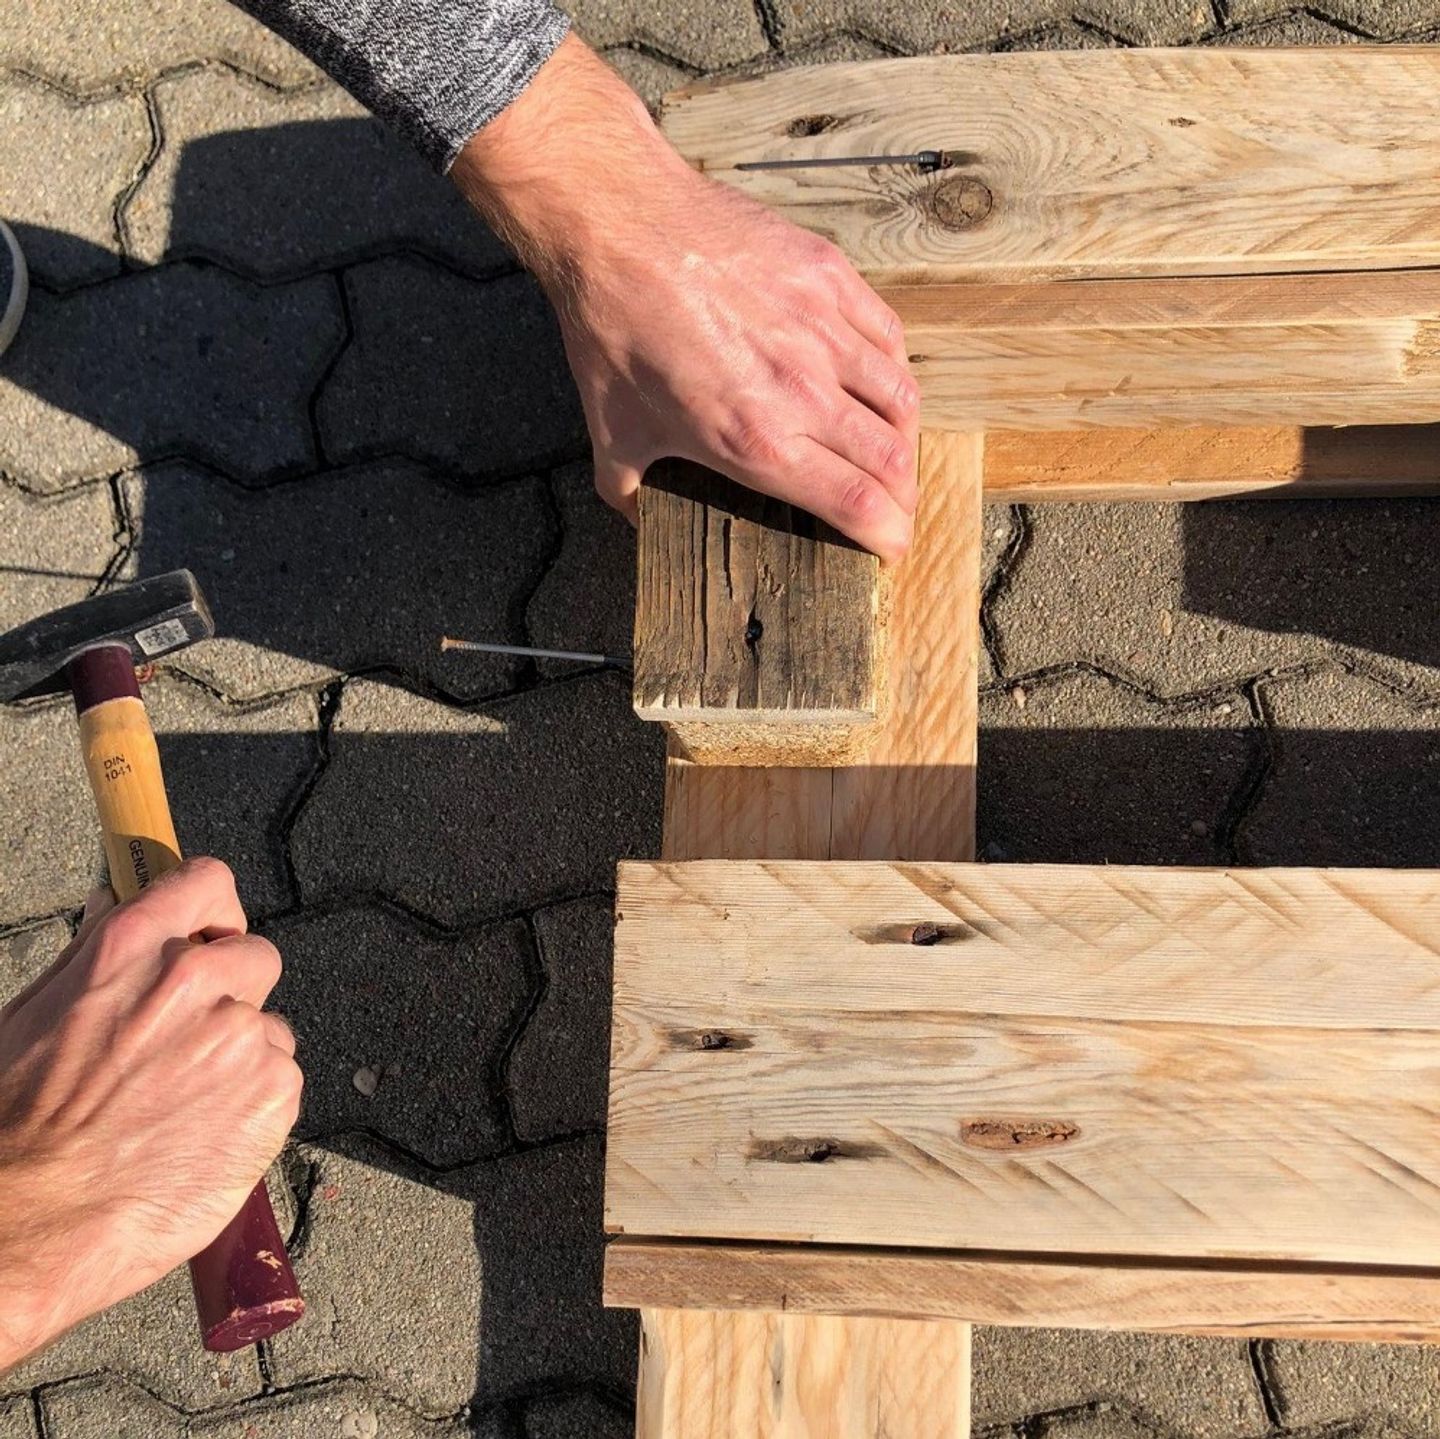
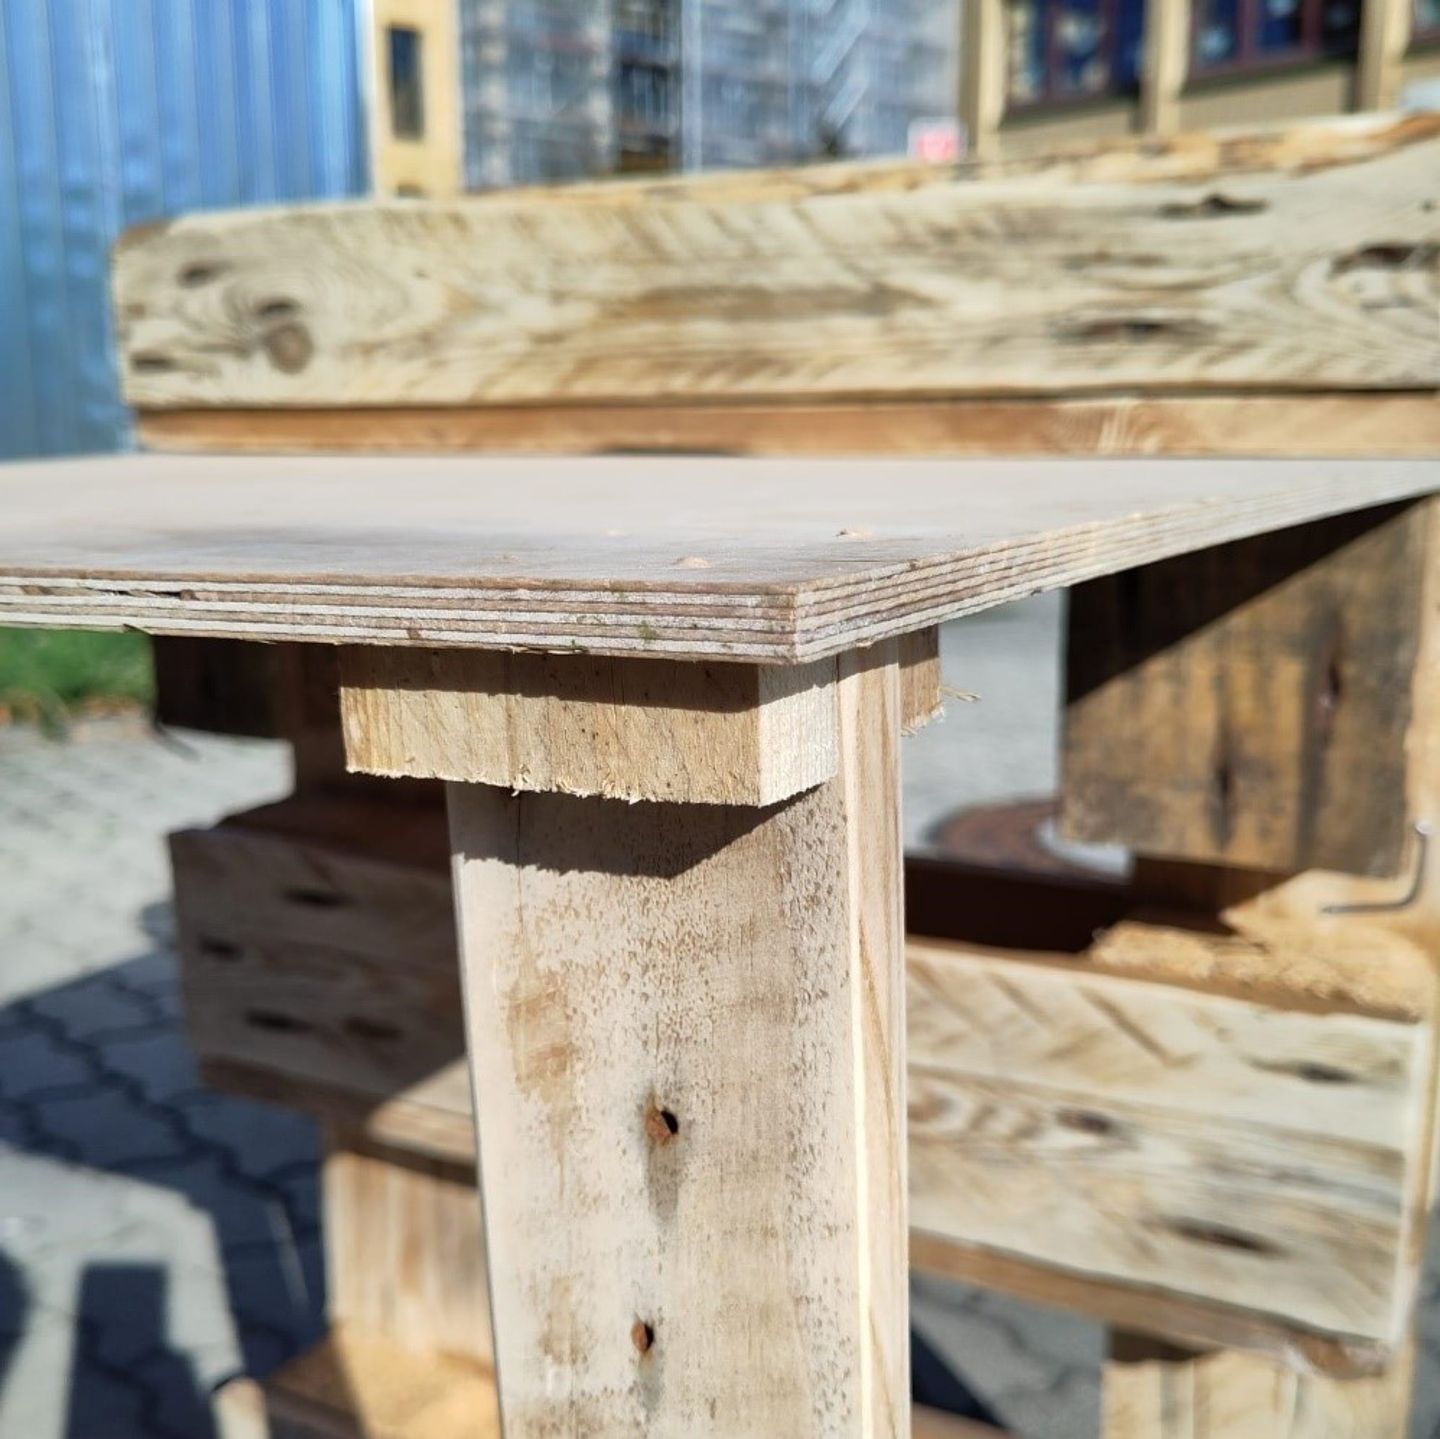
Those blocks will support the table top on the main structure. You may need another pair of hands at this stage.


One person holds the table top in its final position firmly. The other person puts the blocks under the table top and nails it from the back.
Do it on both sides.
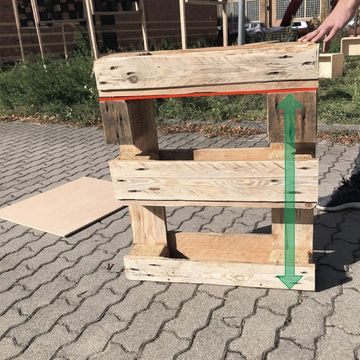
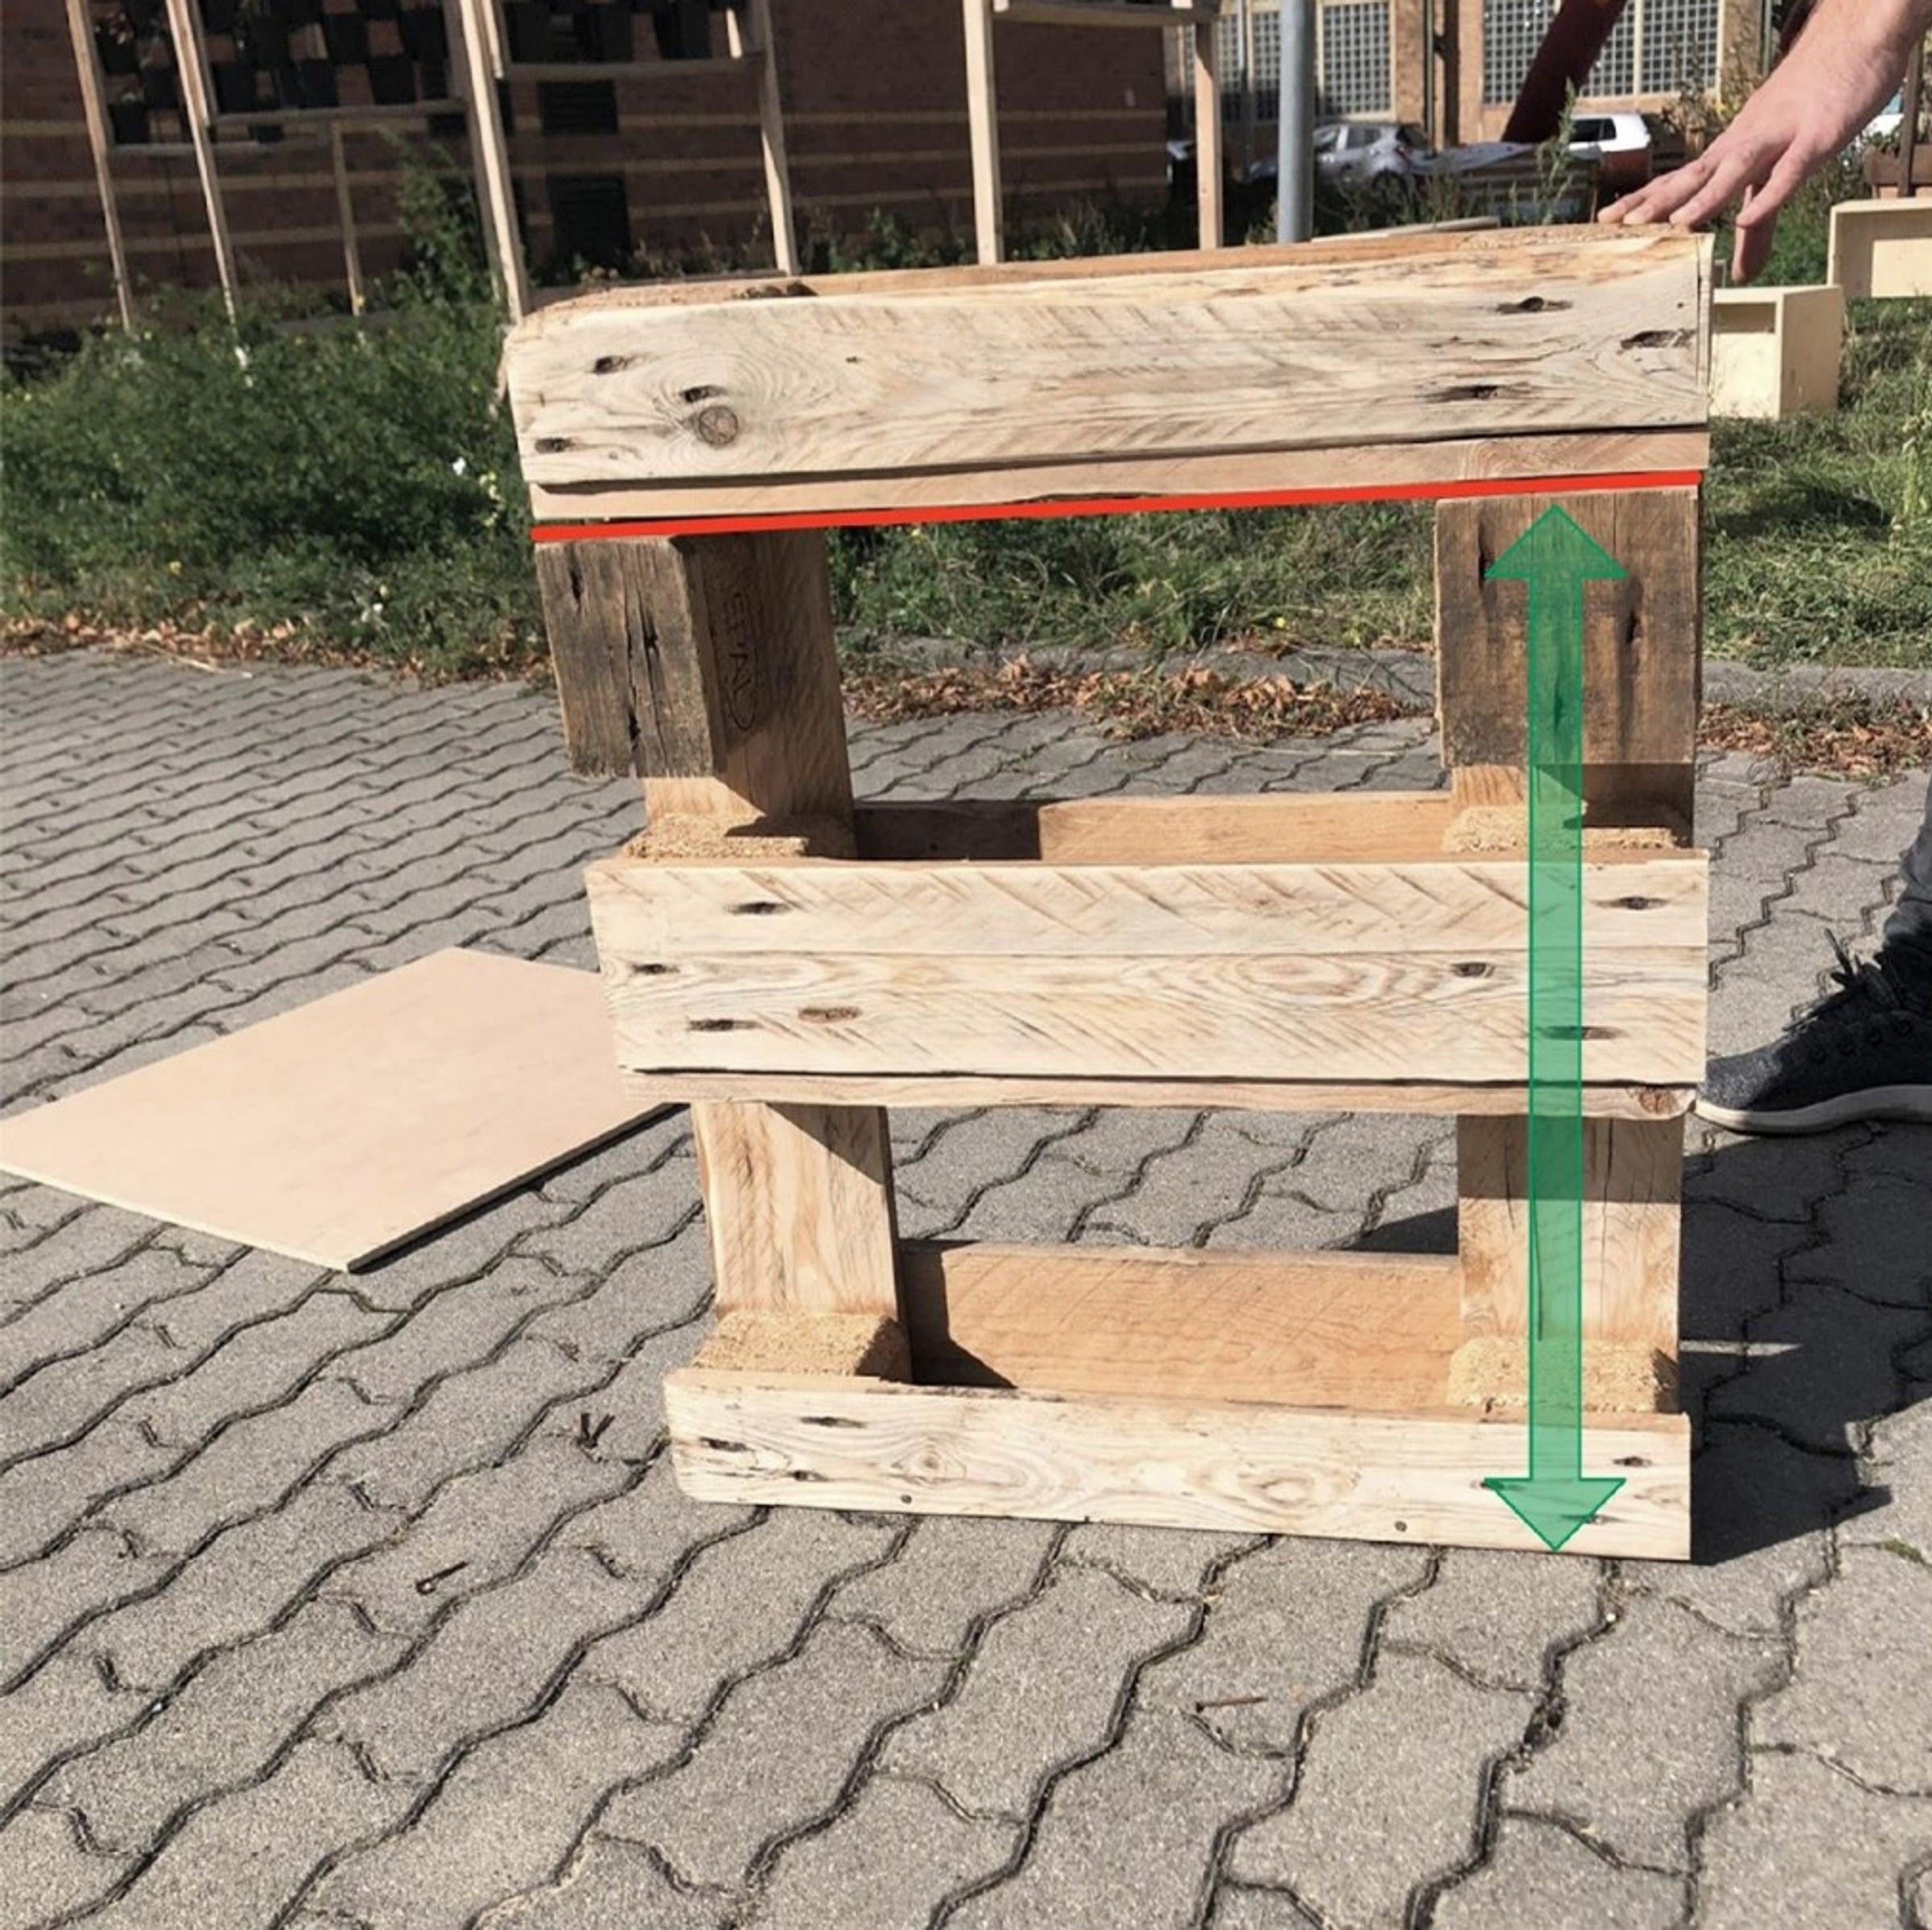
Grab the two long pieces you’ve cut in the 5th step. Put them next to the main part and cut them so that they are as the green arrow above. The red line being the insertion of the table top.

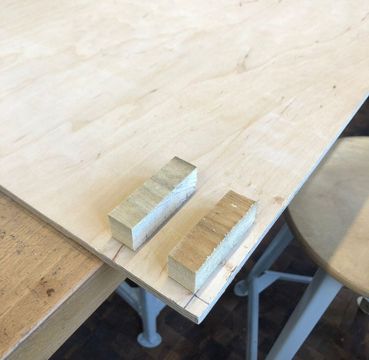
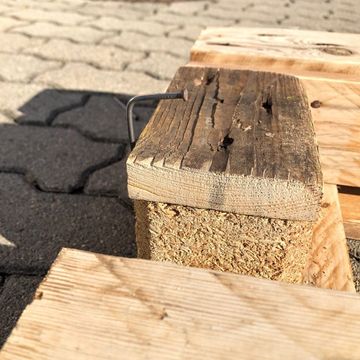
Get the residual wood of the feet (8th step) and cut them in 4 equal pieces.


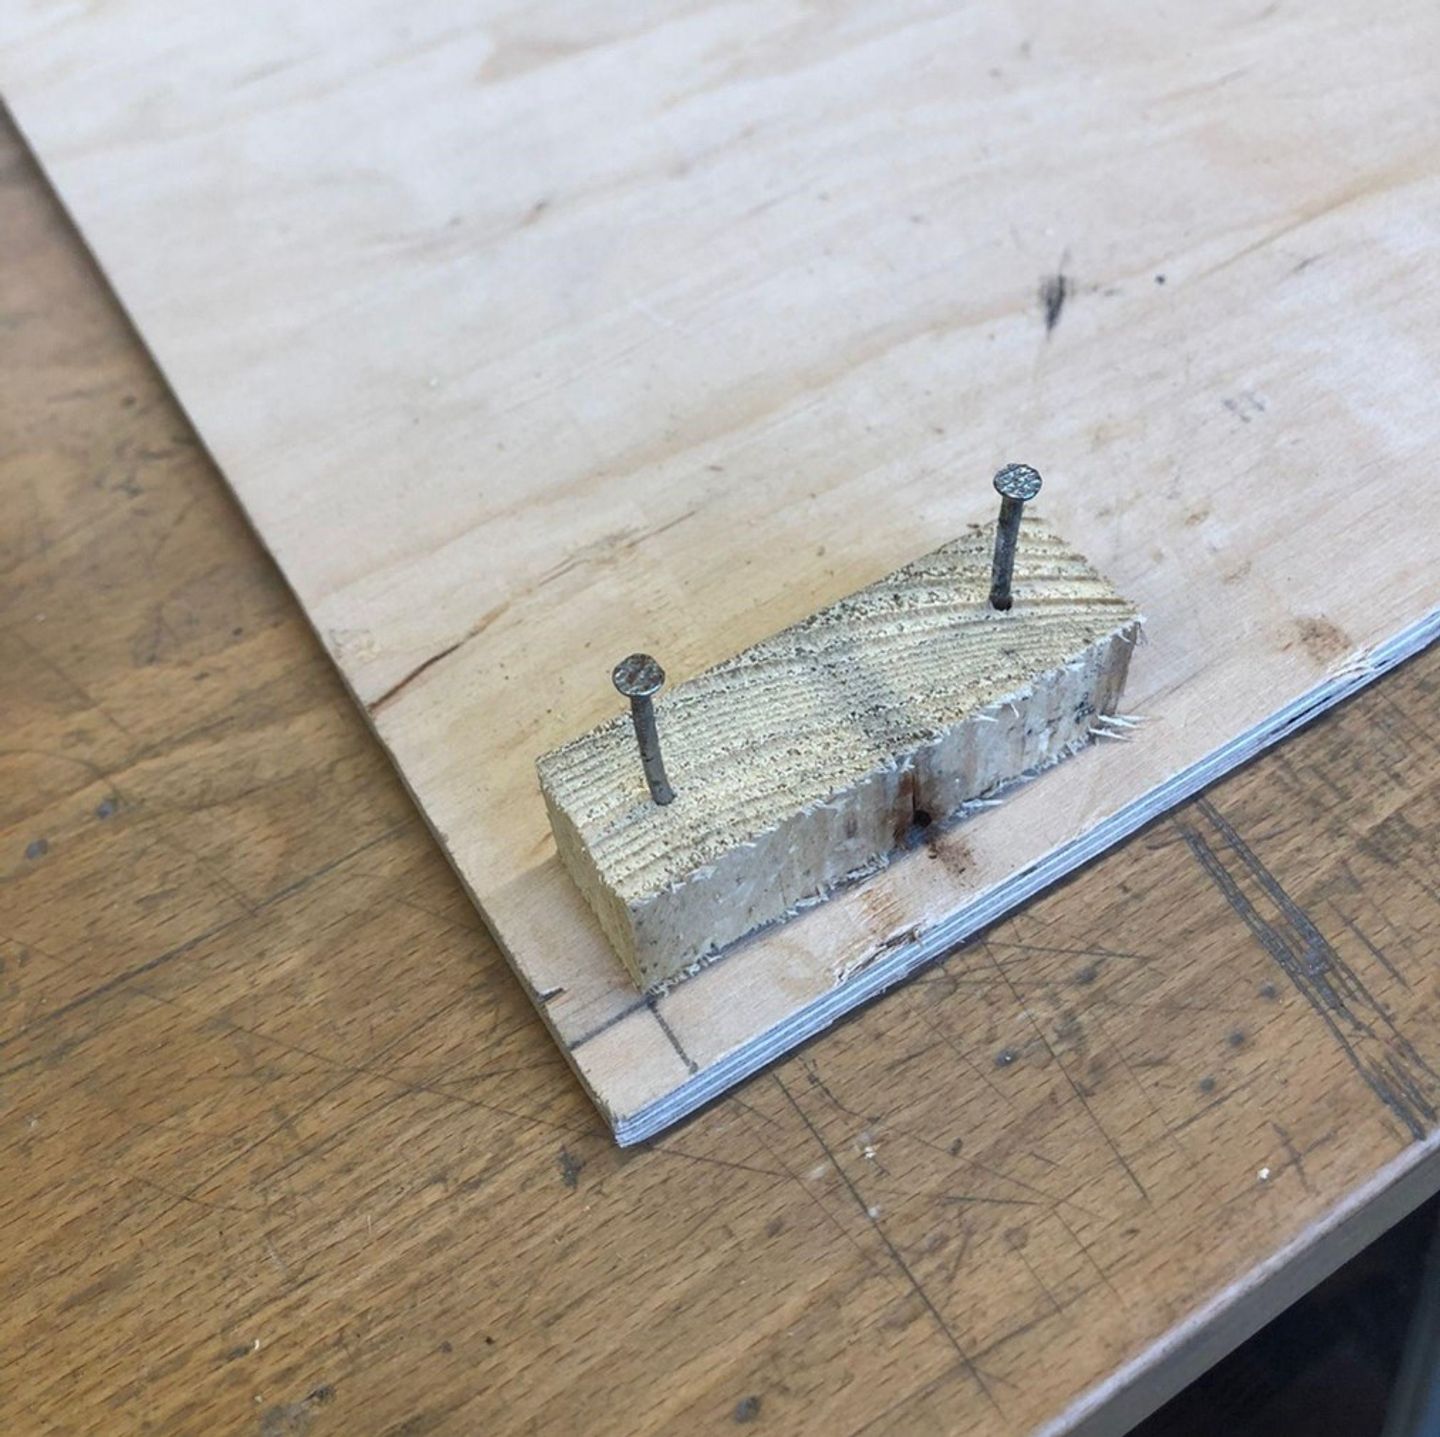
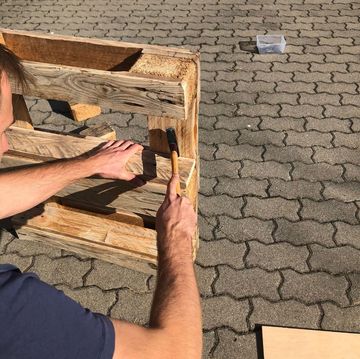
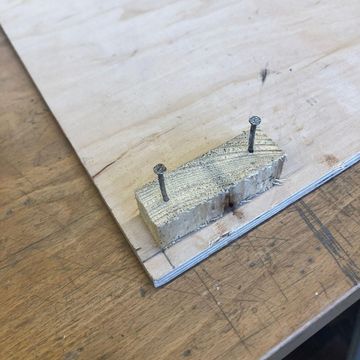
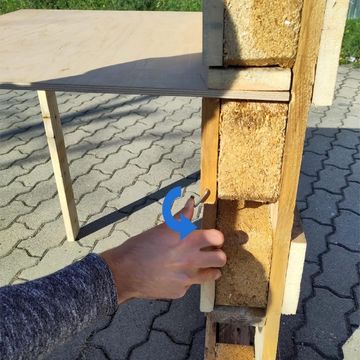
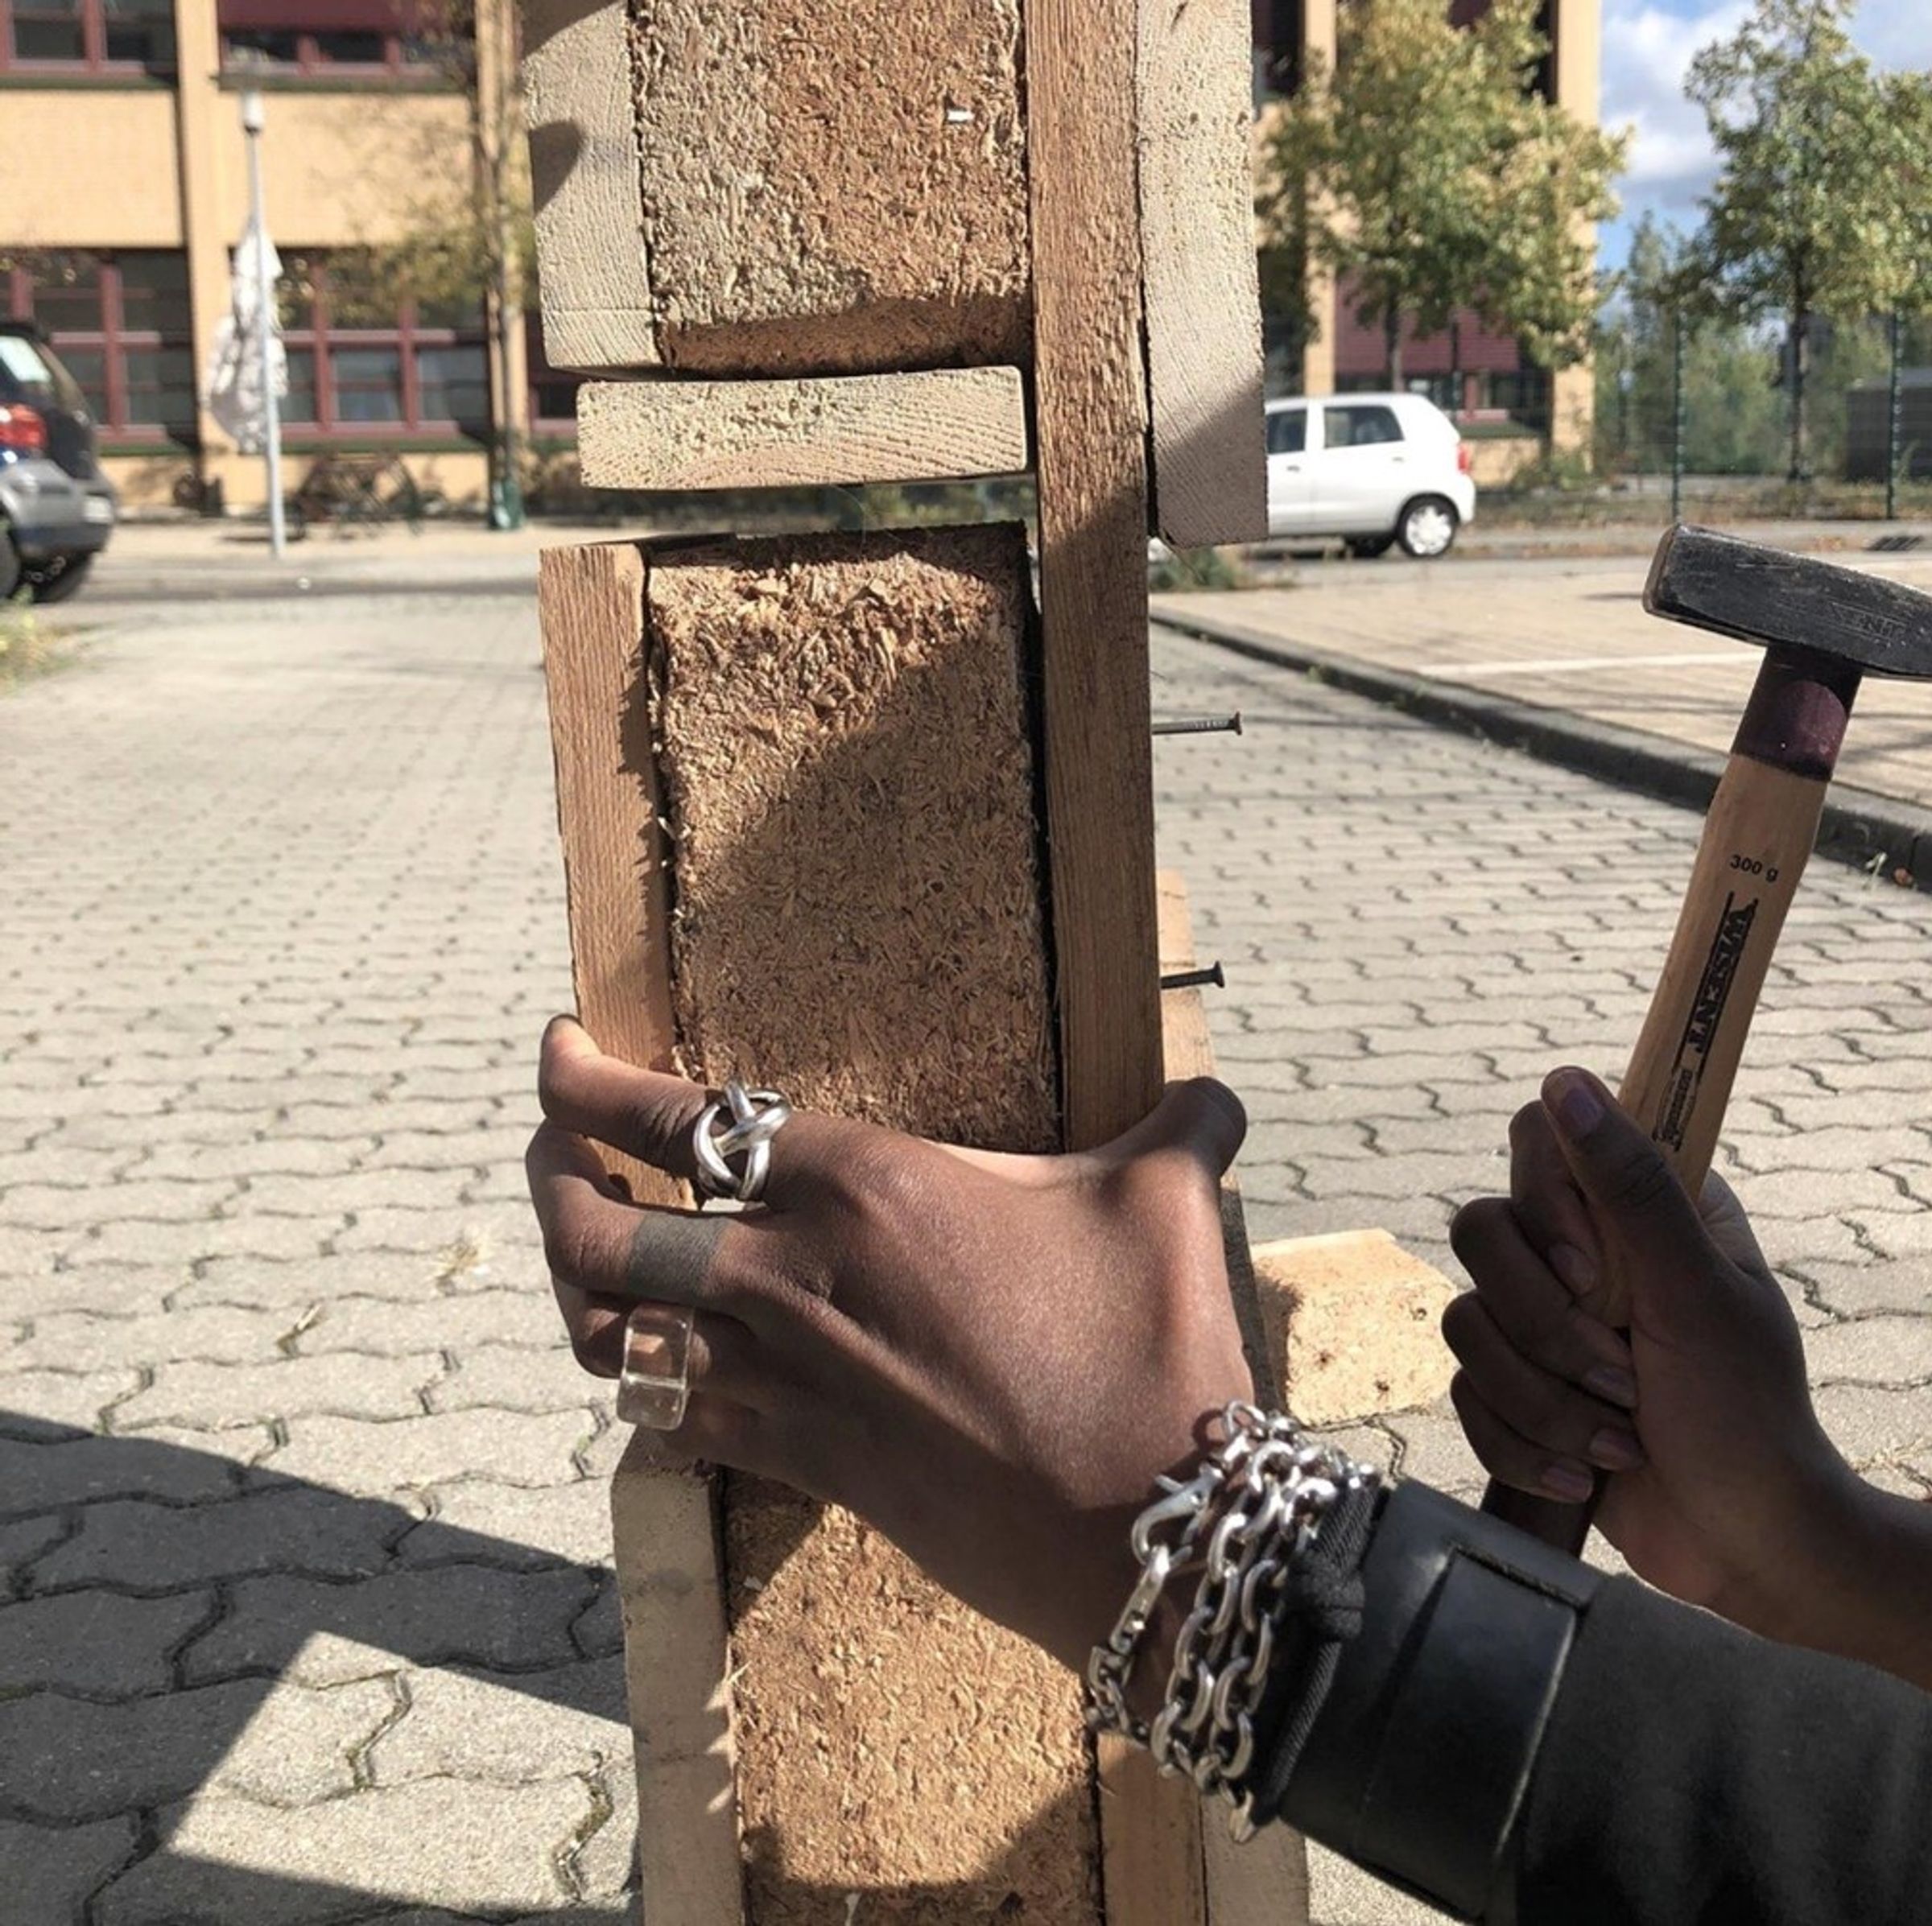
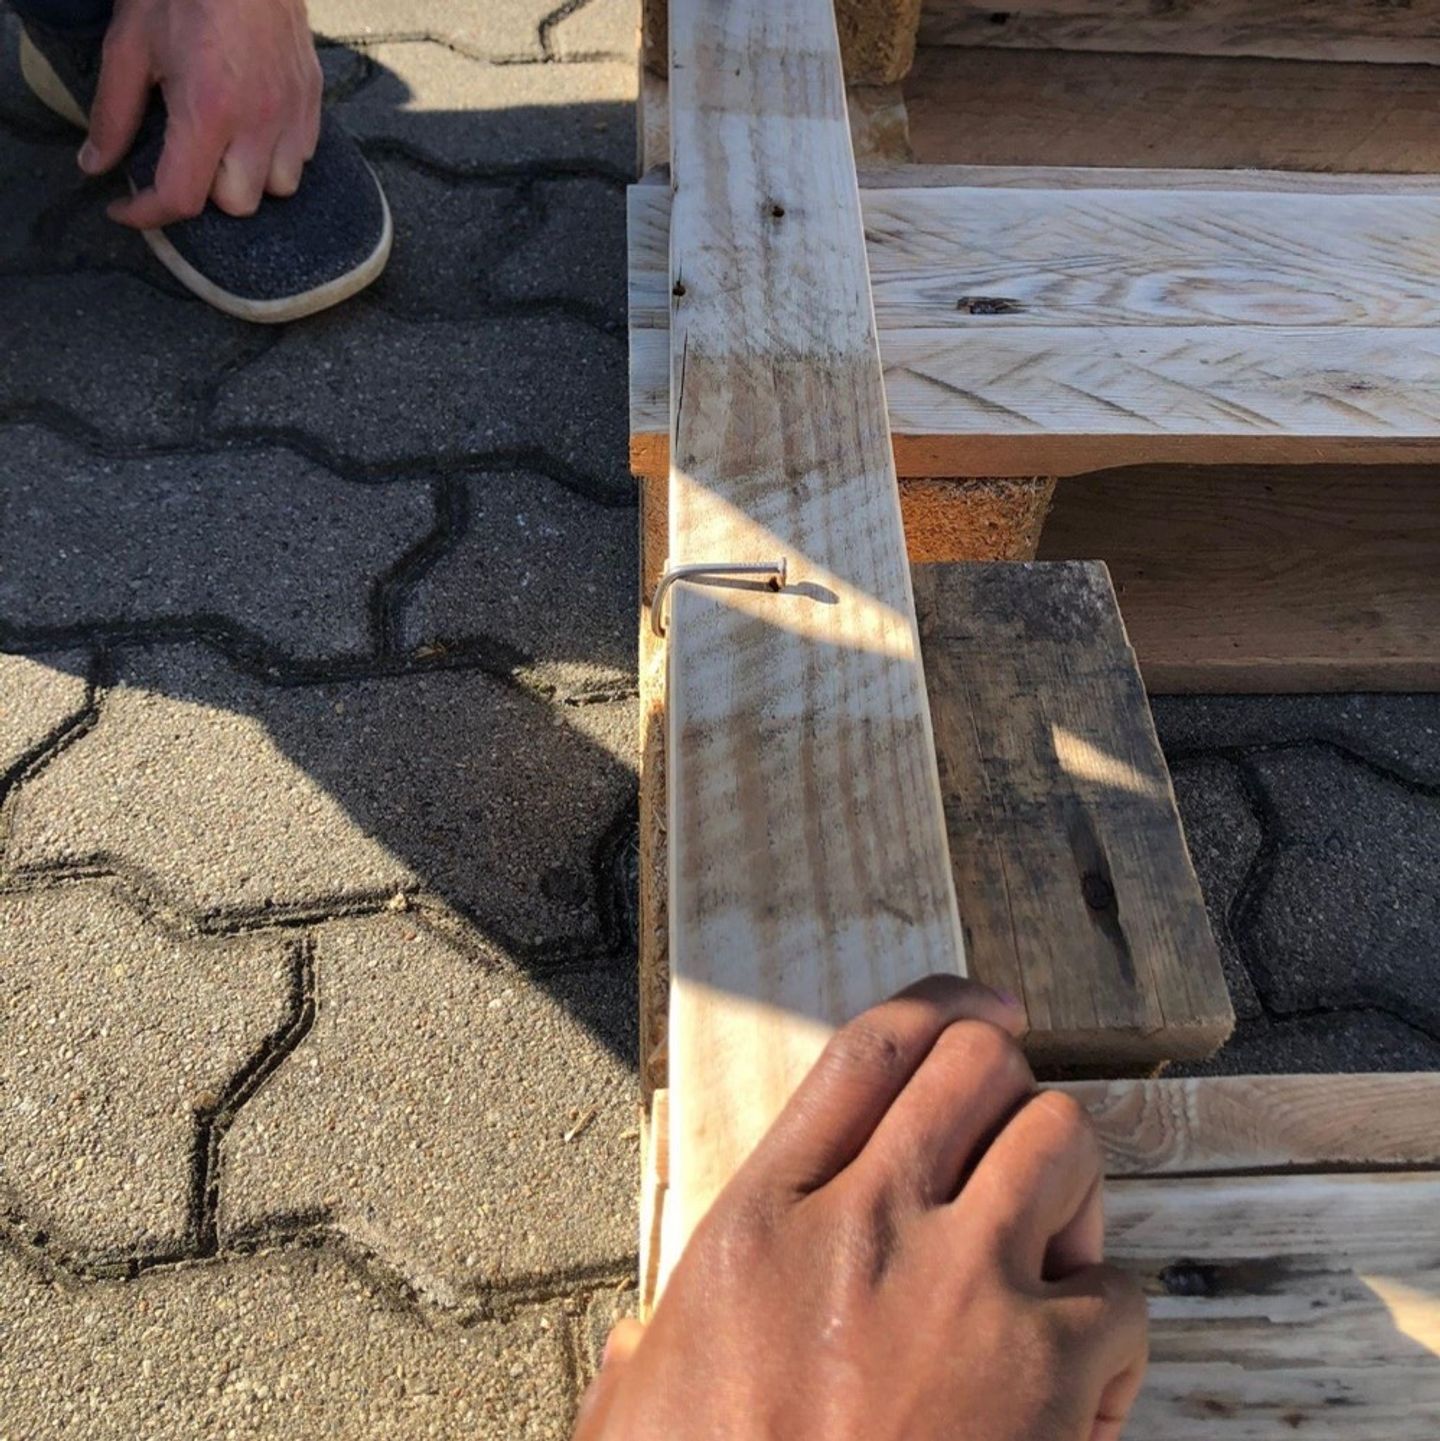
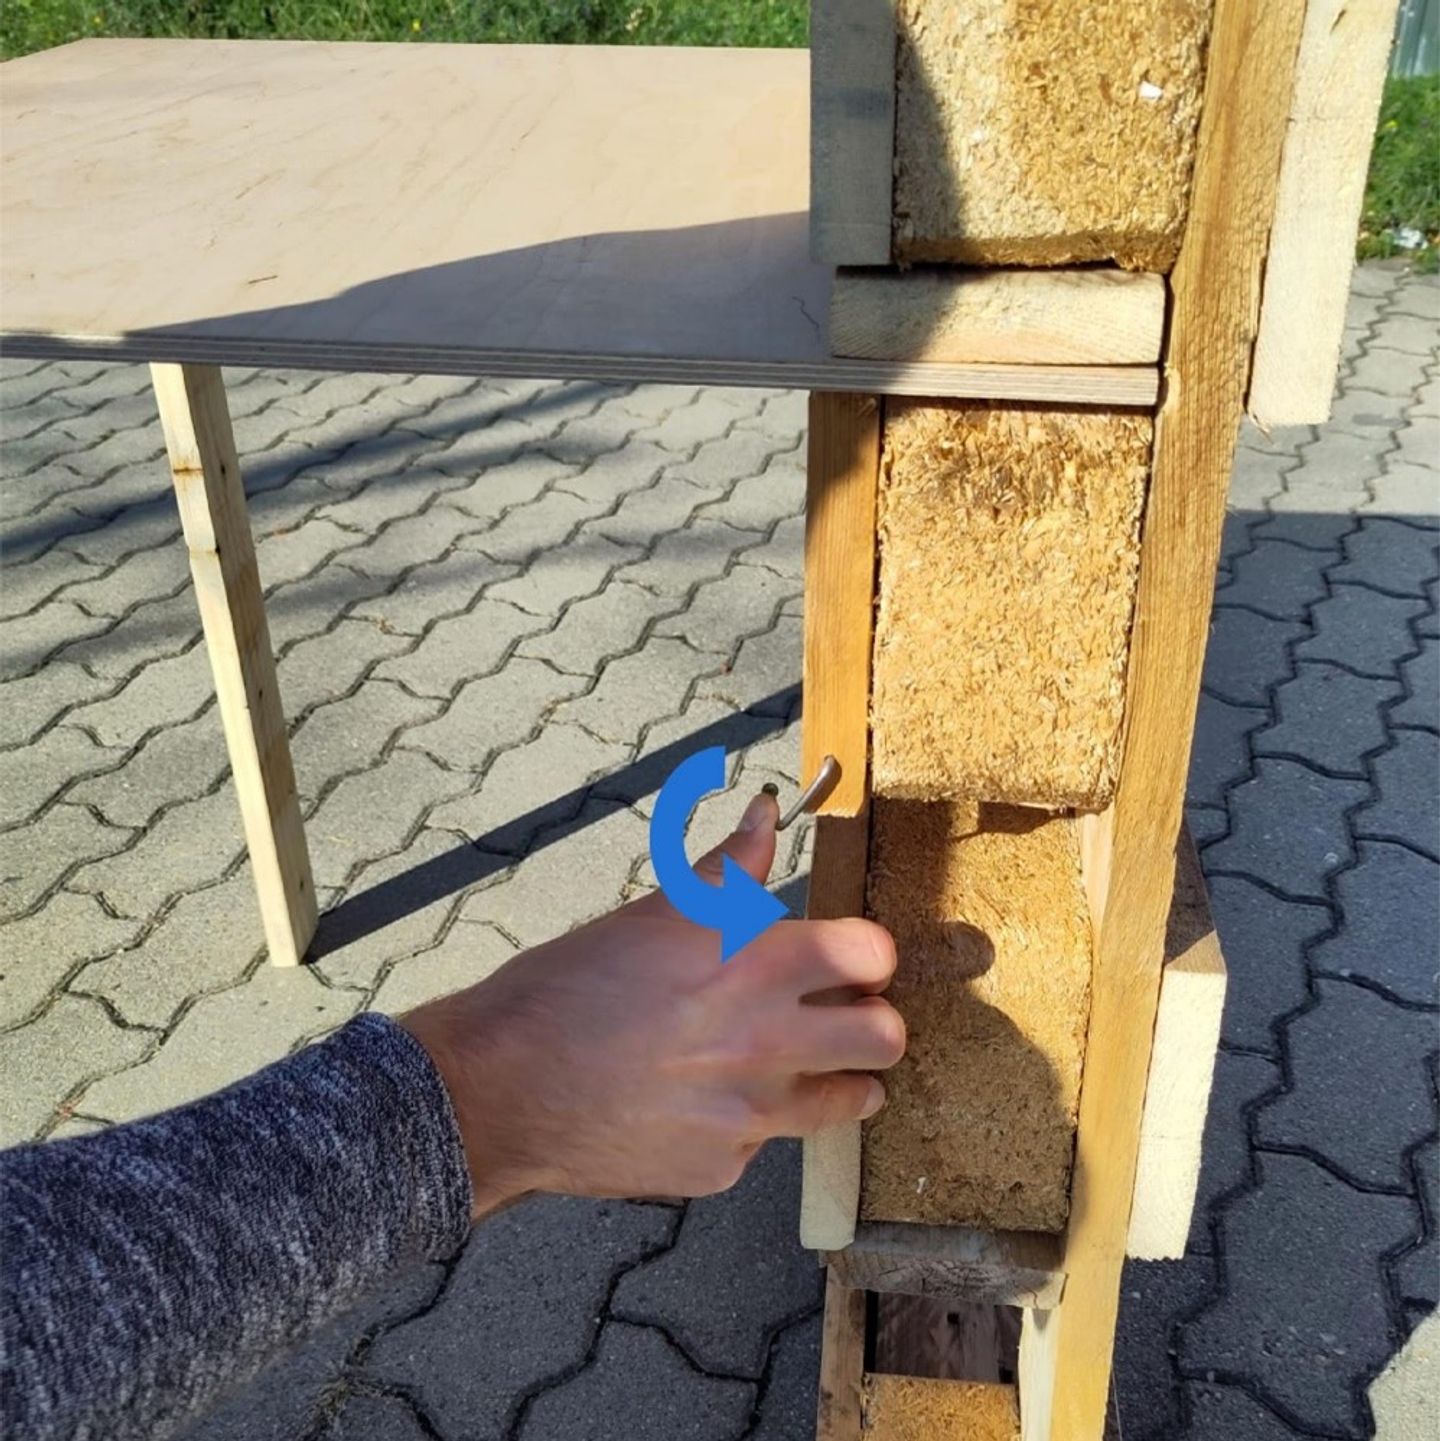
Put one nail on the side of a support block.

Now curve the nail to the front of the pallet. Help yourself with one leg of the table as shown in the picture to do so.


In this guide the table hasn’t been fixed to the shack’s wall. But in case you would like to put fragile objects in the compartments or if the bottom of your structure looks shaky, we recommend fixing the table to the wall, with nails and a rope for example.


First of all, put the 2 stoppings back up in a horizontal position. Remove the legs under the table top, then remove the table top by sliding it out. Then insert the table top between the pallet and the stoppings.


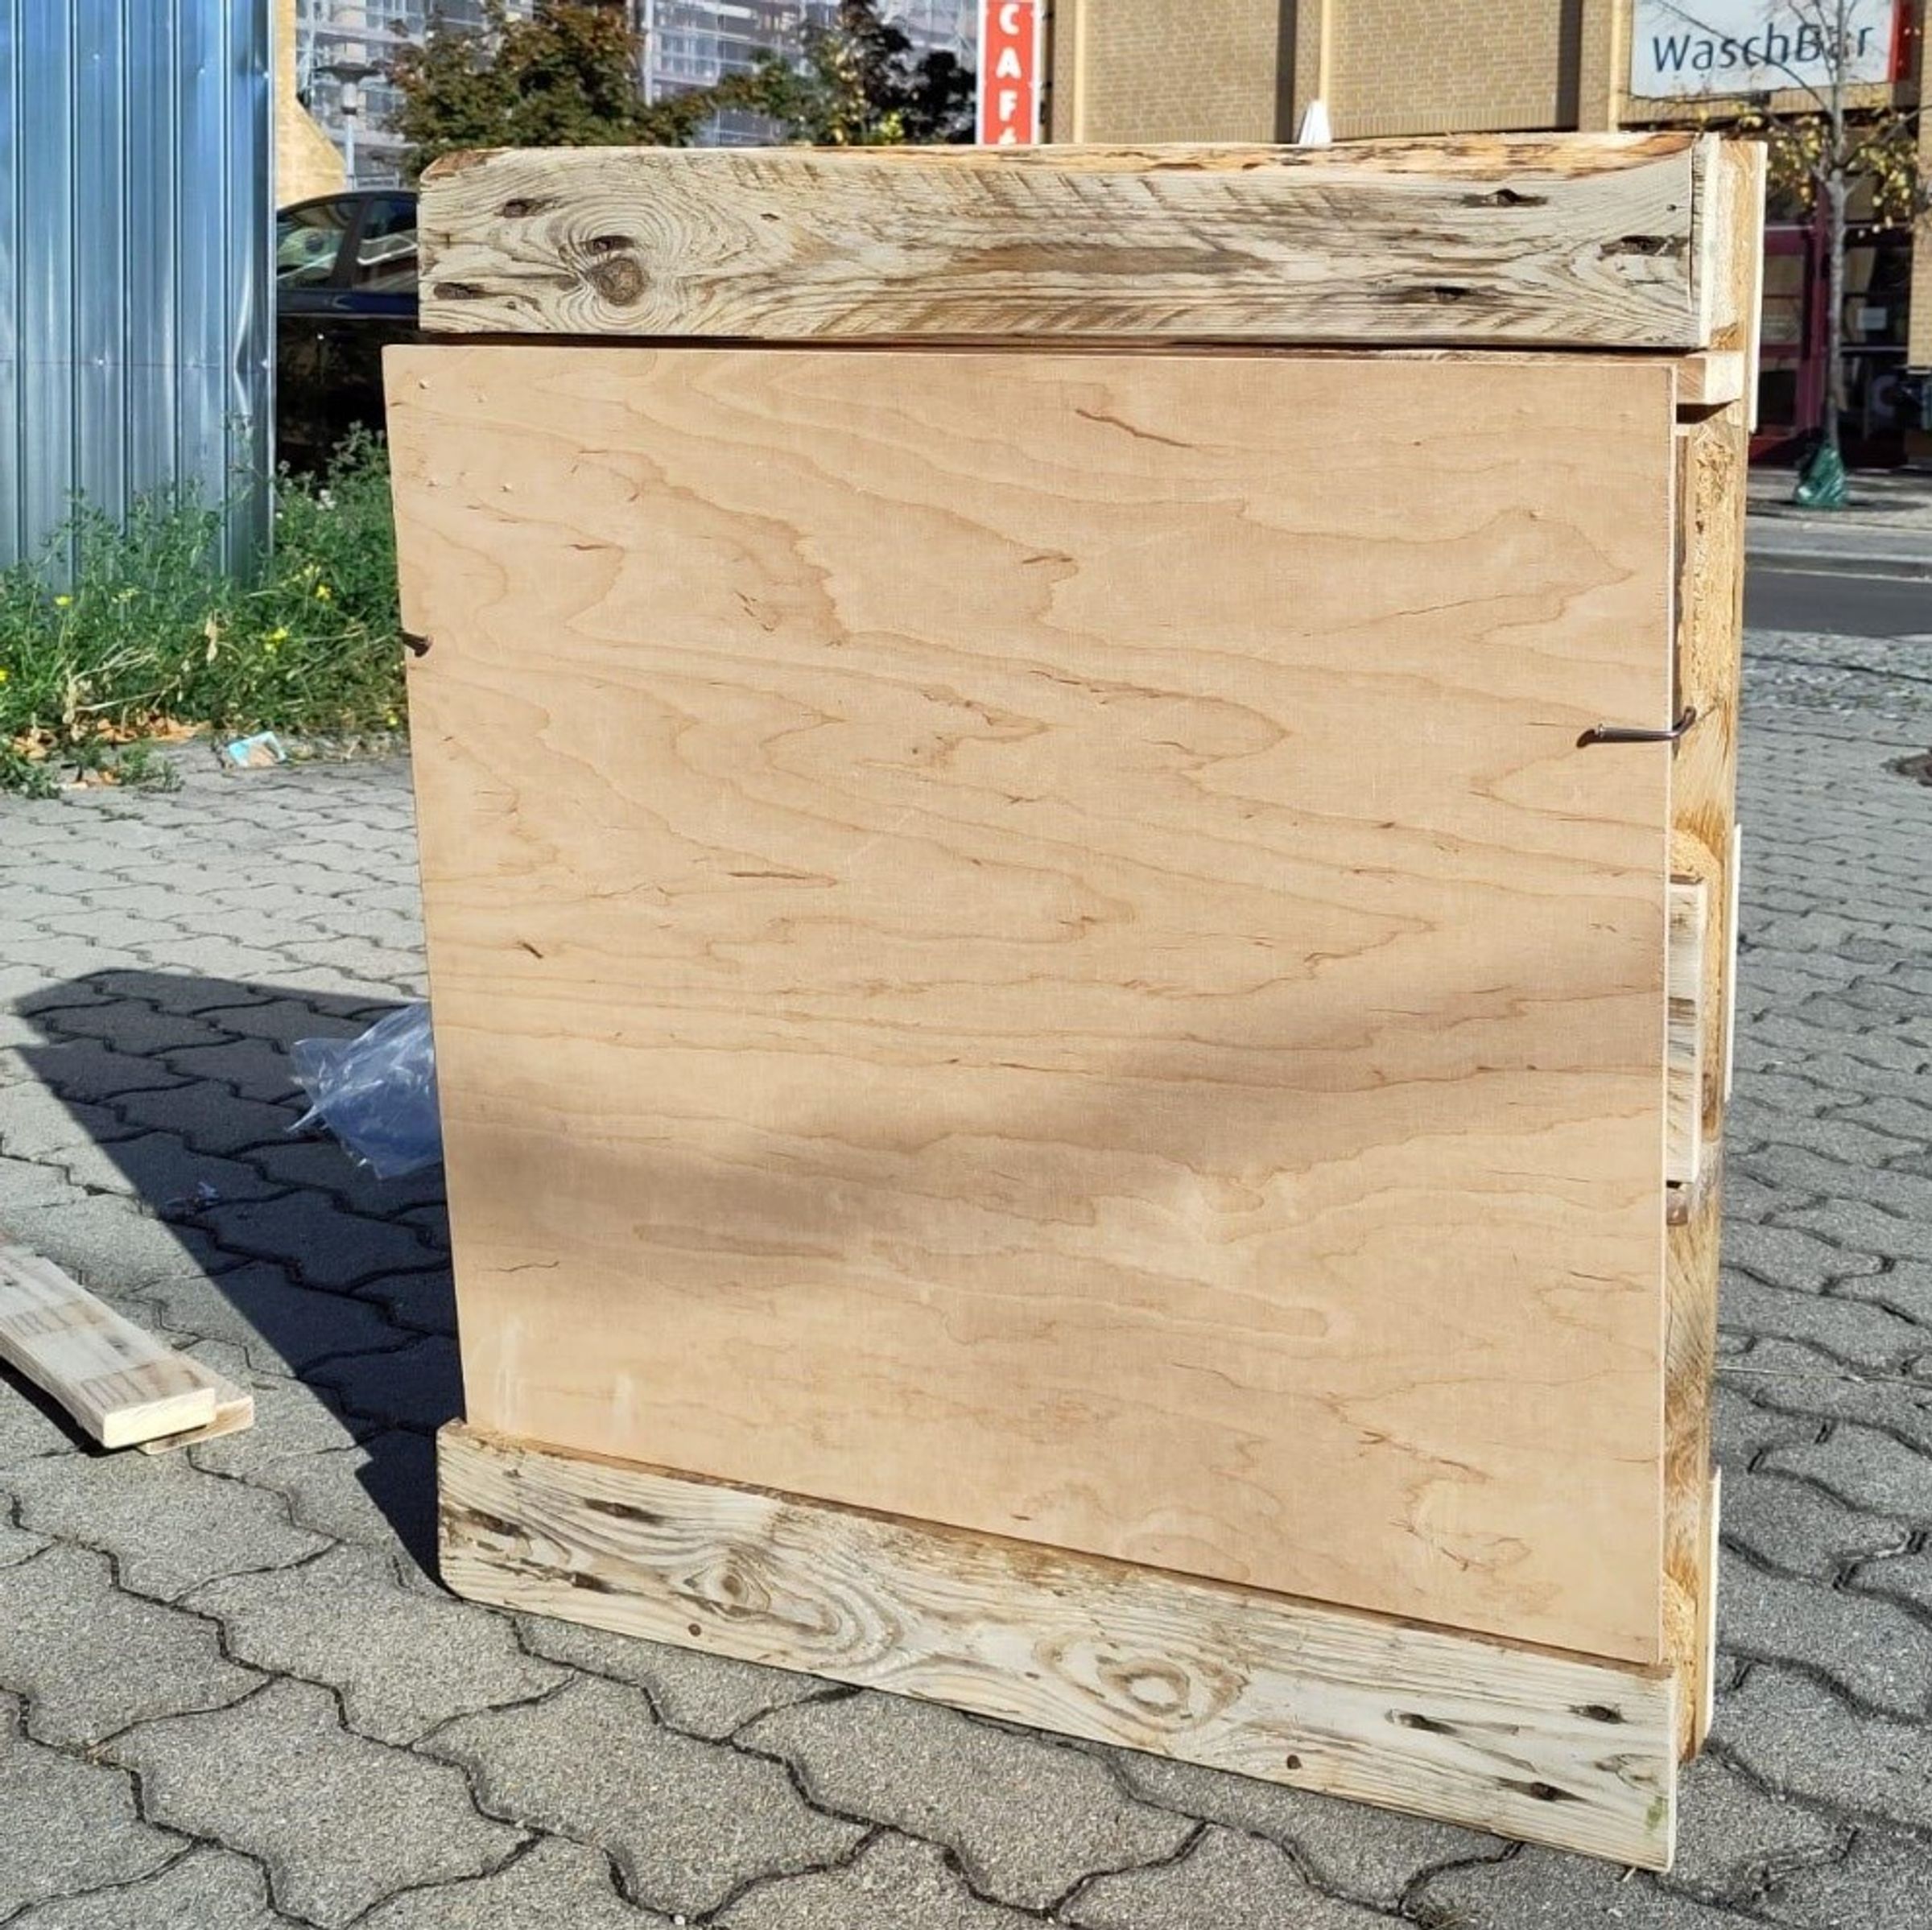


While inserting pay attention to have the table leg insertions up.
You can also paint your table the colour you want to give it more style. This table can be used as an office for students, as a dinner table, a kitchen table or even a vanity table. And everything you store in there can be left in the compartments even when the table is folded.


This hack was developed in the dooiy project week @ HTW Berlin together with the community of eNkanini informal settlement in Cape Town.
Chair during the day, toilet during the night.
Create a comfortable chair that can additionally be used either as a night...
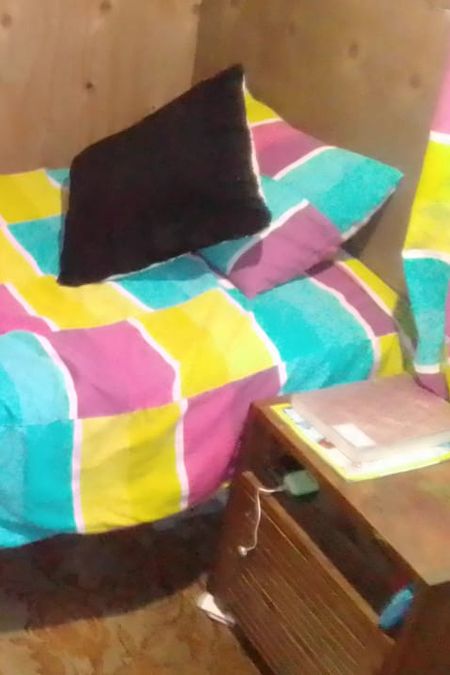
Comfy and easy to make
This bed is comfy and easy to make. As the legs are pretty high,...
Manure tea is a cheap and sustainable way to fertilize your crops.

Upgrade your home with a 100cm x 50cm pantry kitchen with an integrated sink,...

On dooiy you find fun and easy hacks that make life easier. Just follow our simple step-by-step guides and create something for your home or community with little materials and tools. Want to start a business? dooiy might be the perfect starting point for you.

from dooiy
You don‘ t have to be an expert to start making with dooiy. Just choose an easy hack and get going. After you made a few, I am sure that you will come up with your own ideas.
dooiy is being developed by passionate people in Germany and South Africa.

To fulfil our vision, we are looking for partners, volunteers, donors and people who spread the word.
Learn moreand become a partner