Guide by Industrial Design | HTW Berlin
FOLT - Foldable table
Gain more living space in your home
„FOLT“ combines a stylish table for working, eating or studying with a...


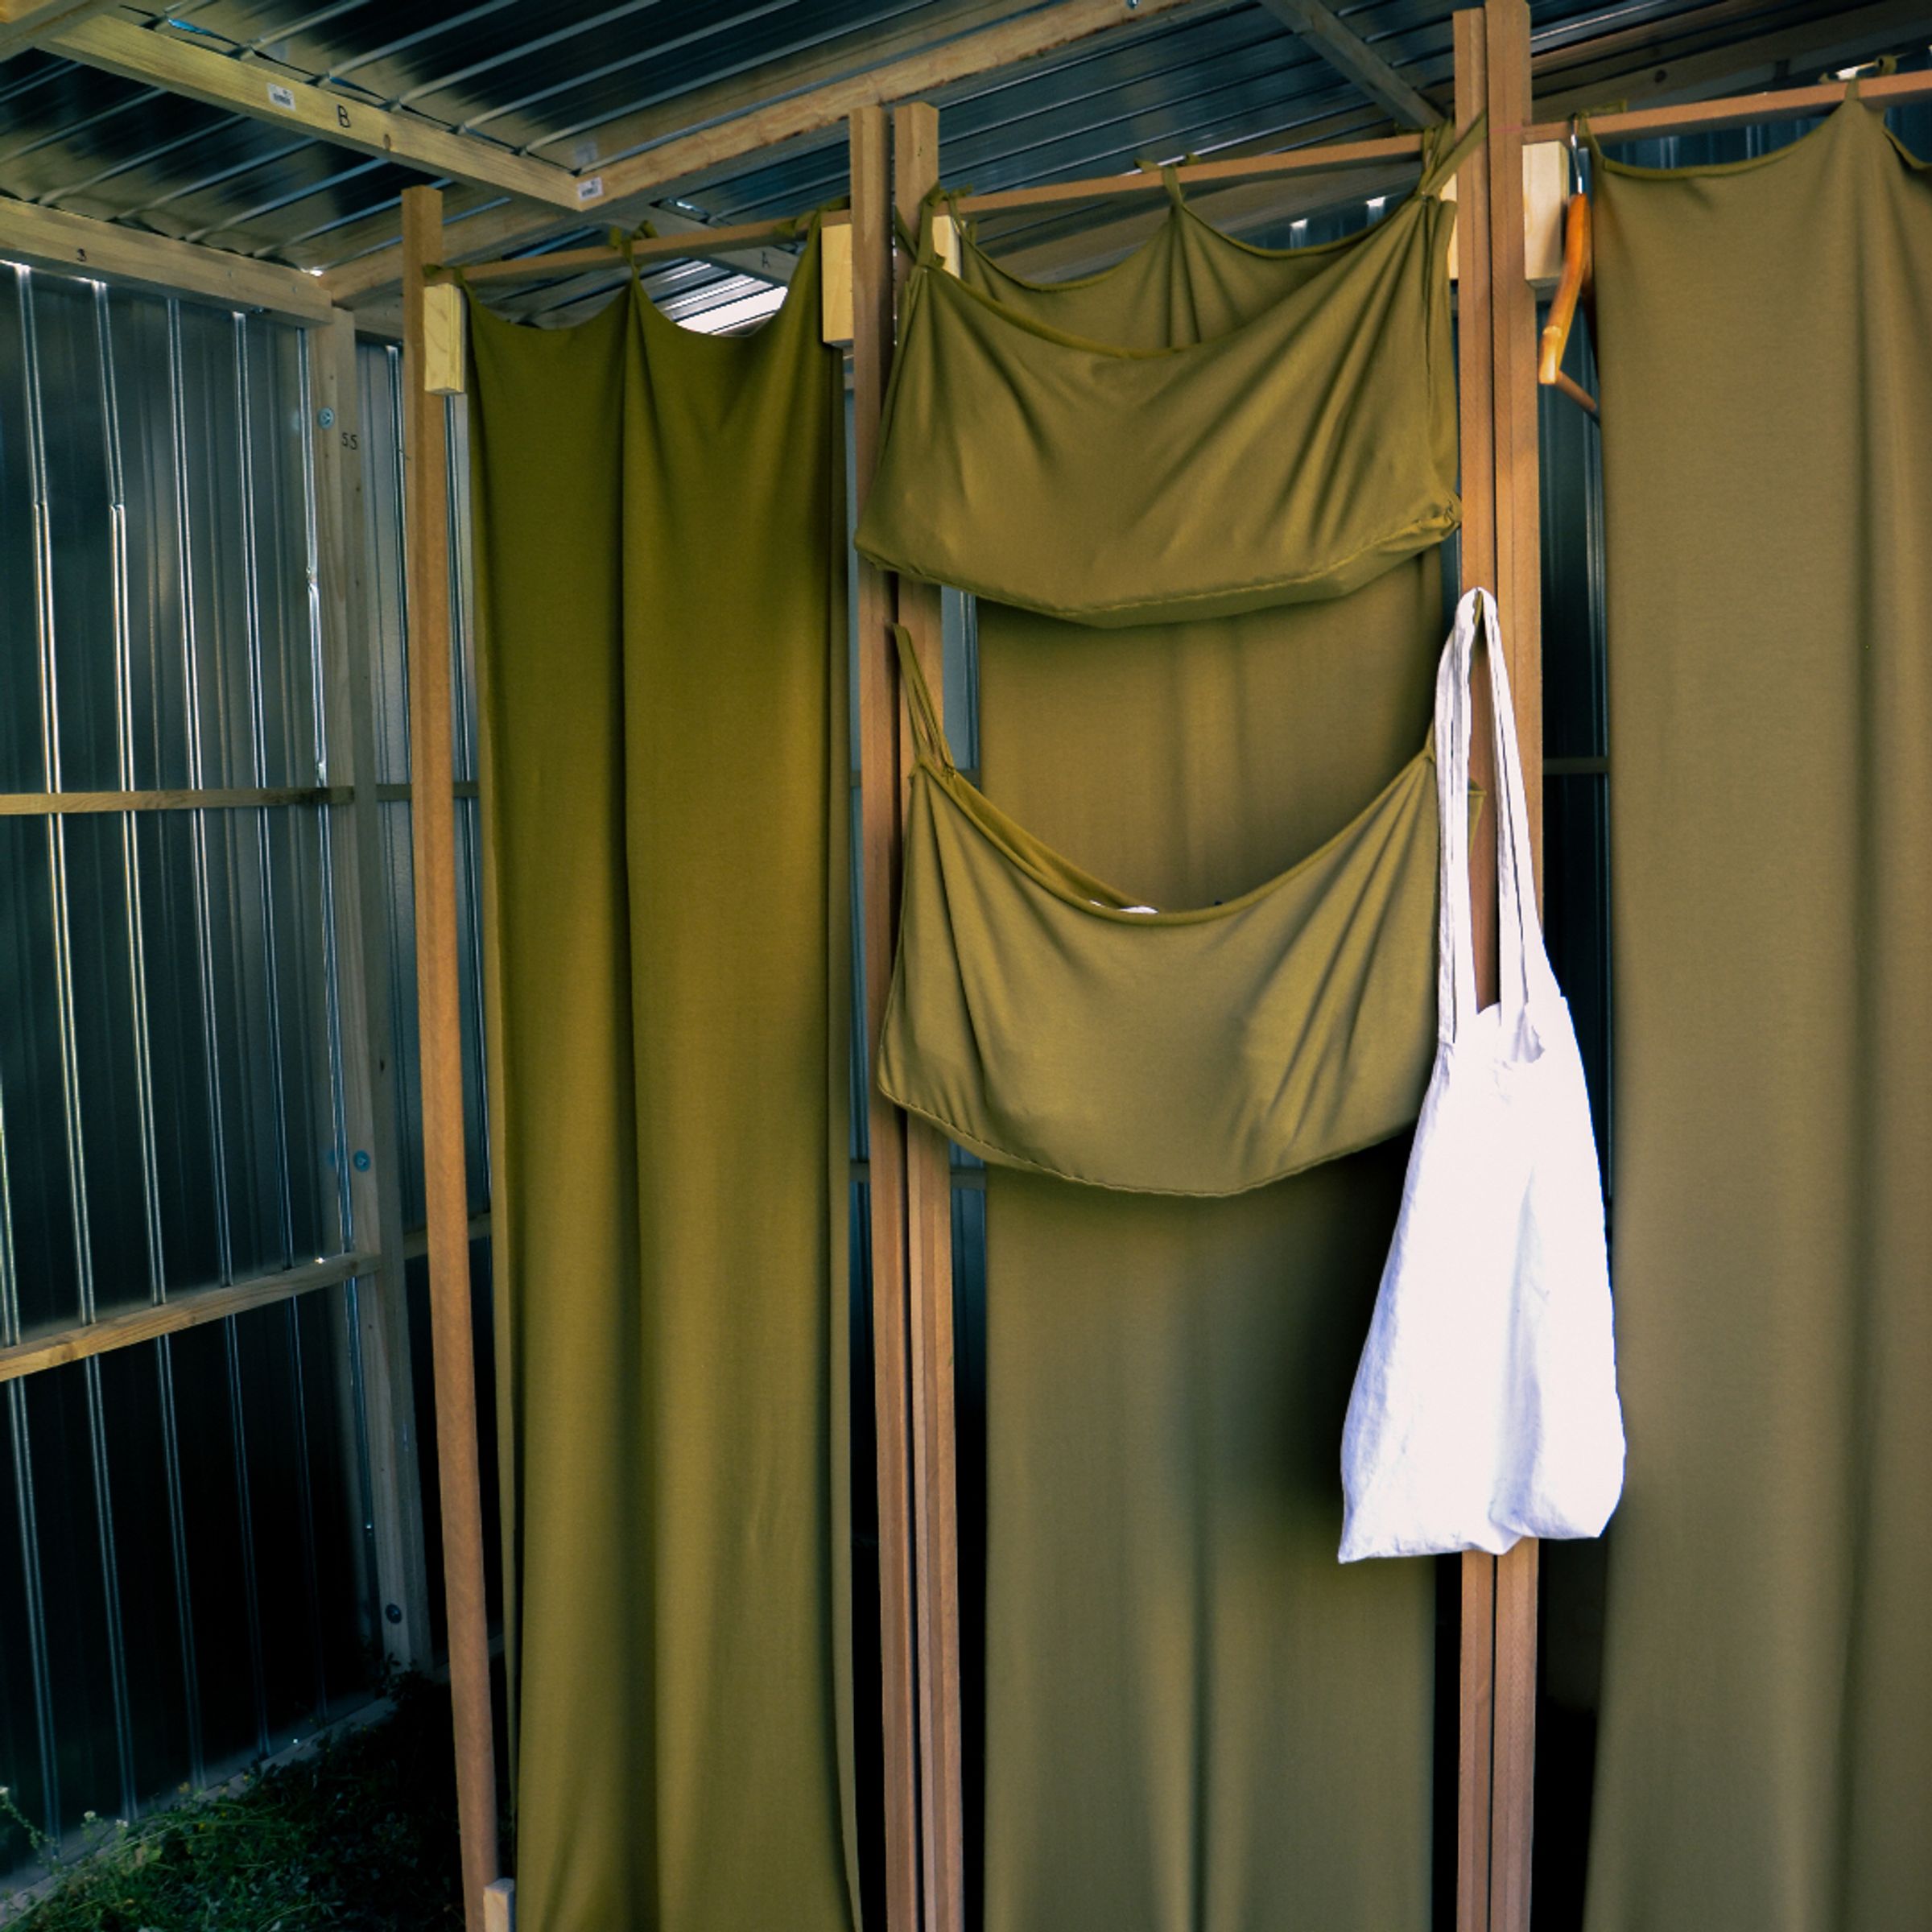
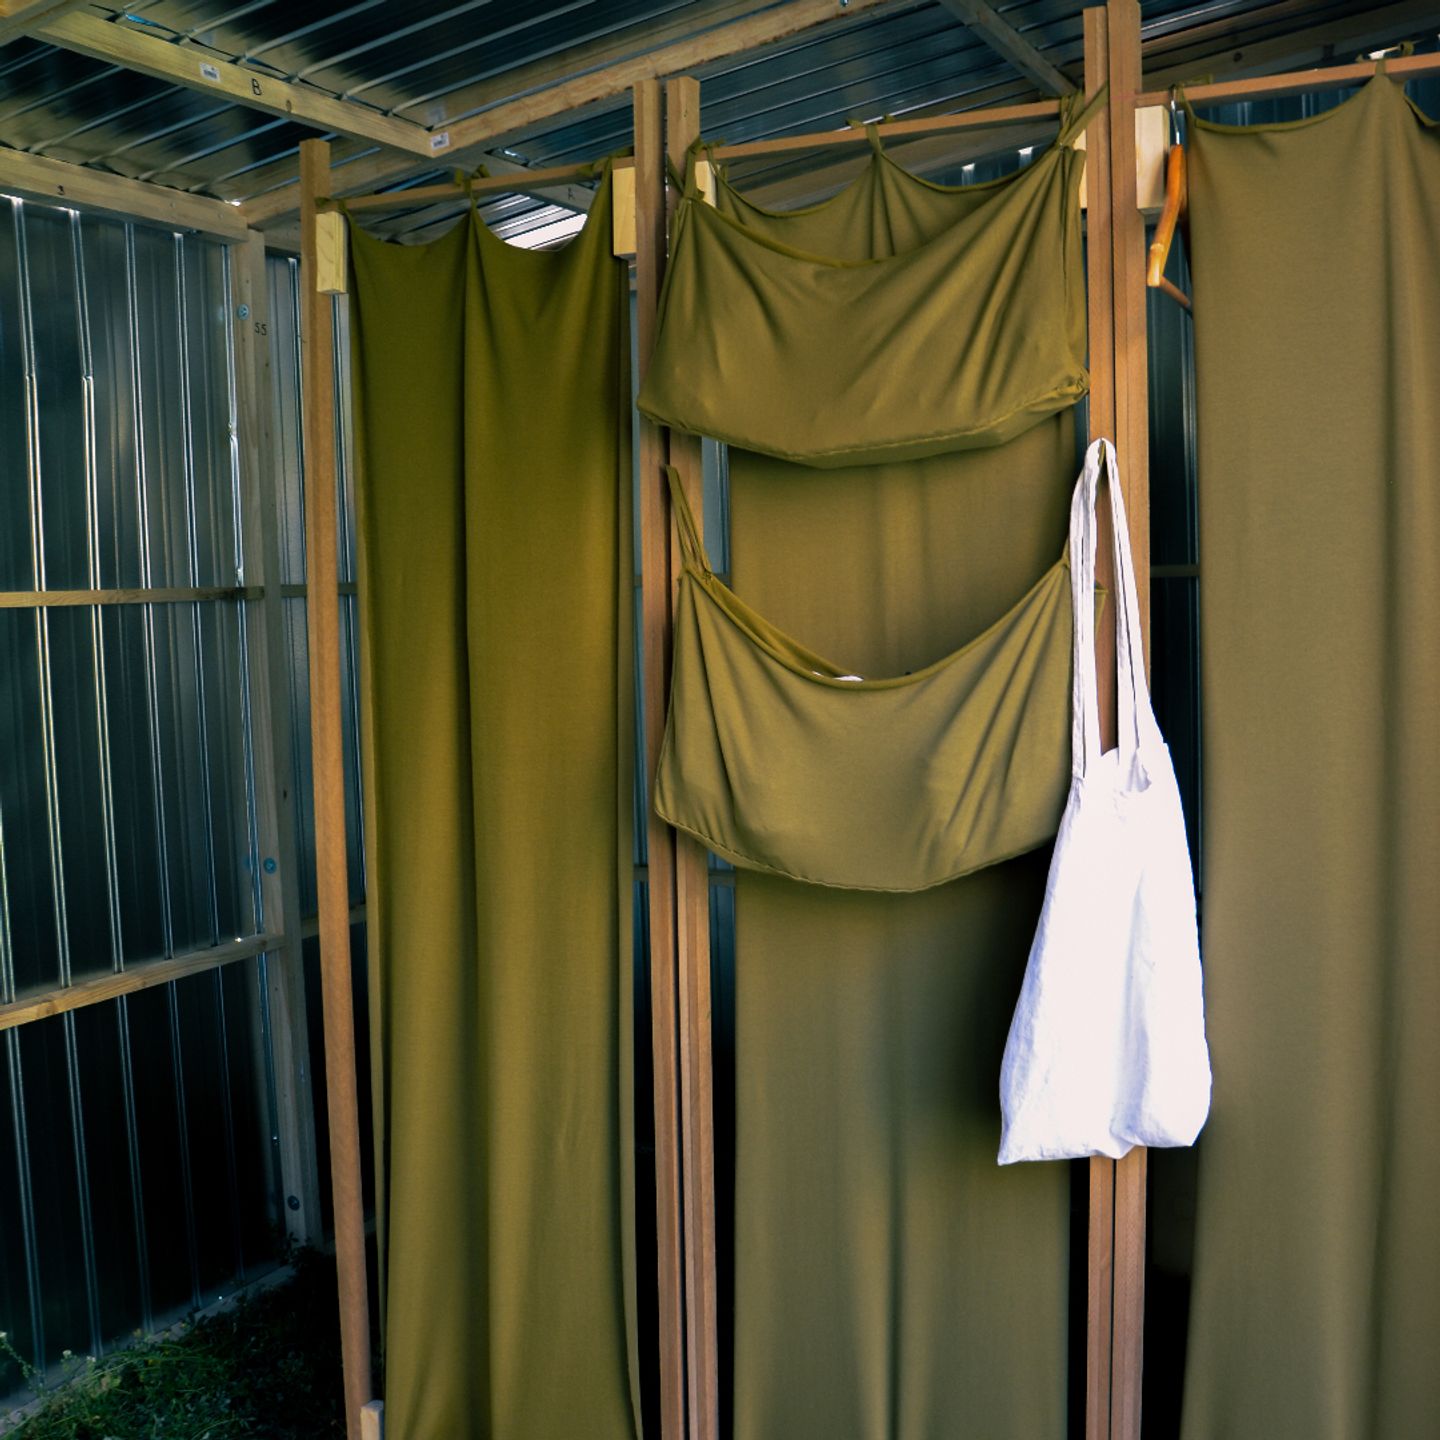
Divide your room and store your clothes
| Done in | 5 hours |
|---|---|
| Skill level | medium |
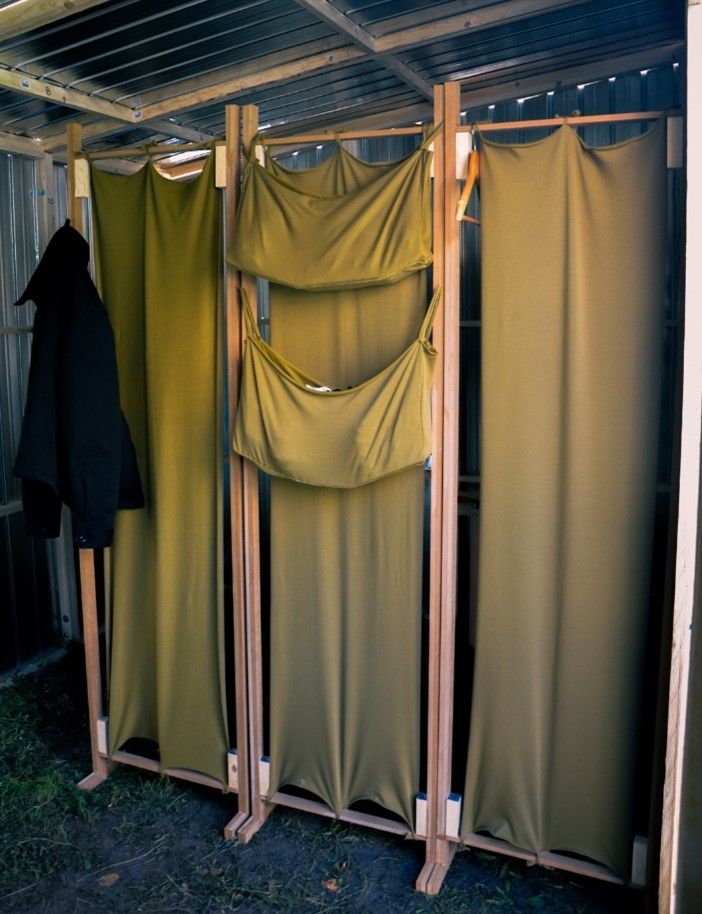
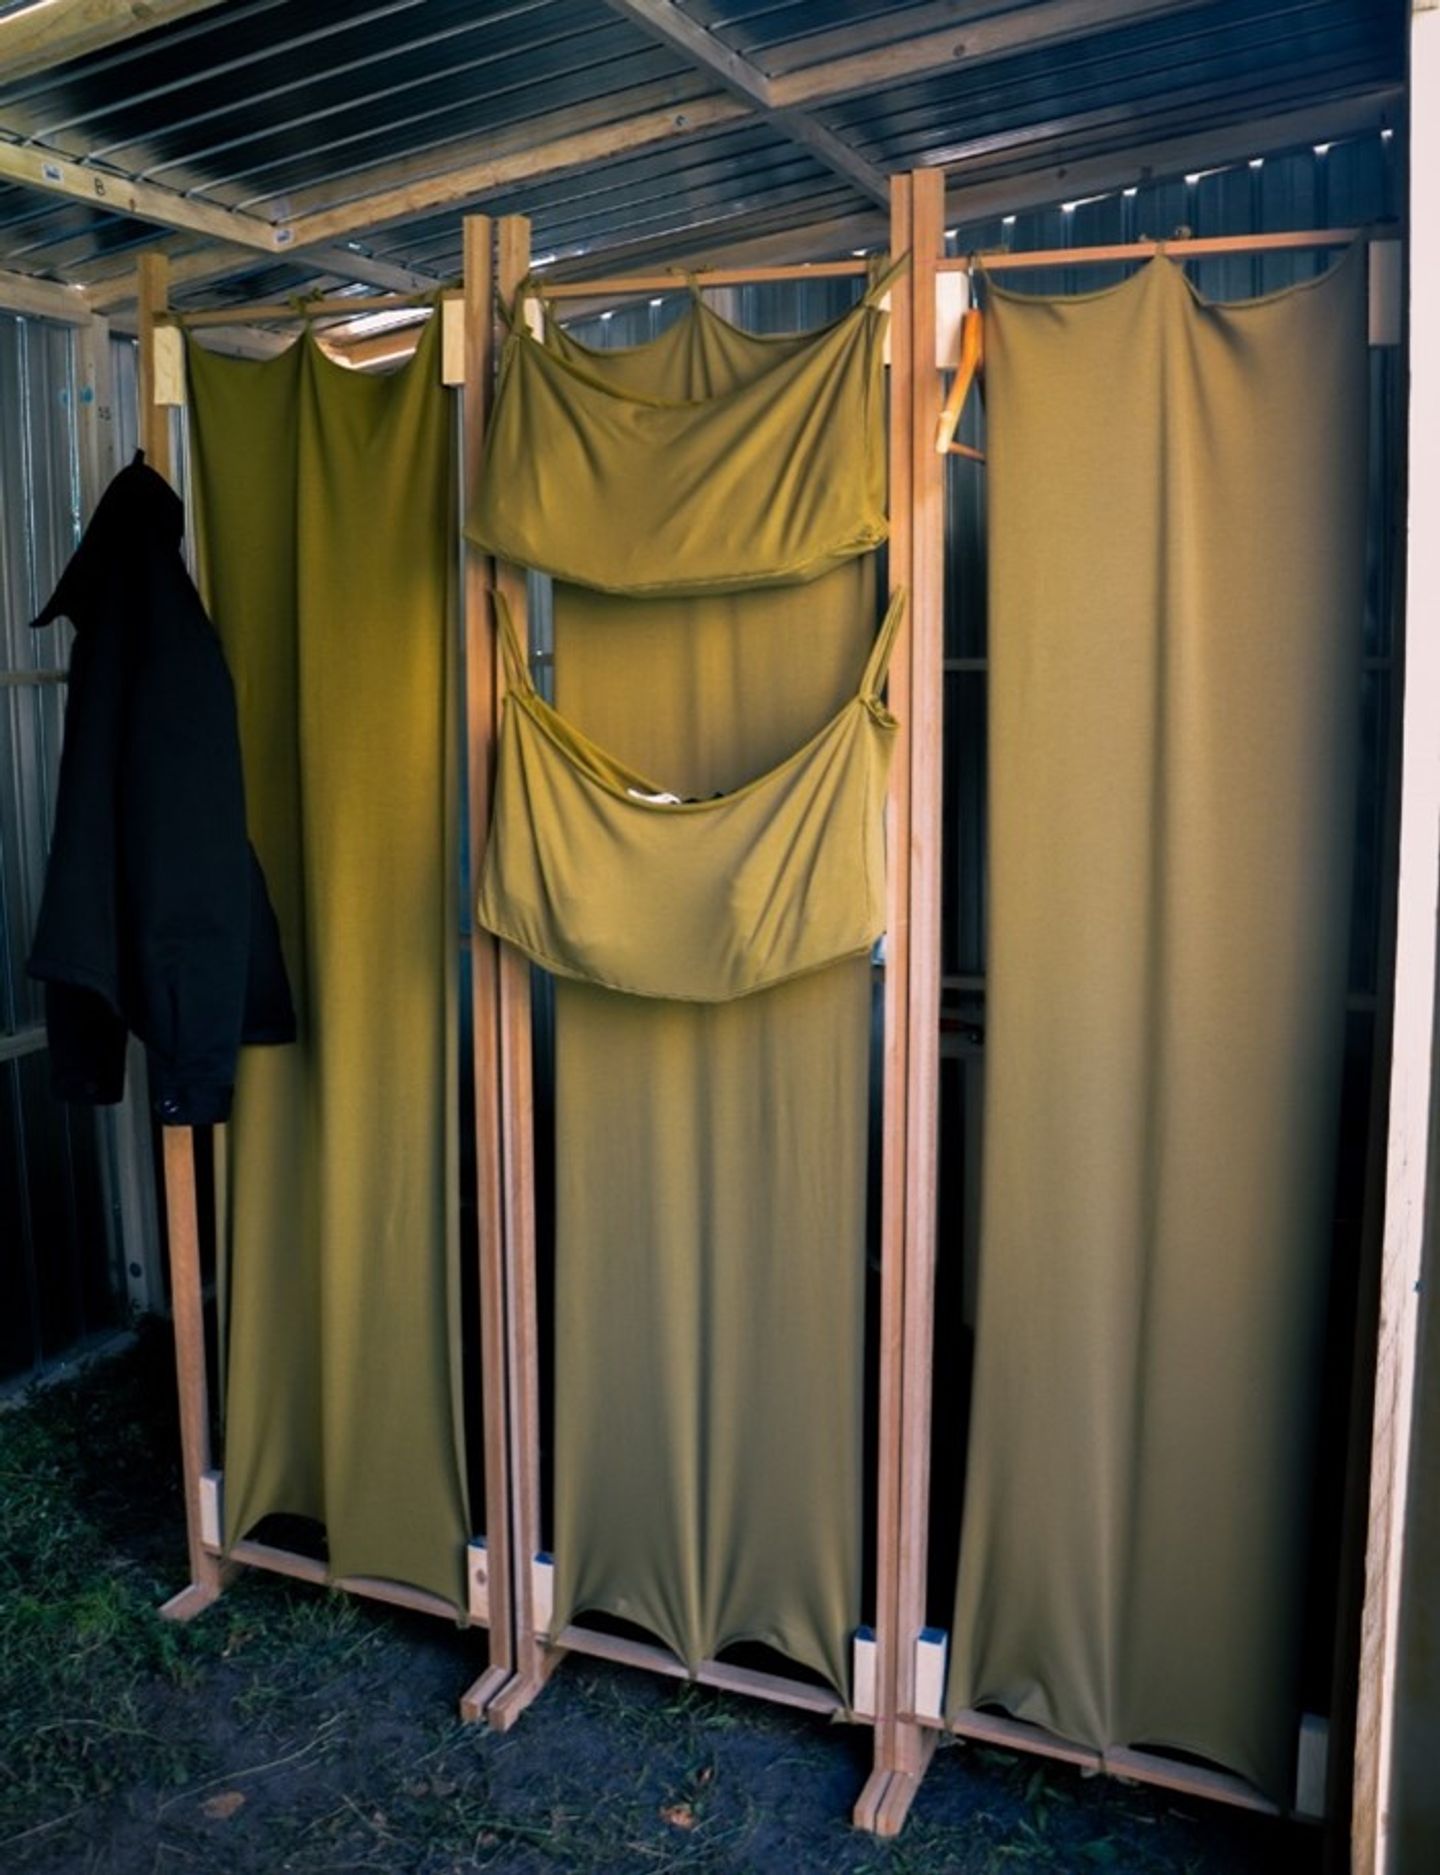
This piece of furniture creates more privacy in your home. Additionally, it works as a wardrobe to store clothes.
Published under CC:BY-SA by
Industrial Design | HTW BerlinThe room divider consists of 3 parts. Depending on your needs, you can build more or less parts.
For every part you need the following materials:

from dooiy
This is a great prototype! For permanent use it still needs some improvements. Please get in touch if you want to support us.
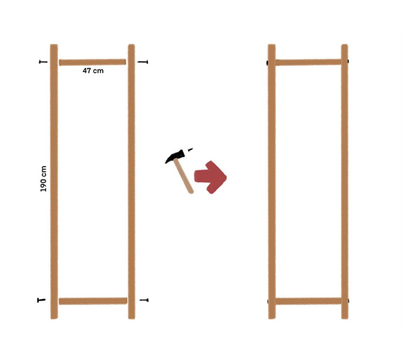
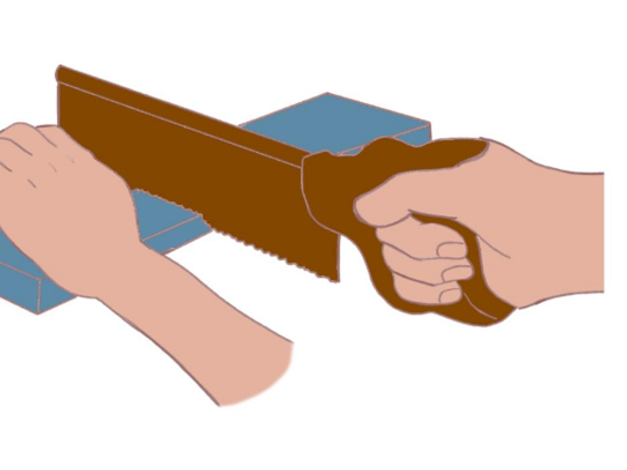
Saw 2 wooden beams of the same size - depending on the height of your ceiling. We took 190cm x 3cm x 5cm.
Saw 2 wooden beams of the same size for the middle part. We took 47cm x 3cm x 5cm.
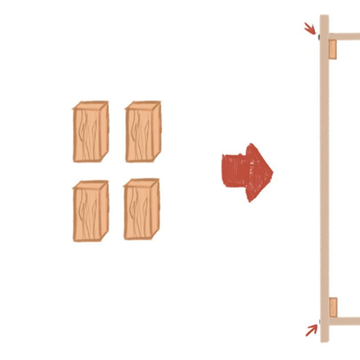
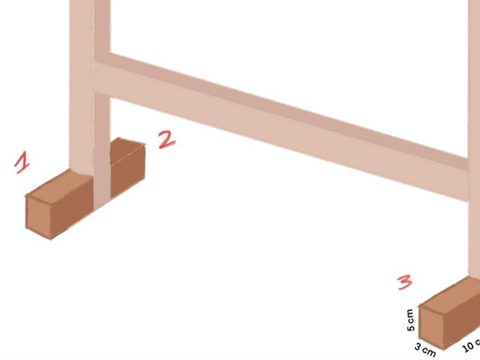
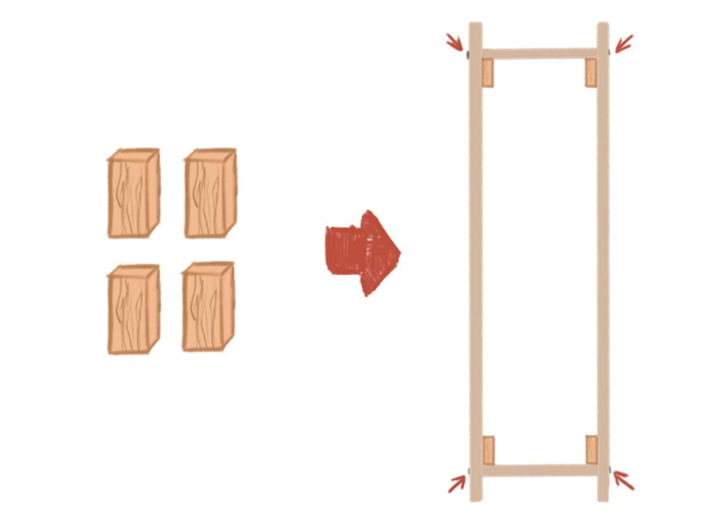
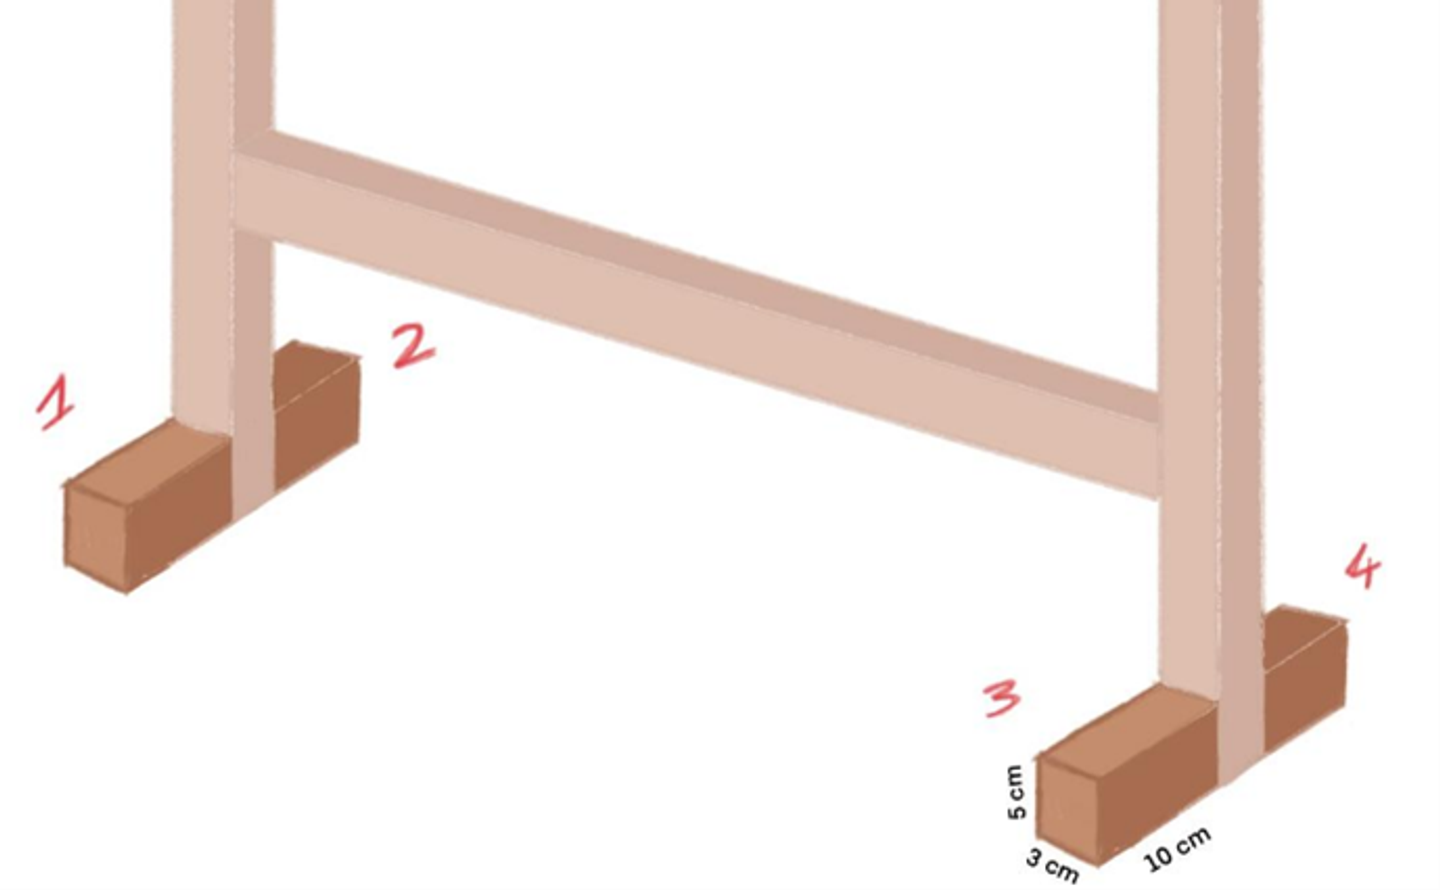
Saw 4 wooden blocks of the same size for stabilisation of the construction. We took 4 blocks à 8cm x 3cm x 5cm.
Saw 4 wooden blocks of the same size as feet. We took 4 blocks à 10cm x 3cm x 5cm.

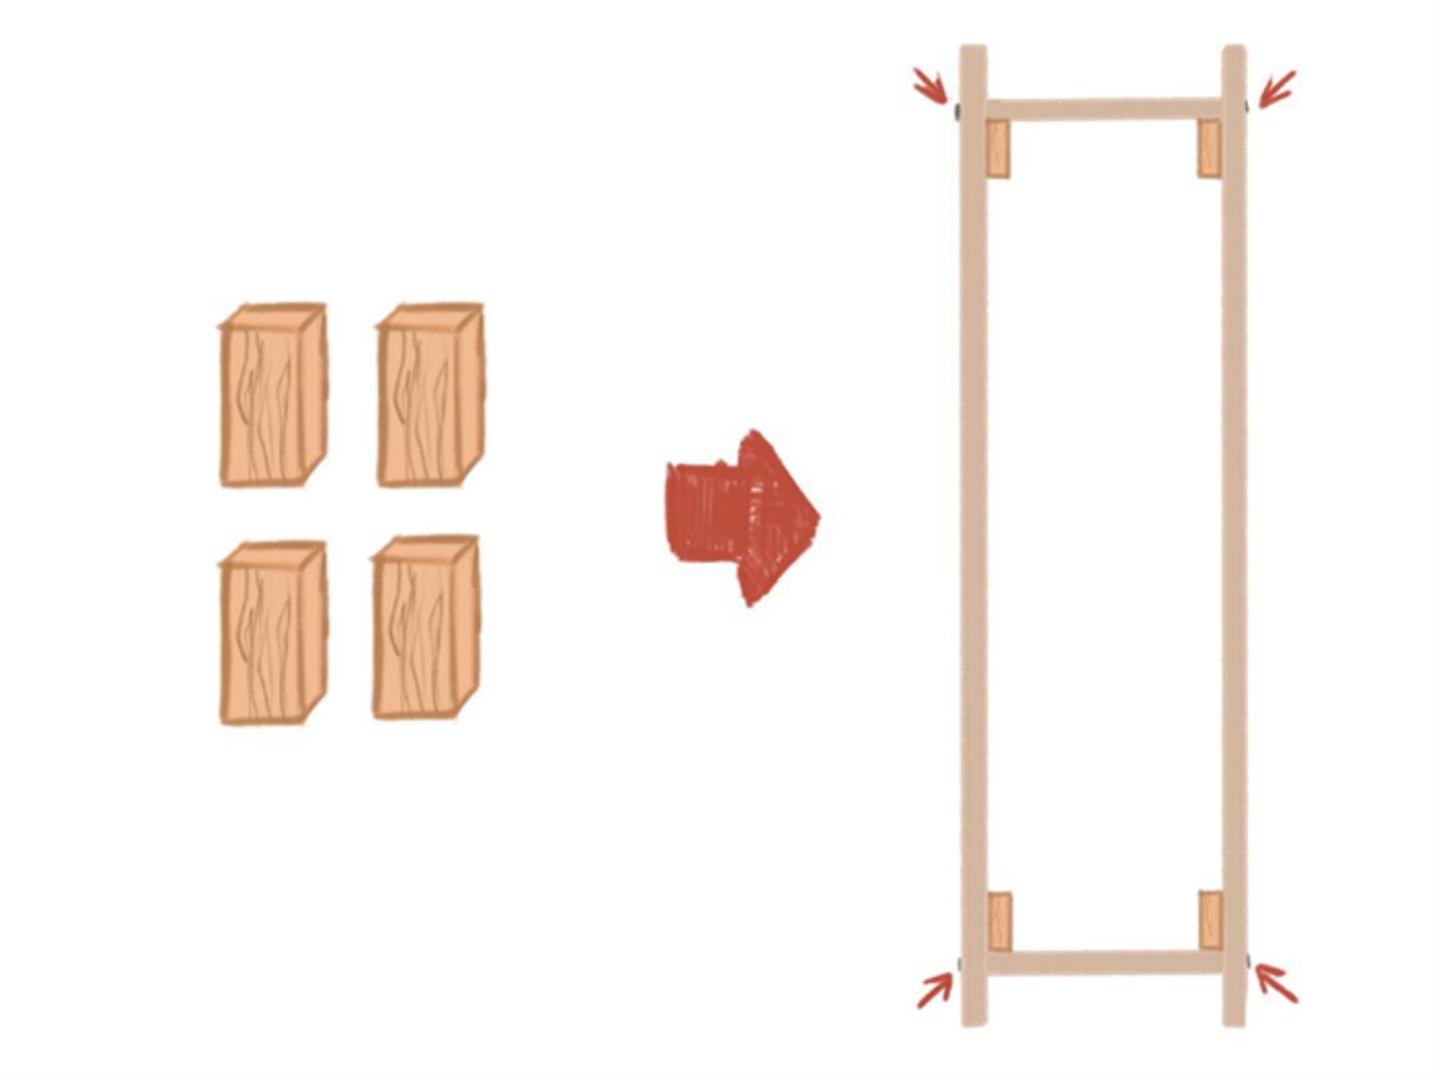
Place the the 4 wooden beams together on the ground and connect them with the nails. Use two nails on each side.
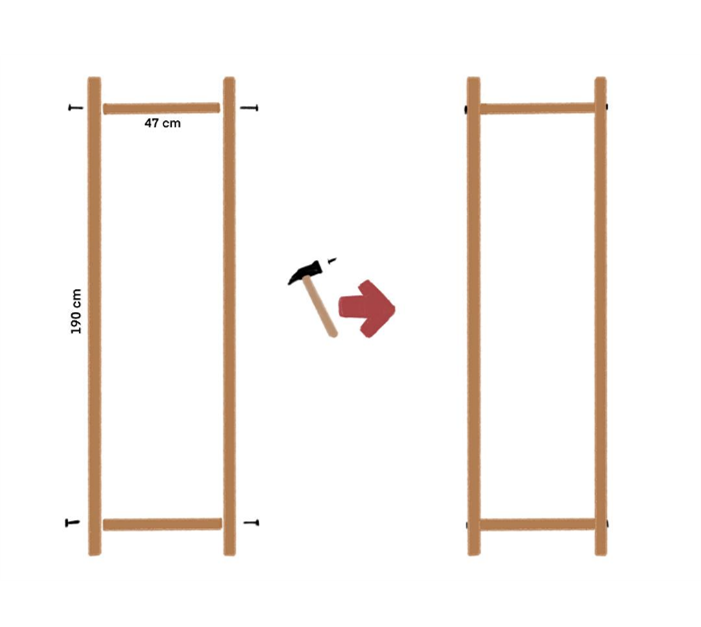
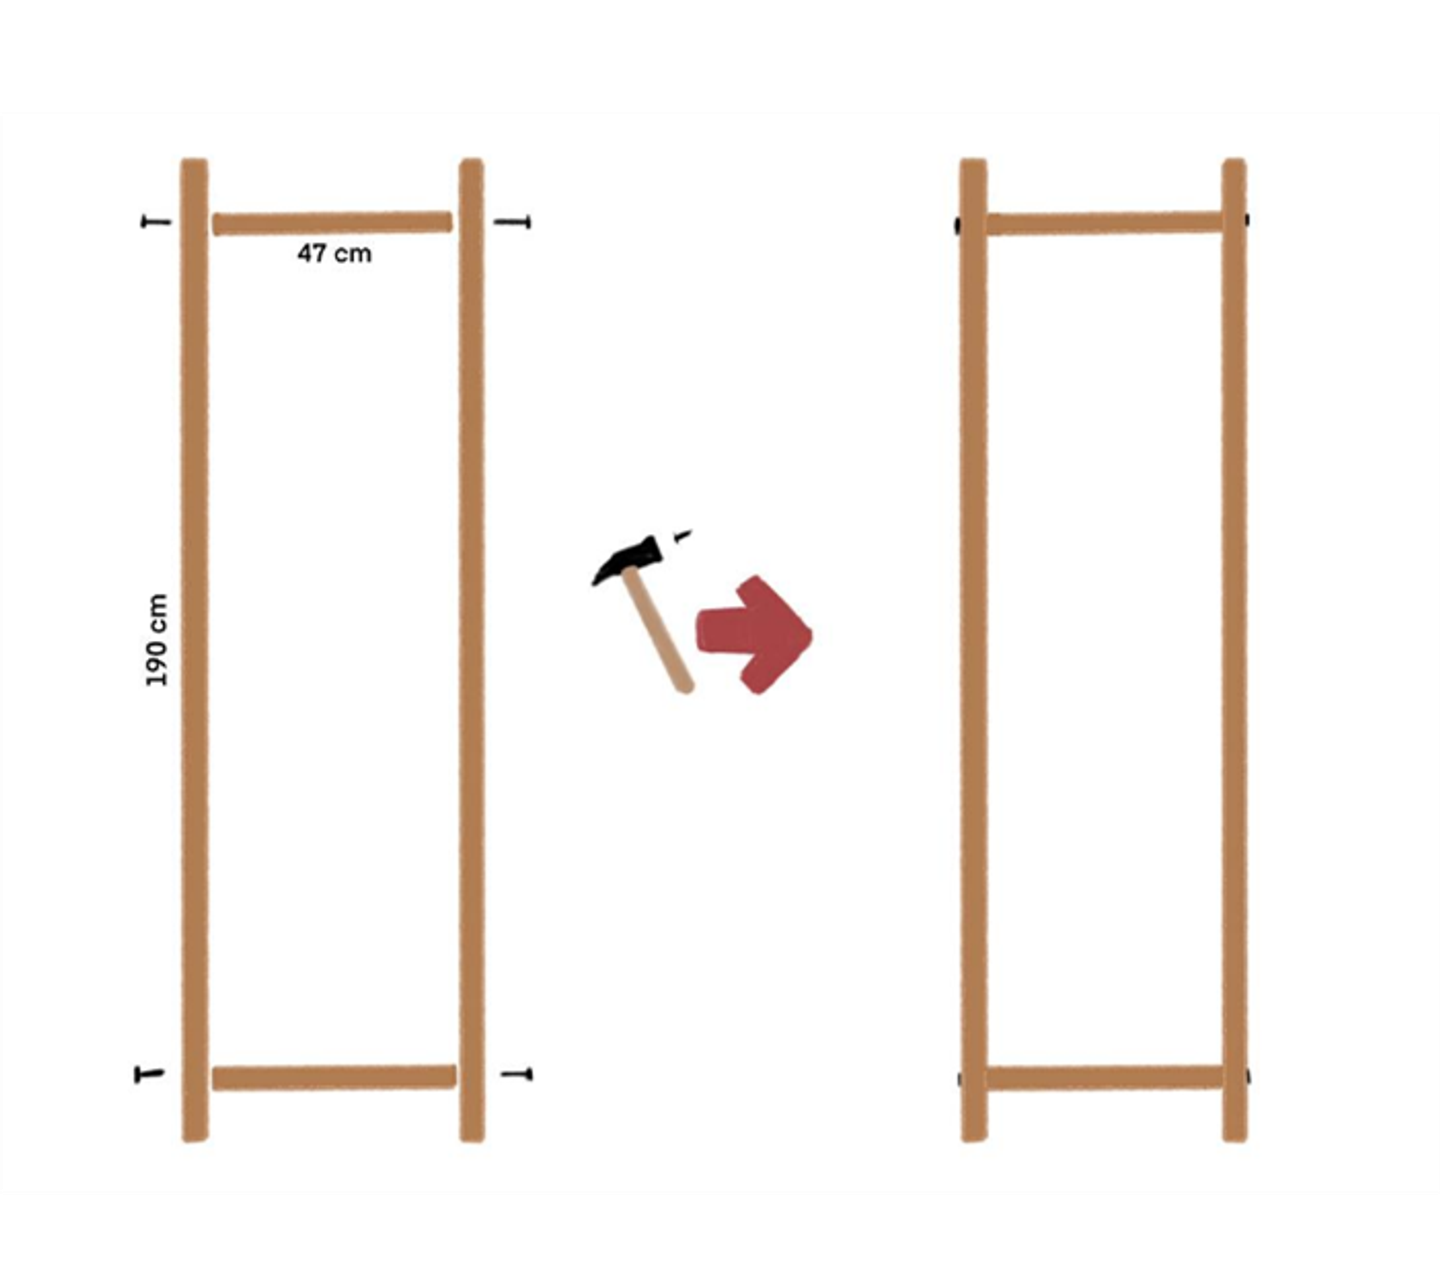
After putting the frame together, you have to stabilize it with the smaller wooden blocks on each corner (with glue or nails).
To make the whole thing more stable, you can also reinforce the construction with a crossbar.
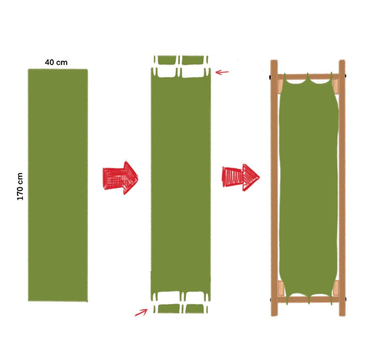
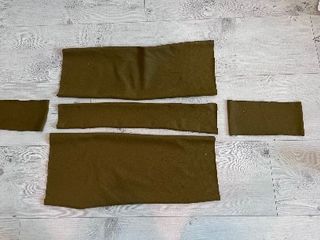
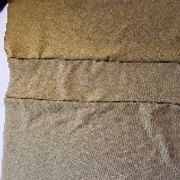
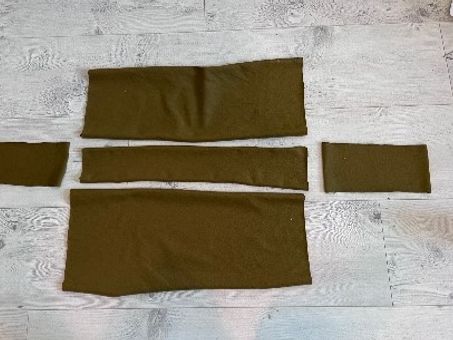
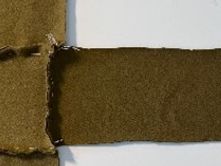
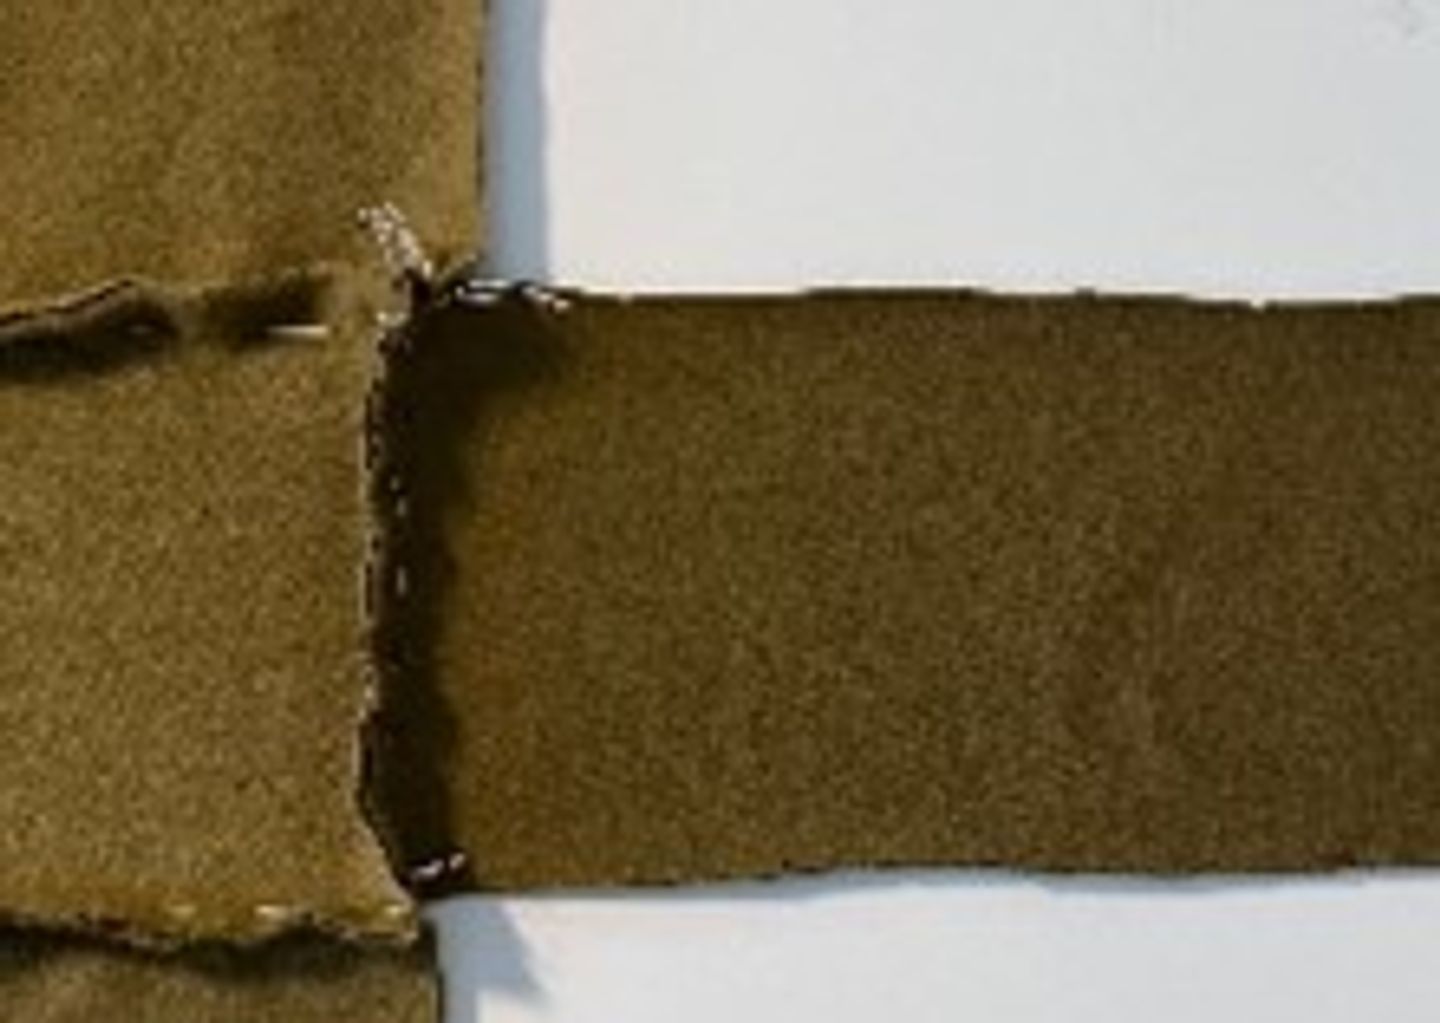
Take the fabric of your choice. Cut the fabric so that it fits in the frame. If you use our measurements, you need 170cm x 40cm.
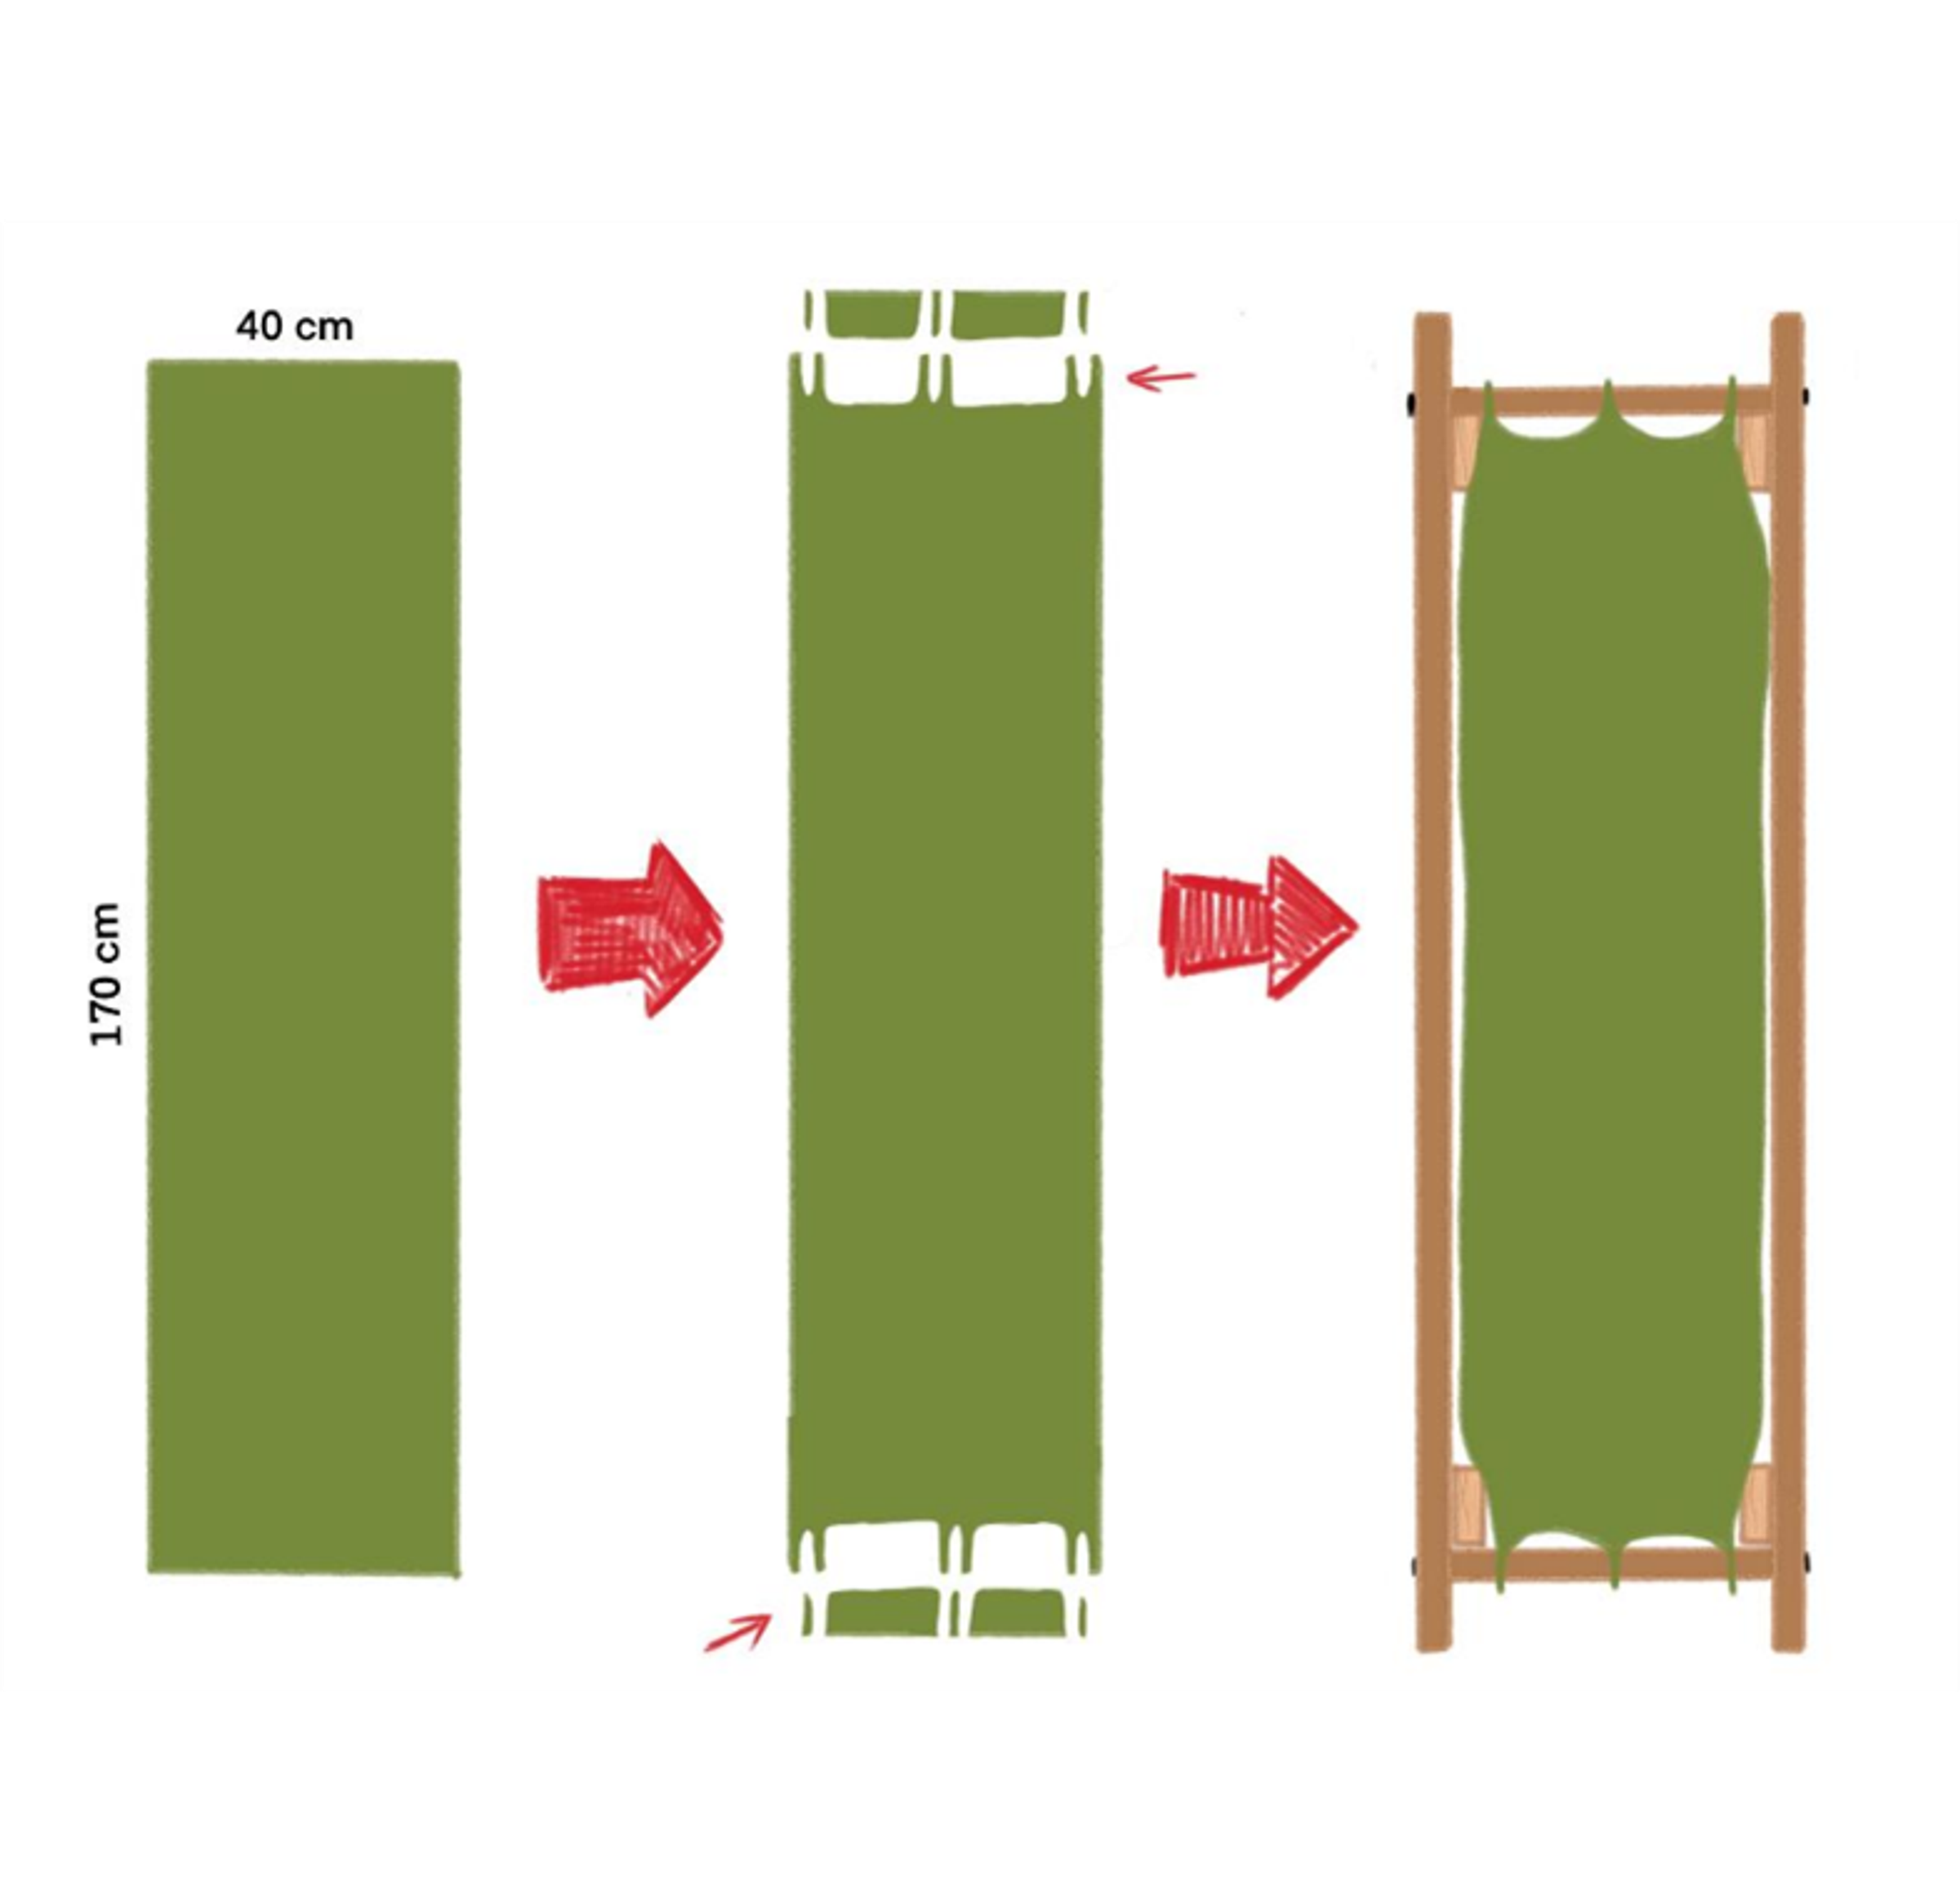
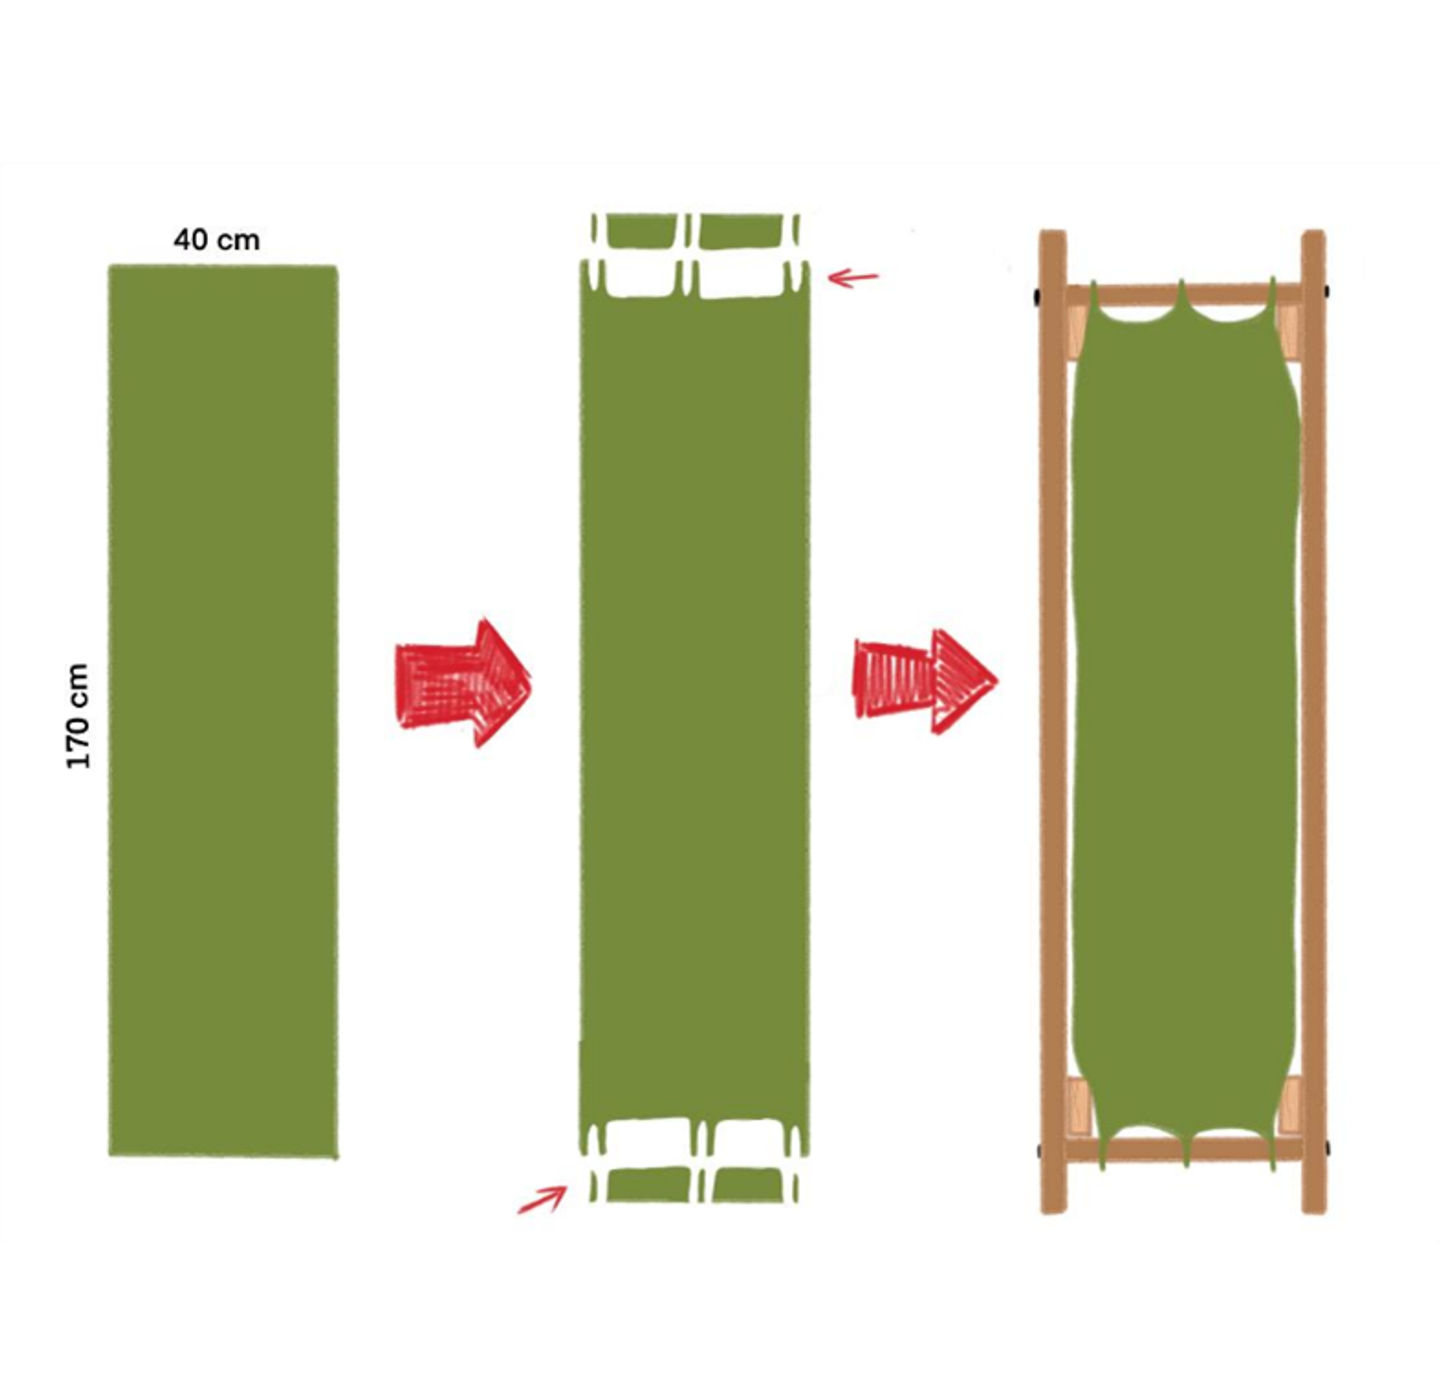
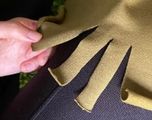
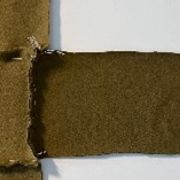
Then cut it like in the picture, so you can attach the fabric to the wooden frame you just created.


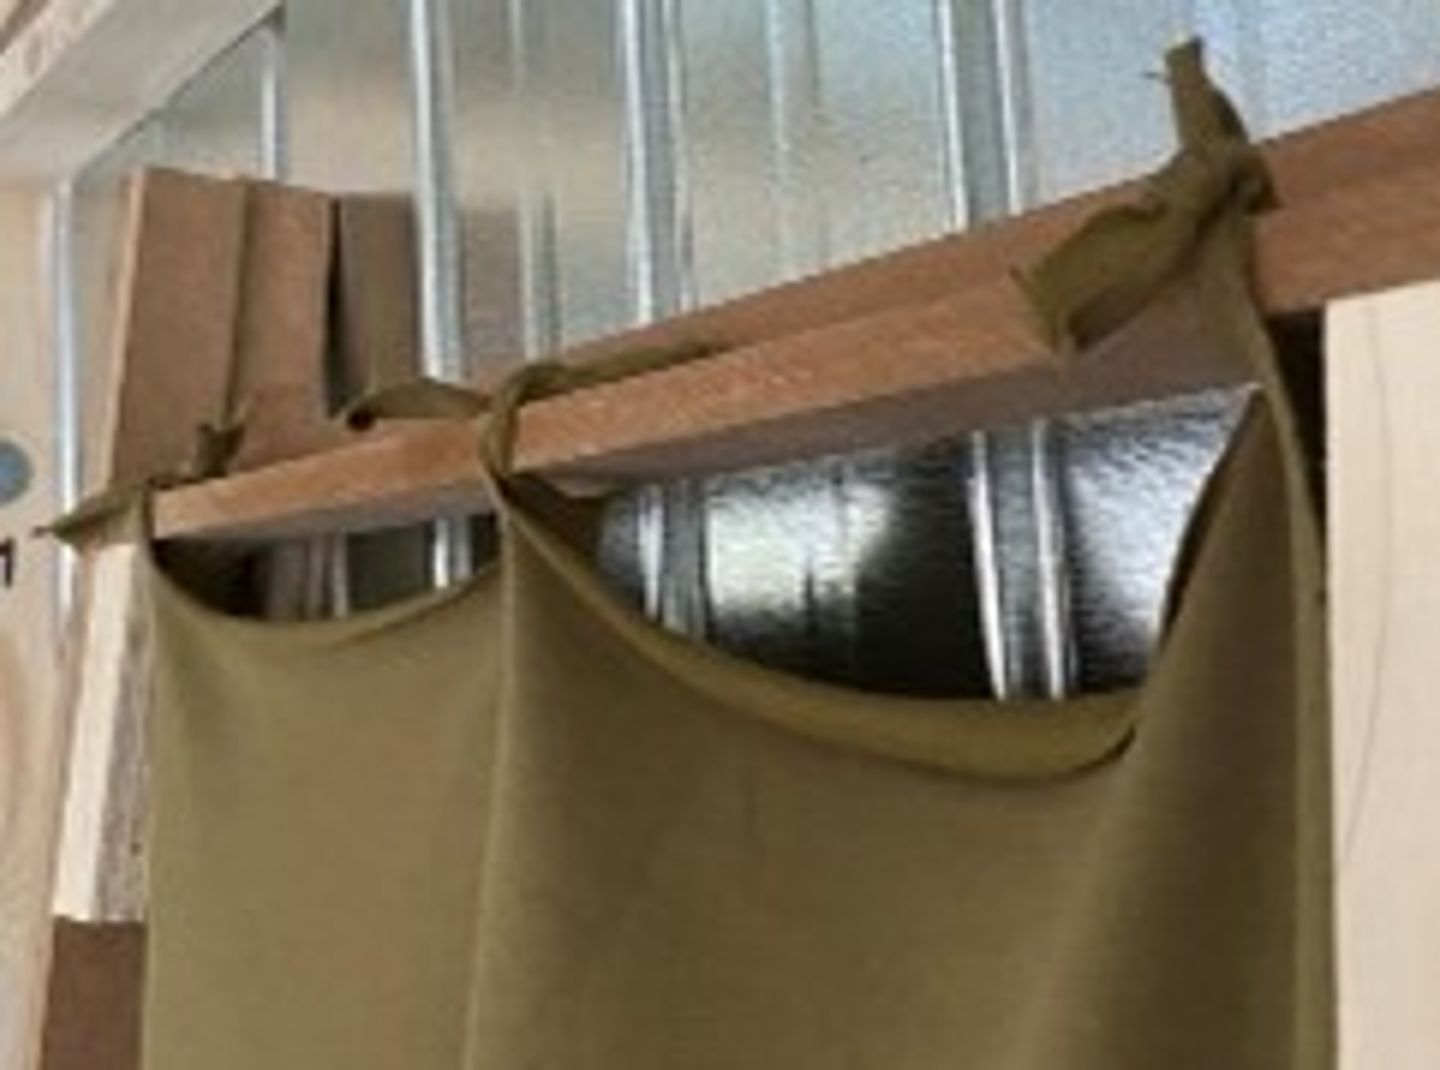
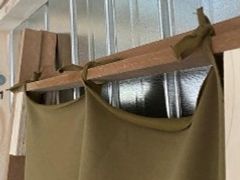
Before the room divider can stand on its own, we have to put some wooden blocks on there, two on each side, which means four in total.

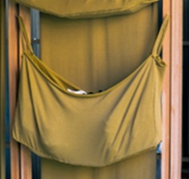
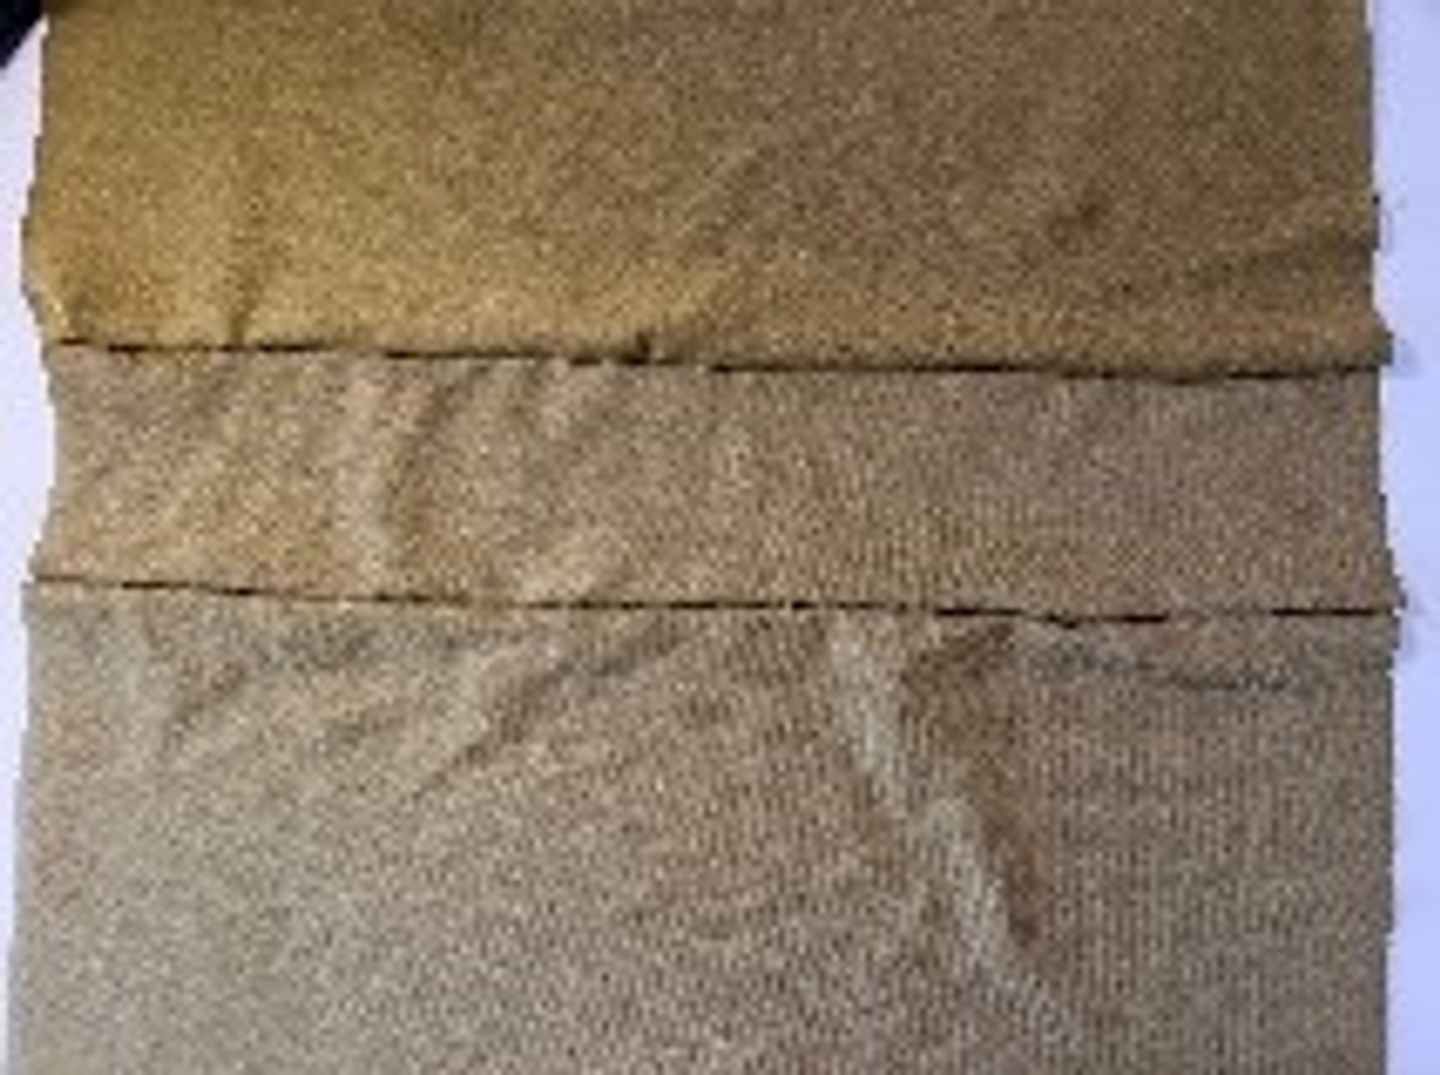
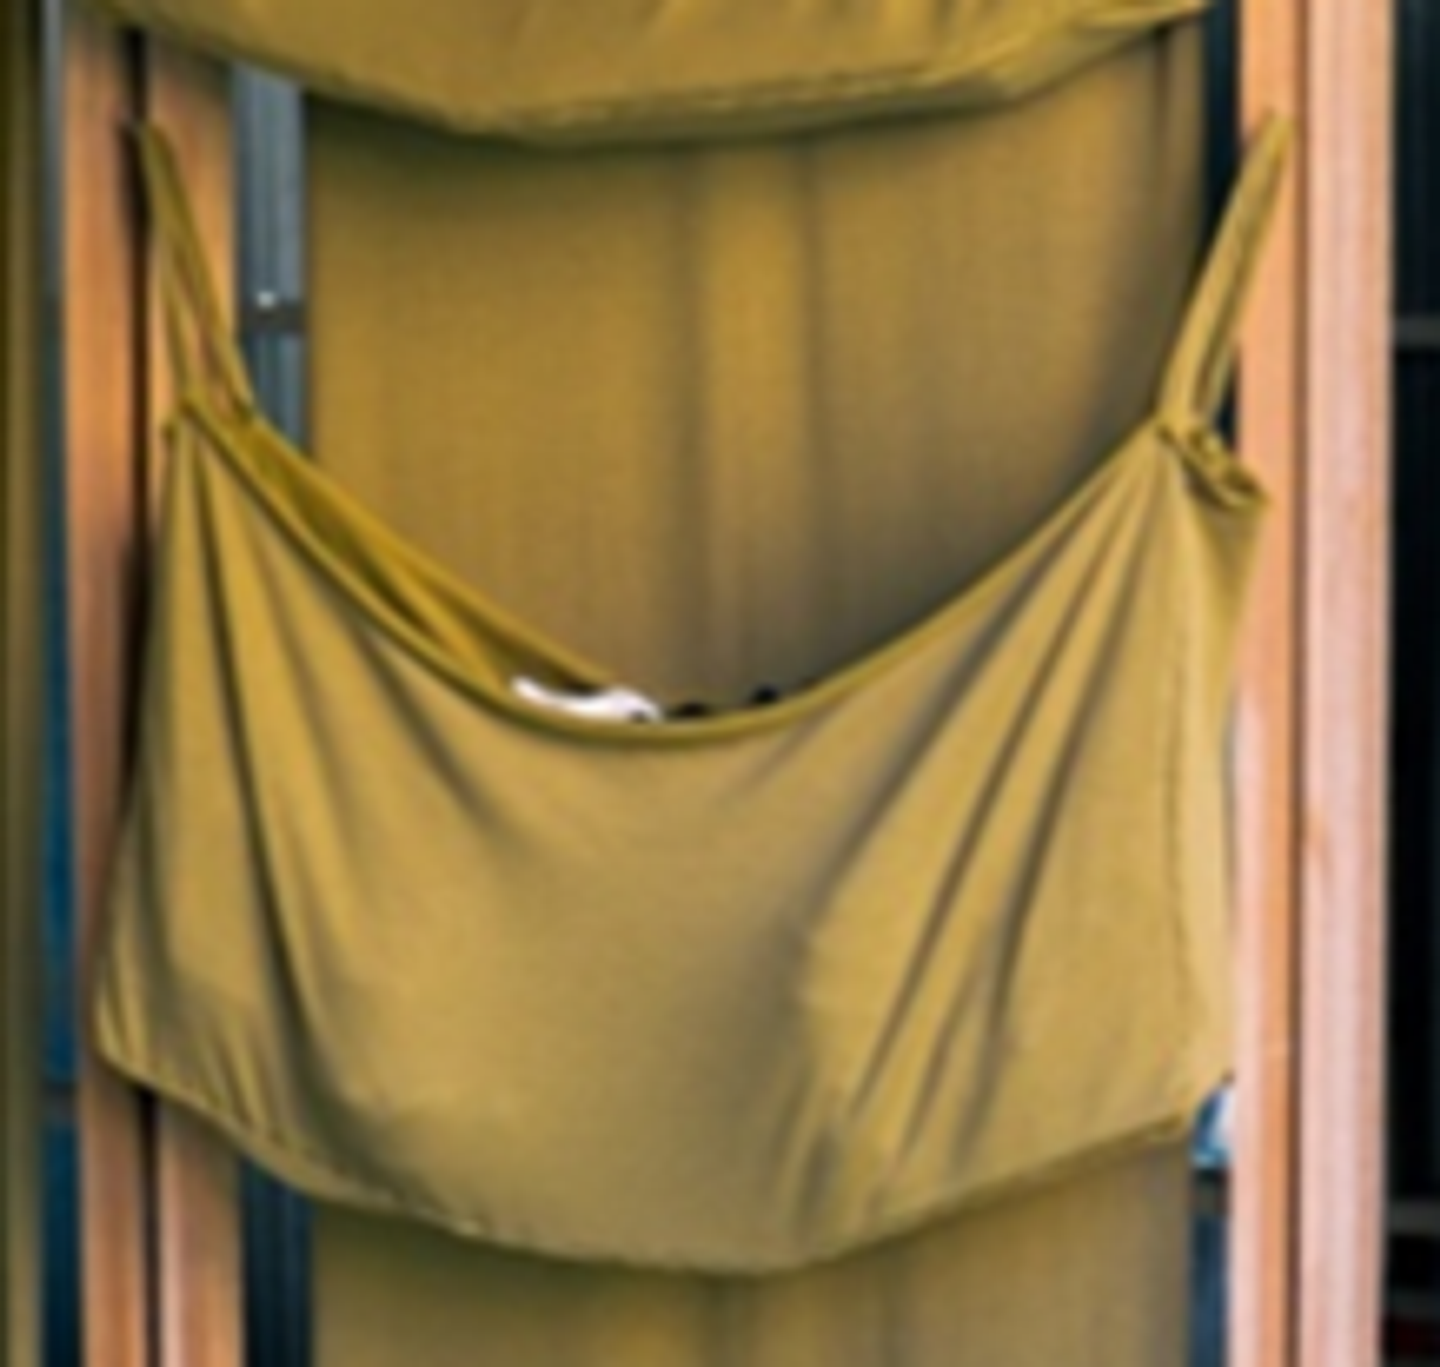
Now create pockets to store clothing, toys or other things.
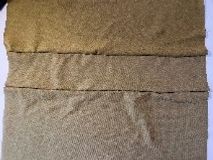
For each pocket you need: -2x pieces of fabric with the measurements: 25cm x 50cm (back & front) -2x pieces of fabric with the measurements: 10cm x 25cm (left & right) -1x piece of fabric with the measurements: 10cm x 50cm (bottom)
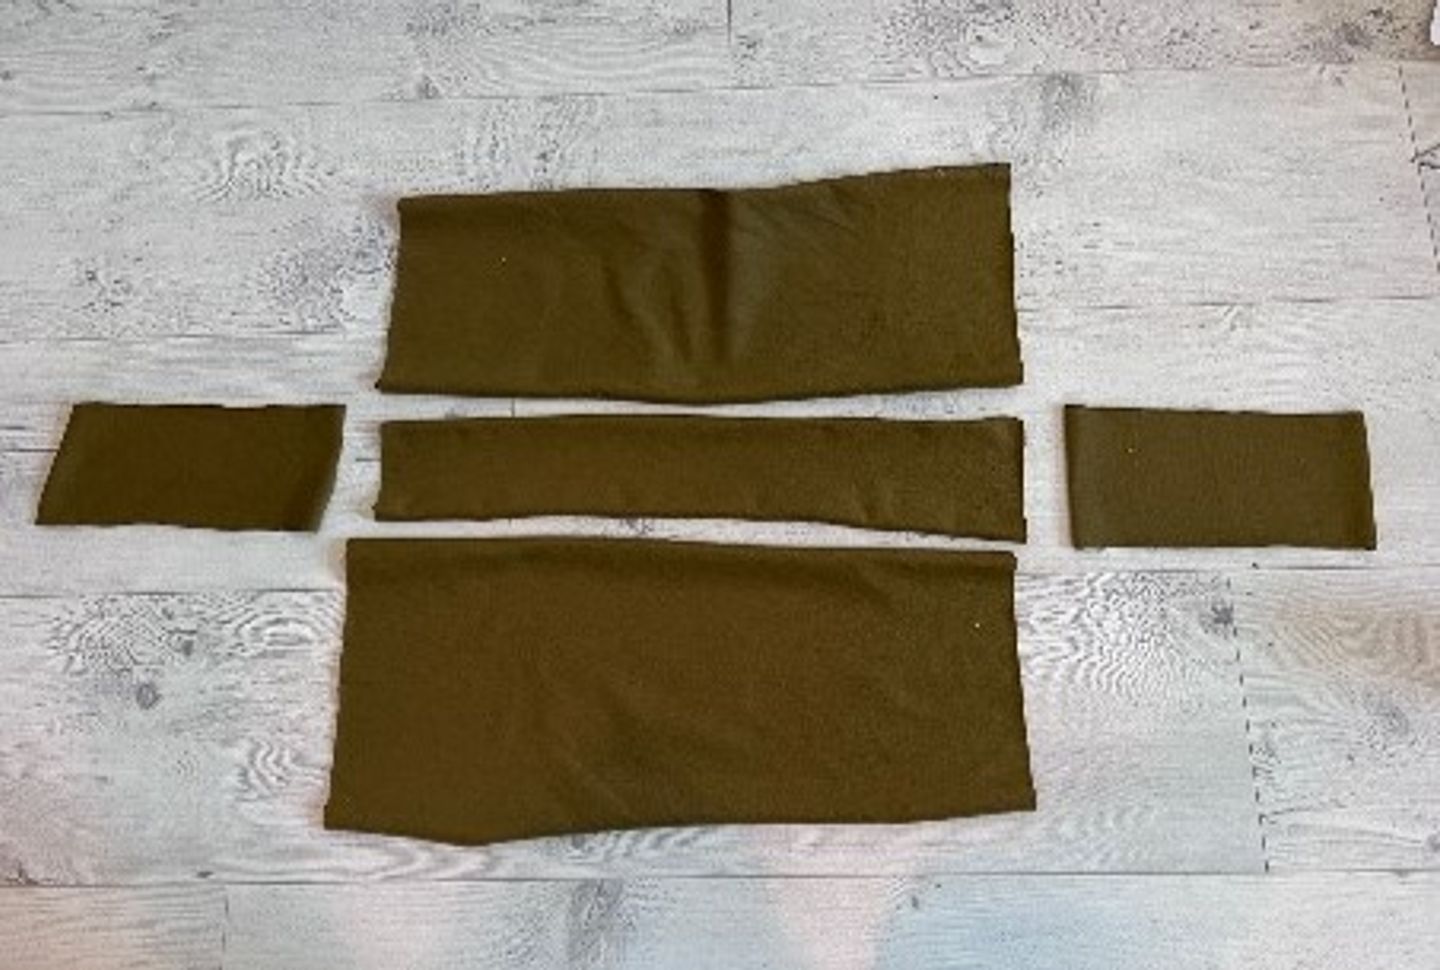

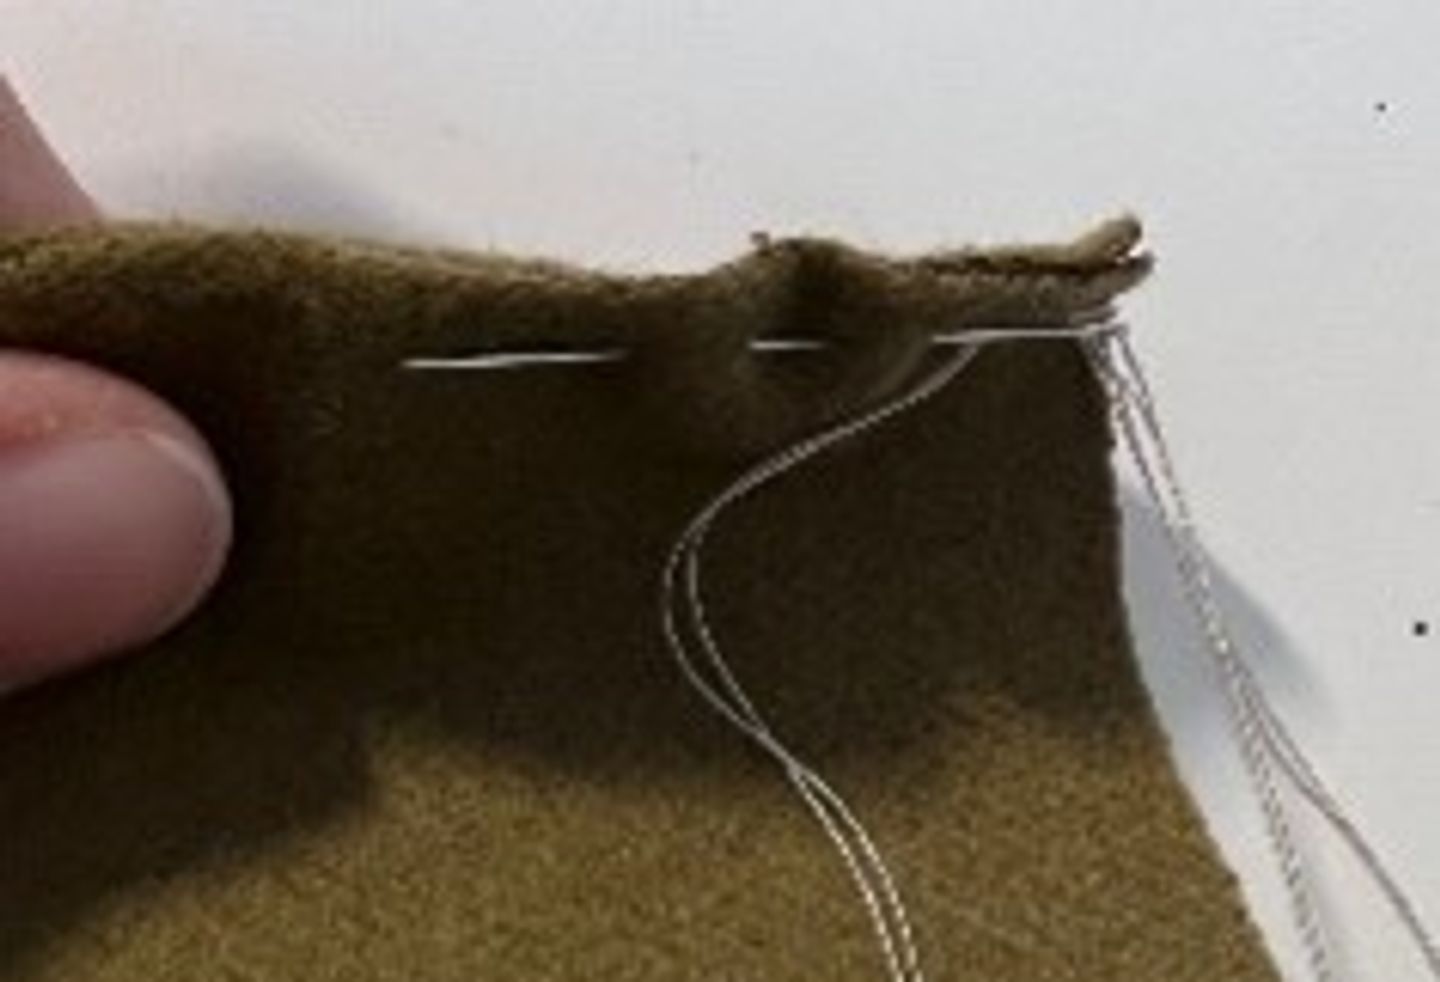
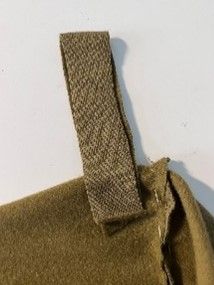
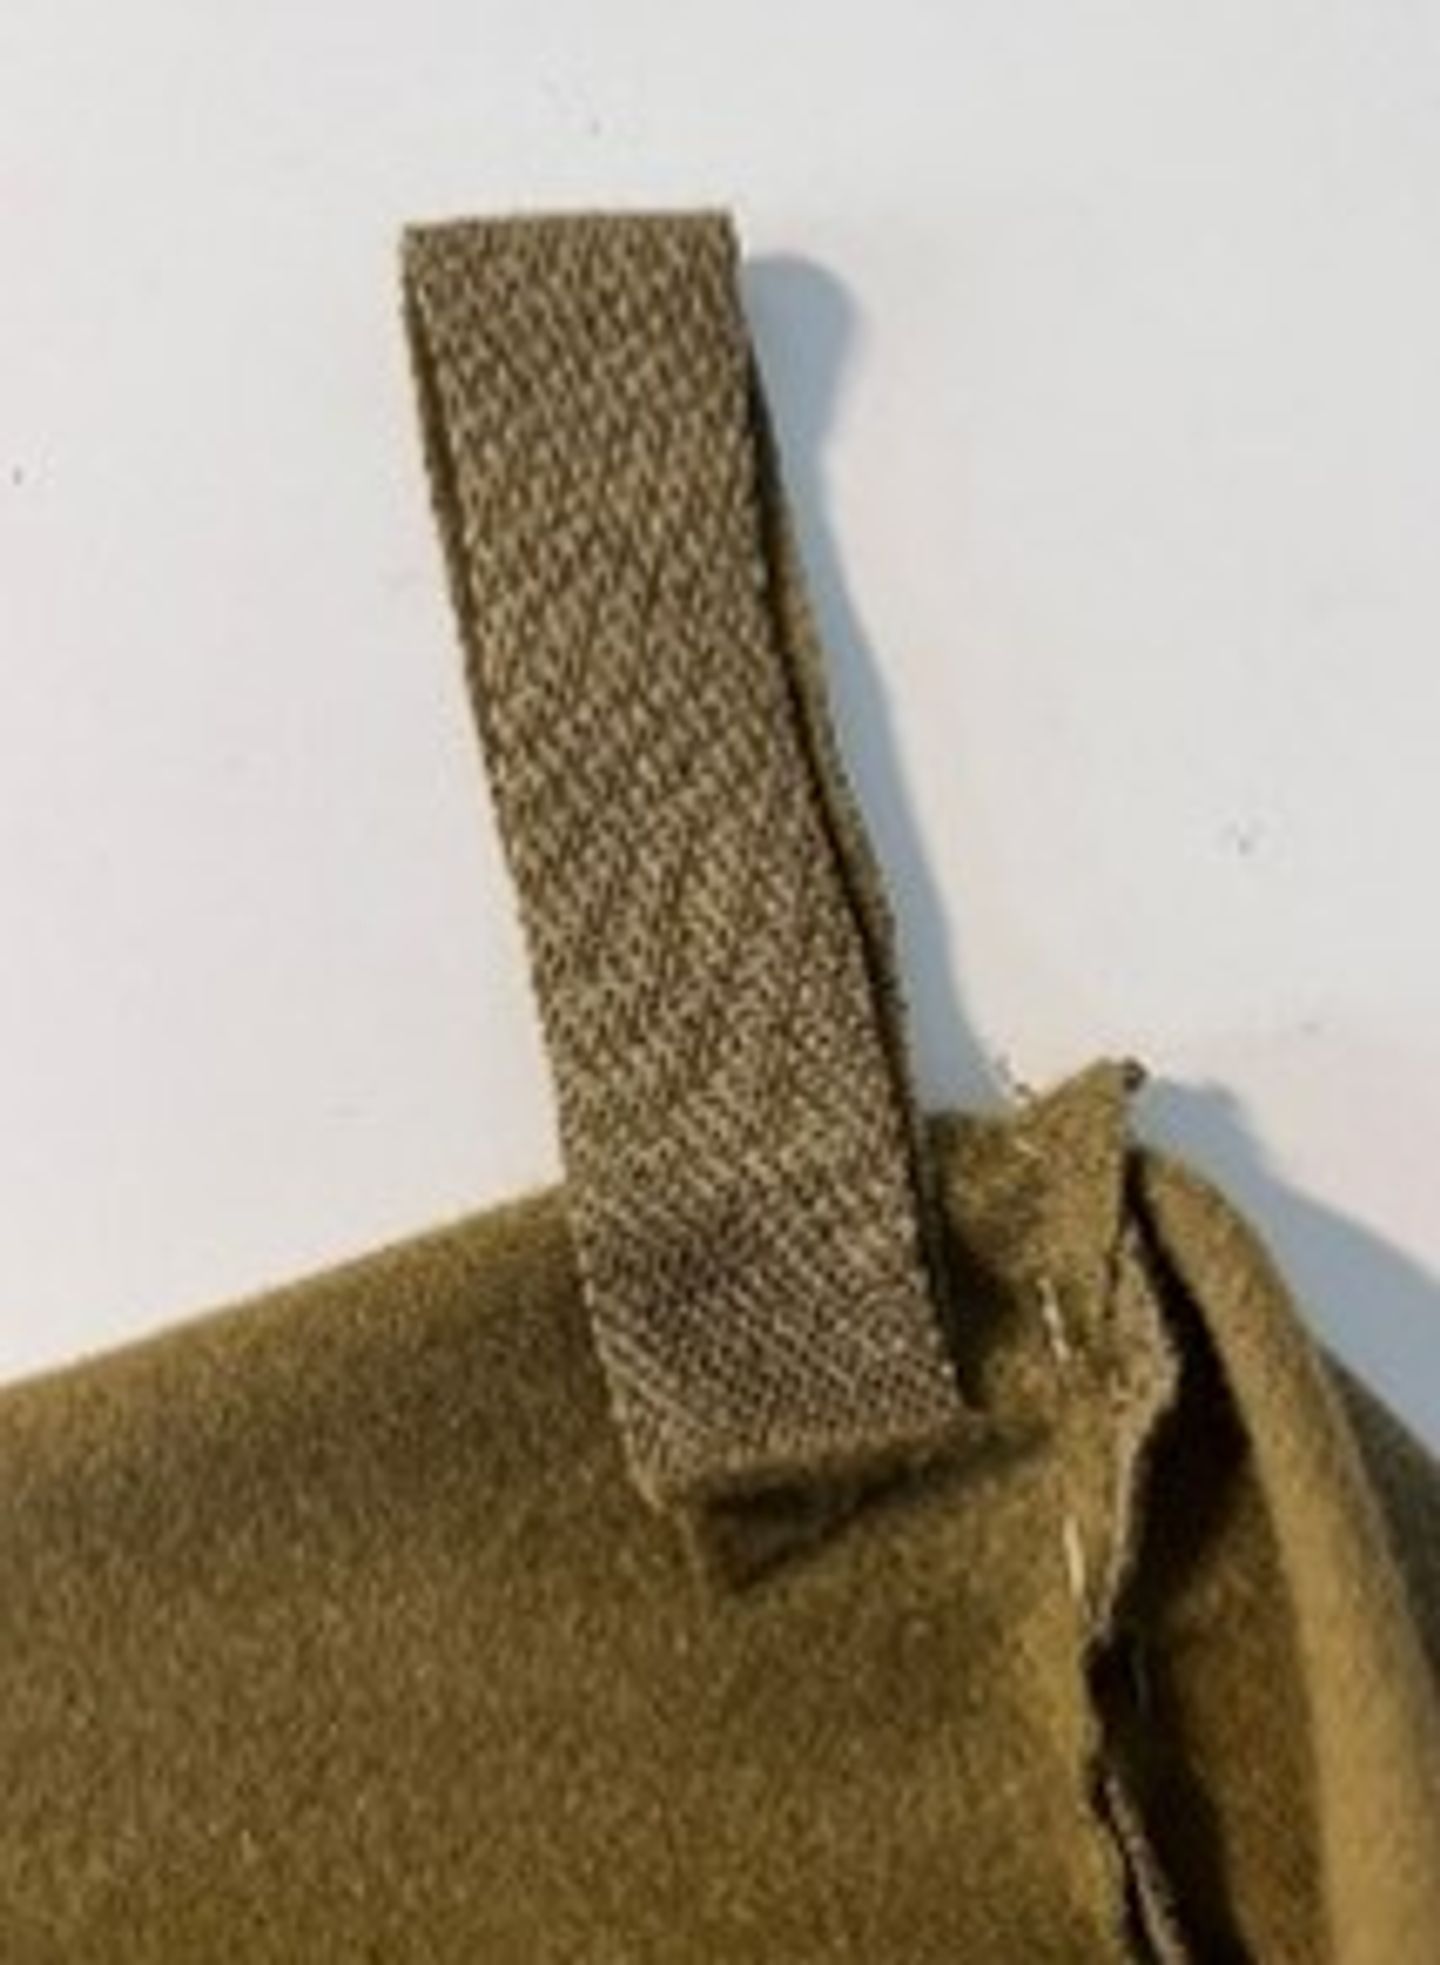
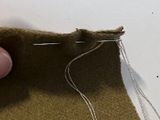
Cut a strip of fabric so that you can sew it in as a loop. Repeat this process to have a loop for each side.

This hack was developed in the dooiy project week @ HTW Berlin together with the community of eNkanini informal settlement in Cape Town.
Gain more living space in your home
„FOLT“ combines a stylish table for working, eating or studying with a...
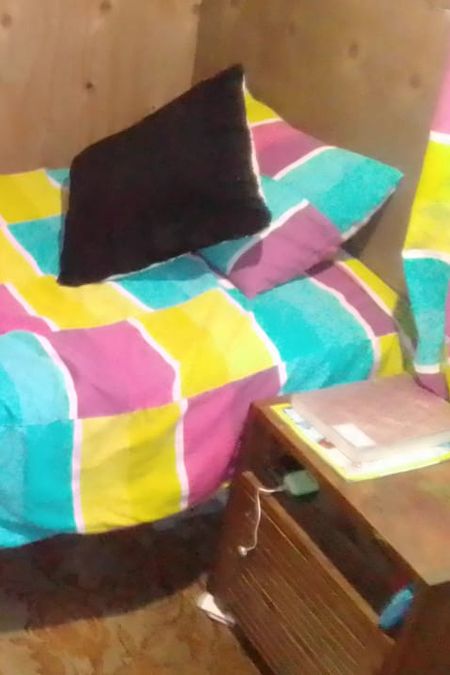
Comfy and easy to make
This bed is comfy and easy to make. As the legs are pretty high,...
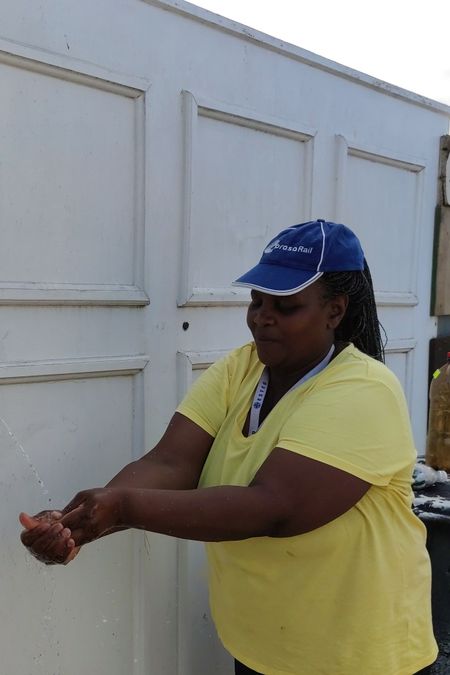
This is a cool and free way to wash your hands. You can install it inside or...
Have fun and exercise
Skipping ropes are a great training tool – for your kids and for you.


On dooiy you find fun and easy hacks that make life easier. Just follow our simple step-by-step guides and create something for your home or community with little materials and tools. Want to start a business? dooiy might be the perfect starting point for you.

from dooiy
You don‘ t have to be an expert to start making with dooiy. Just choose an easy hack and get going. After you made a few, I am sure that you will come up with your own ideas.
dooiy is being developed by passionate people in Germany and South Africa.

To fulfil our vision, we are looking for partners, volunteers, donors and people who spread the word.
Learn moreand become a partner